The Bridge Before Dawn
The Bridge Before Dawn
Read aloud
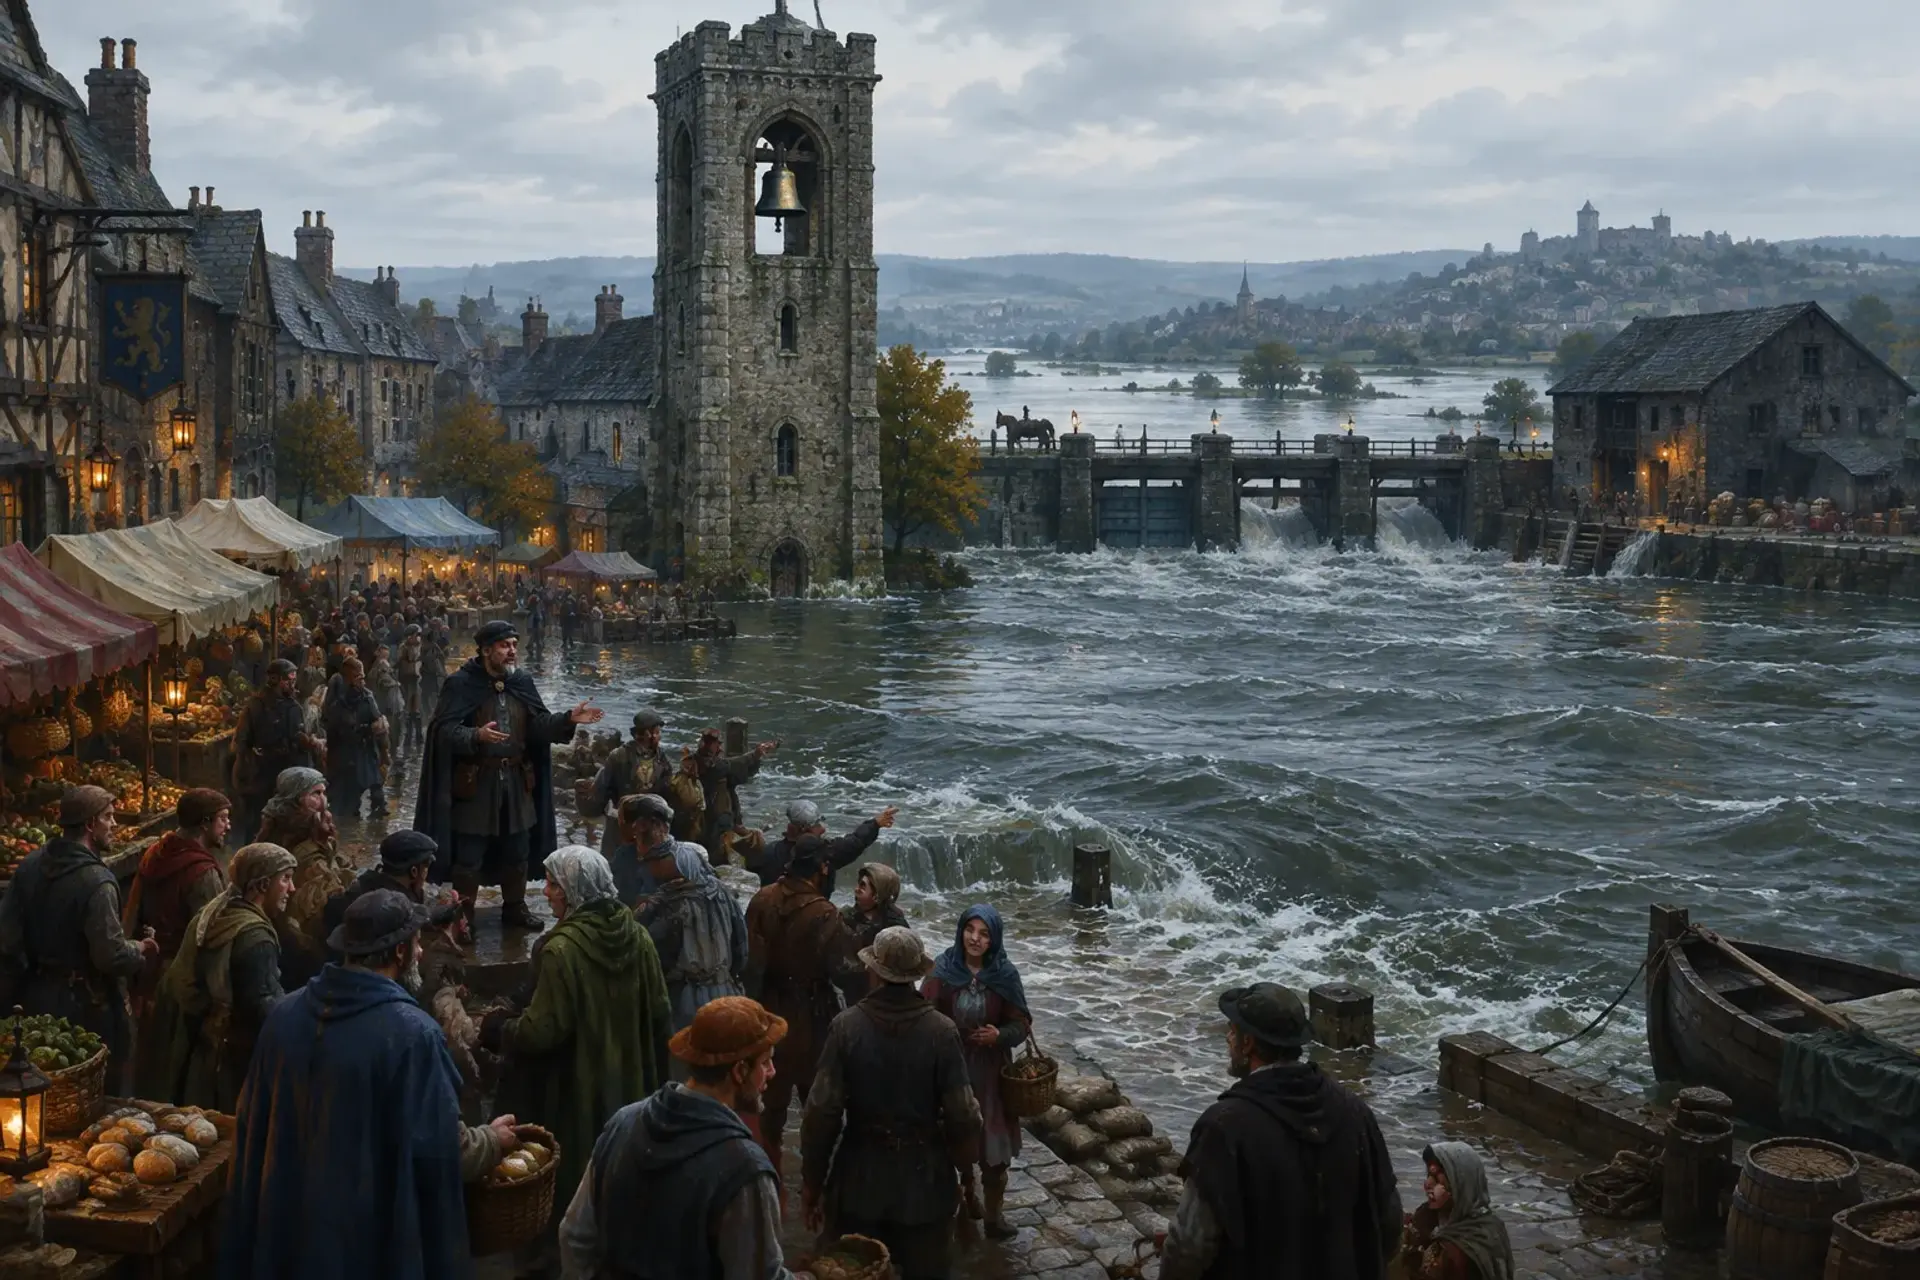
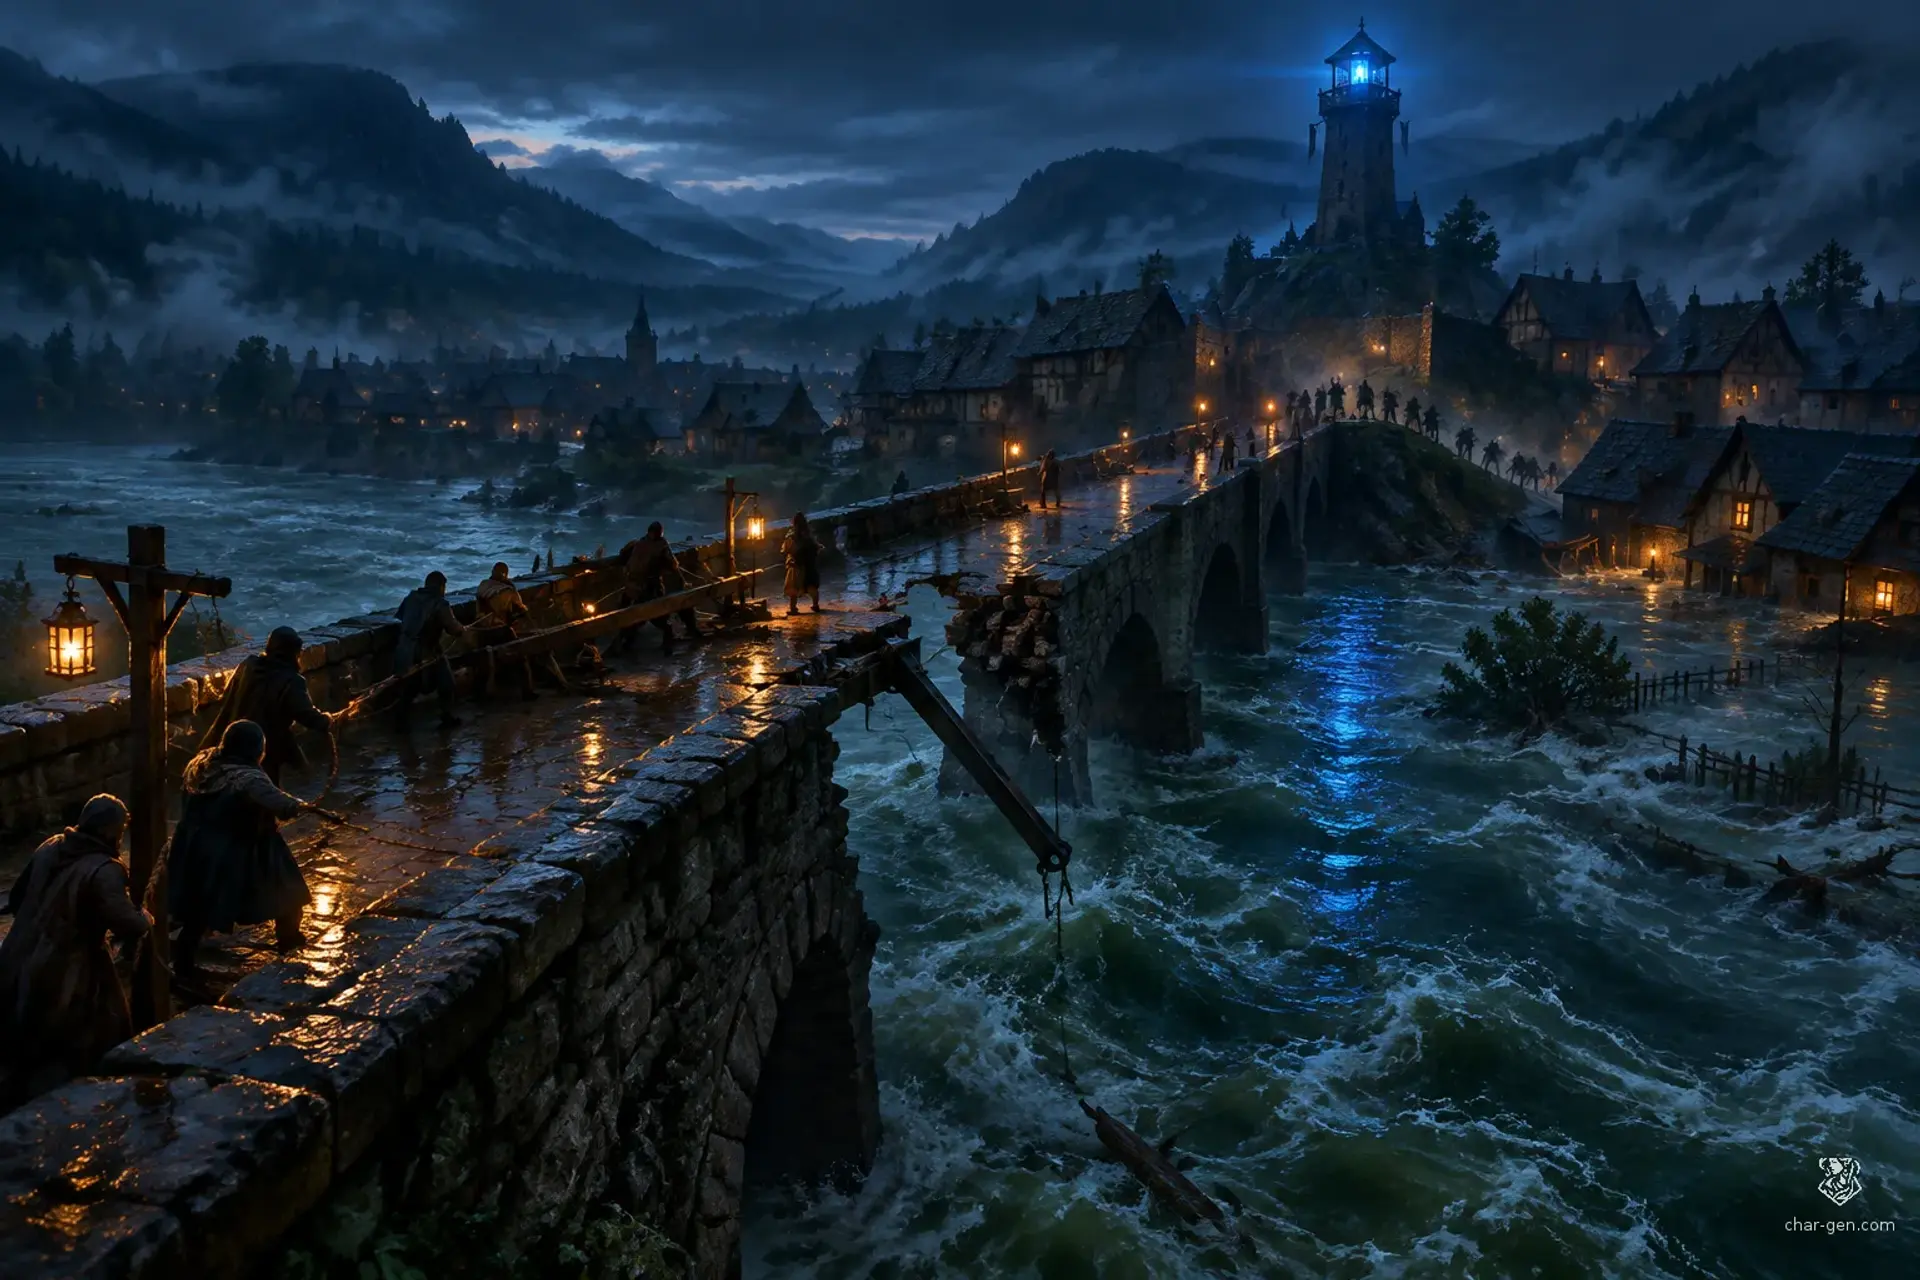
The bridge groans as the river rises, and a fresh gap yawns where one of its iron braces should be. Reeve Mara Venn presses a lantern into your hands and says, “Someone is weakening the crossing. Hold it through the night, and find out who wants Brackenford swept away.”
Run the session
Cheat sheet
Objectives
- 1Defend Brackenford's bridge from sabotage and attack.
- 2Find the source of the blue lantern signal.
- 3Prevent the final attempt to break the bridge.
- 4Limit flood damage to the village.Optional
The clock
The flood crests at dawn. Each major delay gives the water time to worsen the bridge's condition; after three significant delays, the GM should mark one additional brace compromised or flood part of the lower ward.
Scenes
- 0:00The Reeve's Plea
- 0:35Hold the Crossing
- 1:35Tracks to the Tower
- 2:30Before the Surge
Cast
- Mara VennQuestgiver and village reeve
- Tomas ReedWitness and bridge keeper
- Orren ValeAntagonist
The hook
Set the scene
Read the hook aloud as the party arrives at the bridge. Mara points out the missing brace, the rising river, and the watchtower's faint blue light. Tomas Reed is nearby, soaked from inspecting the bridge and eager to explain what he saw, though his story sounds suspicious until the party investigates.
How Mara Venn asks
Mara Venn approaches the party at the bridge, offers access to the village storehouse, and asks them to take command of the defense.
She is direct about the danger and promises a reward if the bridge and lower ward are protected.
Rumours
Scenes
about 3.5 hours0:00
35 min
socialThe table is here
1. The Reeve's Plea
Brackenford's bridge approach, beside the rising river
Mara assigns positions and explains that the braces are being removed deliberately. The party can inspect the damage, question Tomas, organize villagers, or prepare a repair plan.
NextA shout from the bridge announces movement on the far bank, beginning the attack.
0:35
60 min
combat
2. Hold the Crossing
The narrow bridge and its muddy approaches
The party must hold the crossing while attackers create openings to tamper with the braces. Reward characters who protect civilians, repair the structure, or adapt the terrain rather than focusing only on defeating foes.
Raid at the BridgeNextA captured attacker, fresh tracks, or the lantern's signal points toward the watchtower.
1:35
55 min
exploration
3. Tracks to the Tower
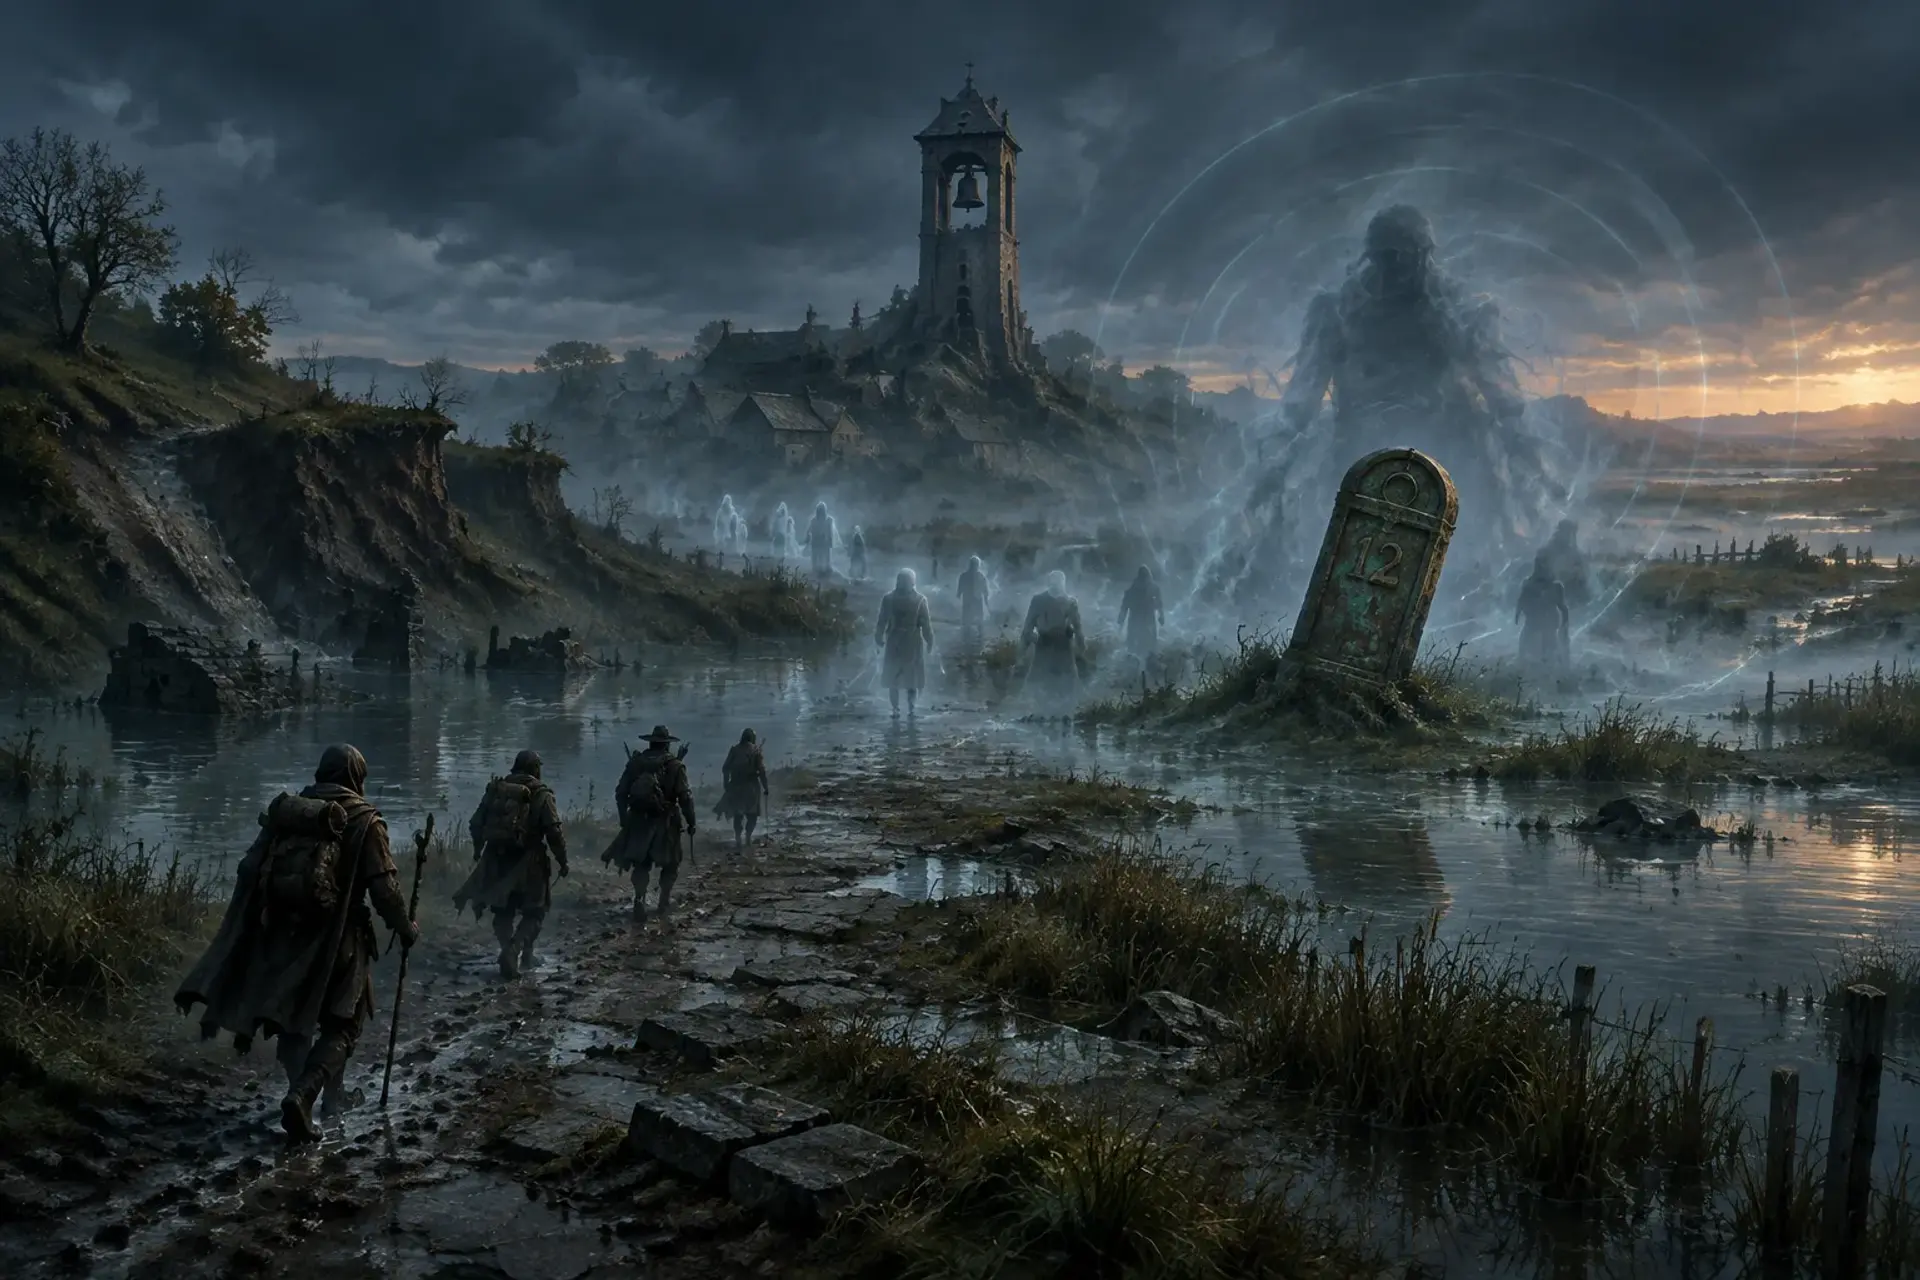
A riverside trail leading to the old watchtower
At the tower, the party can follow the tracks, examine the winch, confront Orren, or try to learn why he is risking the village. A successful inquiry or careful search reveals his interest in the buried chamber.
The Blue Lantern TowerNextOrren's plan reaches its final stage as the river surge strikes and the village needs an immediate decision.
2:30
50 min
skill
4. Before the Surge
Between the watchtower, bridge, and flooded lower ward
The party chooses how to stop the final sabotage, protect the lower ward, and resolve Orren's fate. They can disable the winch, clear the culvert, bargain with Orren, or divide their efforts.
The Blue Lantern TowerNextWith the flood cresting and the signal extinguished or answered, play out the village's outcome and any remaining choices about the chamber.
Behind it
What people believe
Brackenford's bridge is failing just as the spring flood rises.
The village reeve asks the characters to protect the crossing, investigate a mysterious blue lantern at the old watchtower, and stop whoever is sabotaging the bridge before dawn.
Background
The village of Brackenford stands beside a narrow stone bridge over the River Namar.
Each spring, floodwater carries ancient debris down from the hills, and the villagers reinforce the bridge before the thaw. This year, someone has been removing the bridge's iron braces at night. The nearby watchtower, once used to signal river traffic, has also begun showing a blue lantern after midnight.
The stakes
If the characters fail to stop the sabotage, the bridge may collapse during the spring flood, cutting off the village and sending water through the lower ward.
If they succeed, they save the crossing and expose the person behind the signal, but the hidden chamber may create new trouble.
Encounters
2Raid at the Bridge
Combat and objective defense
A narrow stone bridge with low parapets spans a fast river. The approaches are muddy, loose tools and timber create cover, and the river is a serious hazard for anyone knocked over the edge.
Foes
Orren's hired toughs
Riverbank scouts
ComplicationThe attackers try to damage the bridge braces while keeping defenders occupied. At the end of each round, the GM may mark one brace as compromised if no character is guarding or repairing that section. Three compromised braces cause the bridge to become dangerously unstable.
ScalingFor a smaller or less experienced party, use fewer toughs and have the scouts retreat when the first foe is defeated. For a larger or more capable party, add one tough and let the attackers begin with one brace already compromised. Use appropriate D&D 5E stat blocks for bandits or similar low-level humanoid foes.
The Blue Lantern Tower
Combat or social confrontation
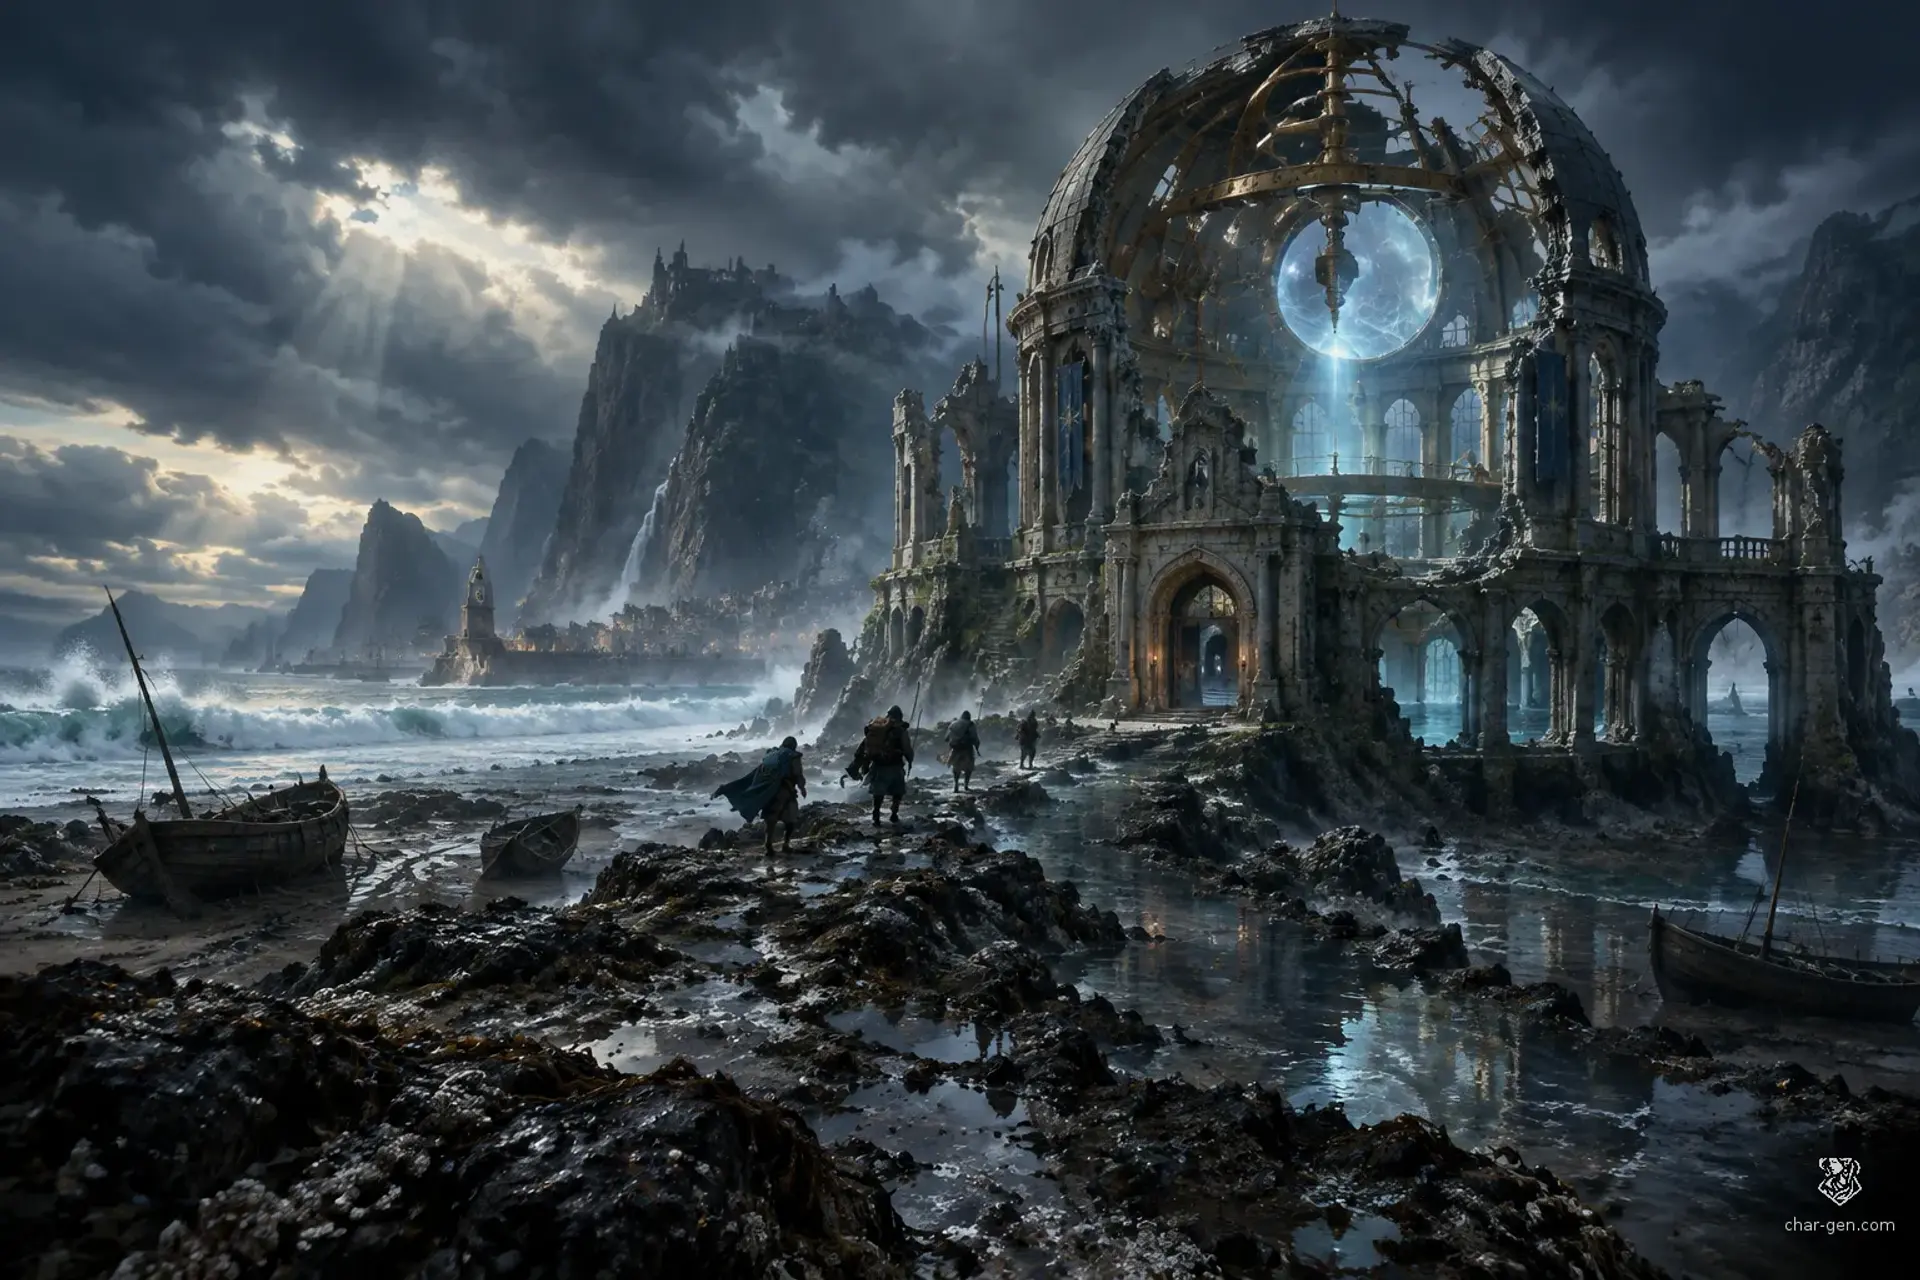
A cramped watchtower above the river, reached by a narrow trail. The ground floor contains the winch, the upper platform holds the lantern, and a broken parapet overlooks the water.
Foes
Orren Vale
Riverbank scouts
ComplicationThe signal lantern can alert Orren's crew if it remains lit. The crew also has a hand winch rigged to pull a brace loose; stopping it can be done through force, a clever plan, or a suitable ability check. The tower's upper platform is partly rotten.
ScalingFor an easier confrontation, Orren begins alone and bargains when cornered. For a tougher confrontation, add a tough and give Orren a clear escape route. Use an appropriate D&D 5E stat block for a low-level humanoid leader; Orren's signal and winch are custom scenario features, not official class abilities.
Cast
3Mara Venn
QuestgiverQuestgiver and village reeve
WantsProtect Brackenford and its residents, even if that means ordering people to abandon property or take dangerous positions.
““Keep the bridge standing until dawn. If it falls, the flood takes the lower ward first.””
Tomas Reed
Witness and bridge keeper
WantsClear her name after being blamed for the missing braces. She has noticed tracks leading from the tower to a riverside storehouse.
““I saw the lantern from the tower, but I swear I never lit it.””
Orren Vale
Antagonist, a disgraced surveyor
WantsDivert the river through Brackenford's lower ward to expose a buried ruin beneath the village green, where he believes a valuable relic lies.
““The water will do the breaking. We only have to make sure it breaks in the right place.””
How it ends
Rewards
Items
A waterproof lantern and a small repair kit supplied by the bridge keeper
Optional custom reward: Orren's survey map, which marks the buried chamber and nearby ruins
On a win
The bridge remains standing or is made safe enough for the flood to pass, and Orren's sabotage is stopped.
Brackenford's people celebrate the dawn, though the party may decide what should happen to the chamber and the records beneath the green.
What it leaves open
If it fails
- The bridge defense objective is not met.
- If the party fails to keep enough braces intact, the bridge partially collapses. Brackenford evacuates its lower ward, the river cuts off the main road, and the party must arrange a temporary crossing before pursuing Orren.
- Orren is not captured or persuaded to surrender.
- If Orren escapes with the relic's location and the party has not secured the tower, he returns later with outside buyers and a stronger plan to reach the buried ruin.
- The culvert is not cleared before the flood surge.
- If the party ignores the flooded culvert, water enters the lower ward. The village survives, but homes and stored supplies are damaged, reducing the reward and straining relations with the reeve.
Complications (d6)
- 1A loosened bridge brace swings free and pins a civilian against the railing. The brace must be secured or the person pulled clear before the next assault.
- 2A surge of river water floods the eastern approach, turning the ground slick and making movement there difficult until someone clears a blocked drainage culvert.
- 3The blue signal lantern is spotted at the tower. If the party does not investigate or extinguish it, Orren's allies gain the benefit of a coordinated approach in the next encounter.
- 4A panicked cart horse bolts across the defenders' line. Calming it or guiding it away takes attention, and a failed attempt scatters nearby villagers.
- 5A hidden saboteur cuts the rope supporting a supply hoist. A crate of tools crashes into the work area, blocking a route until cleared.
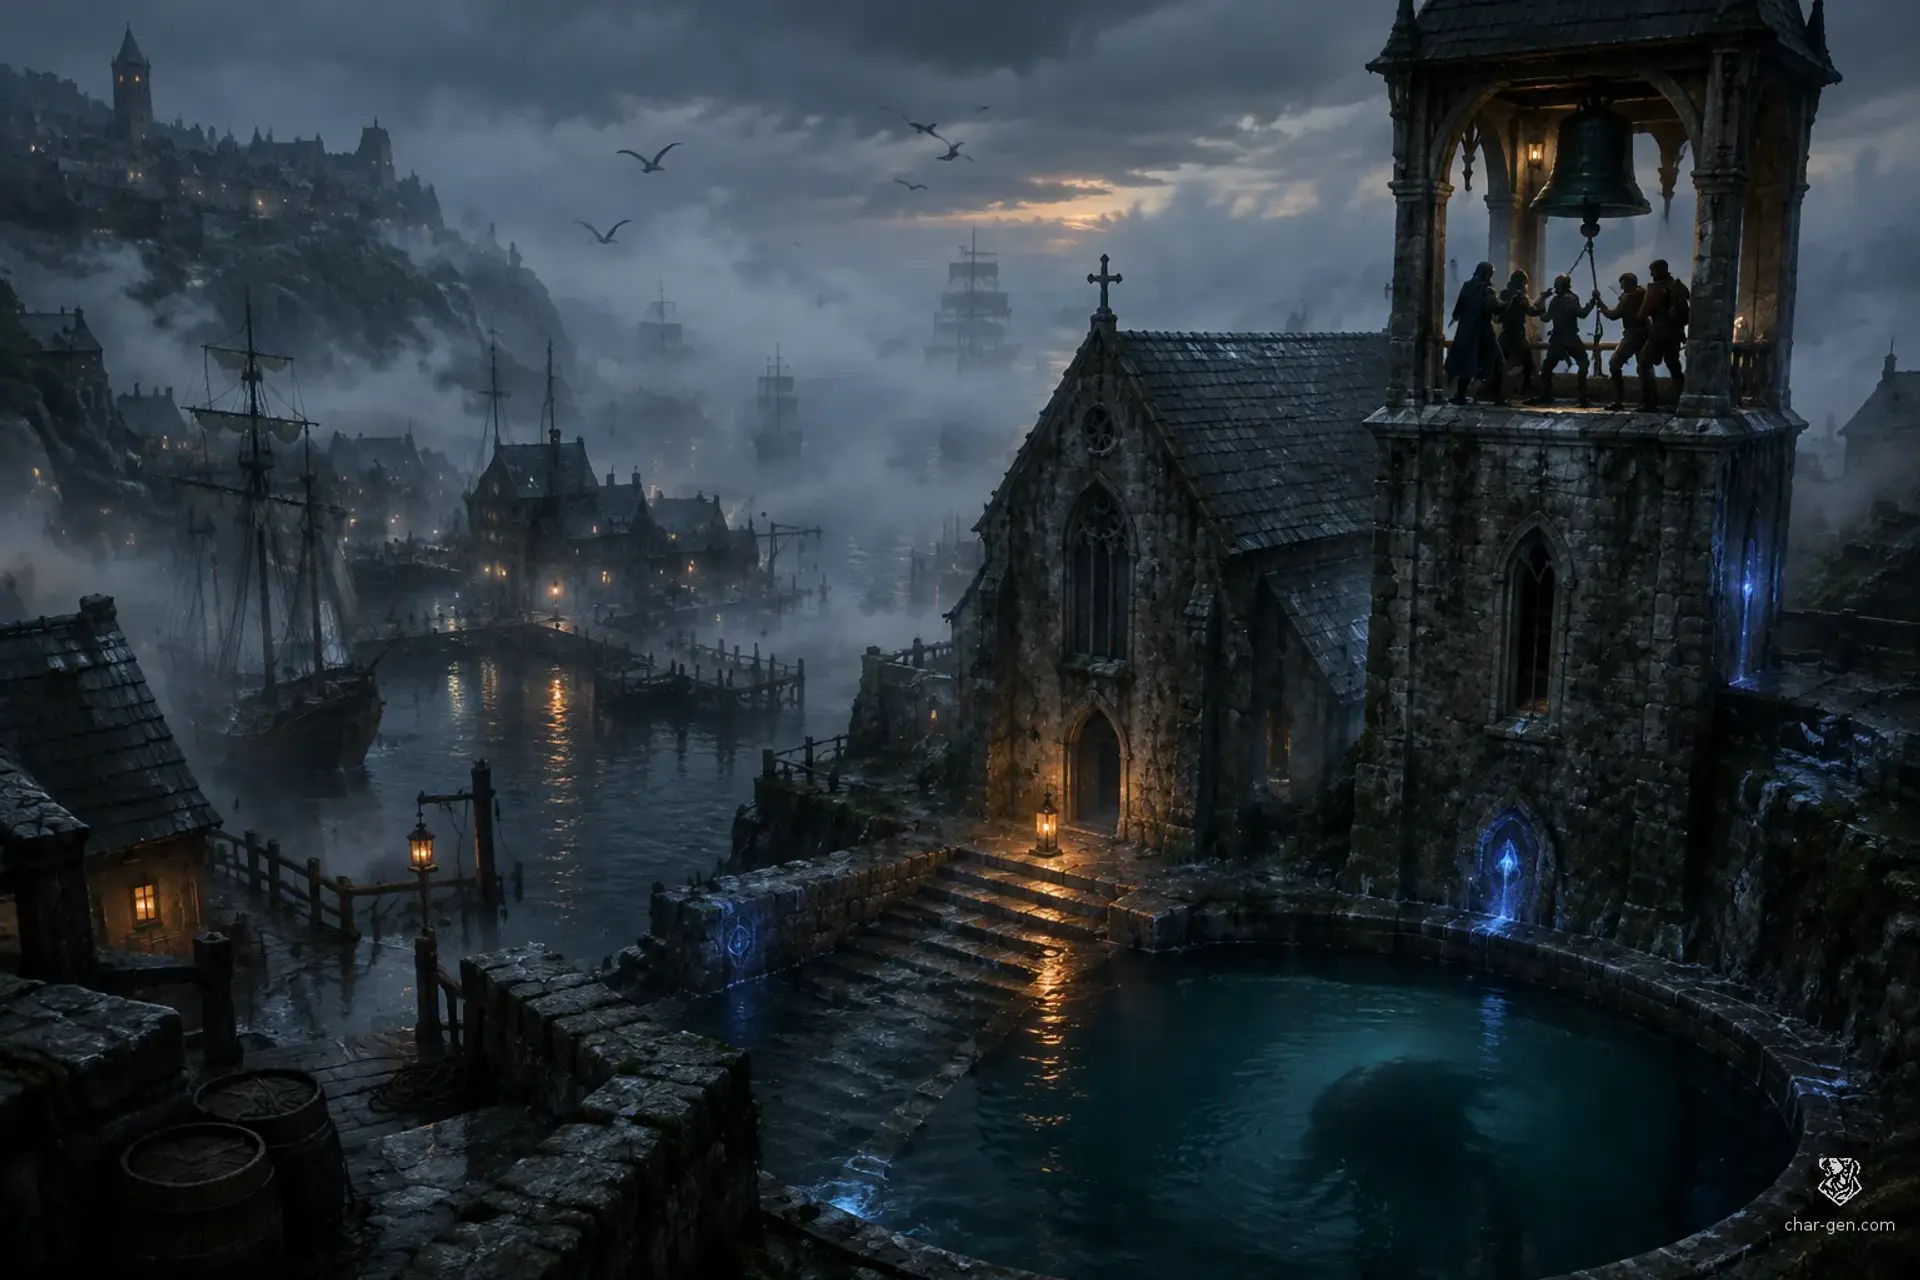
- 6A warning bell cracks during the flood's roar. A character must reach the bell tower and use another clear signal, or the far-side defenders do not know when to reinforce the bridge.
Media
0 imagesNo images yet.
Turn The Bridge Before Dawn into a sheet
A high-res, share-ready sheet you can post or print.