The Voice Beneath the Beacon
The Voice Beneath the Beacon
Read aloud
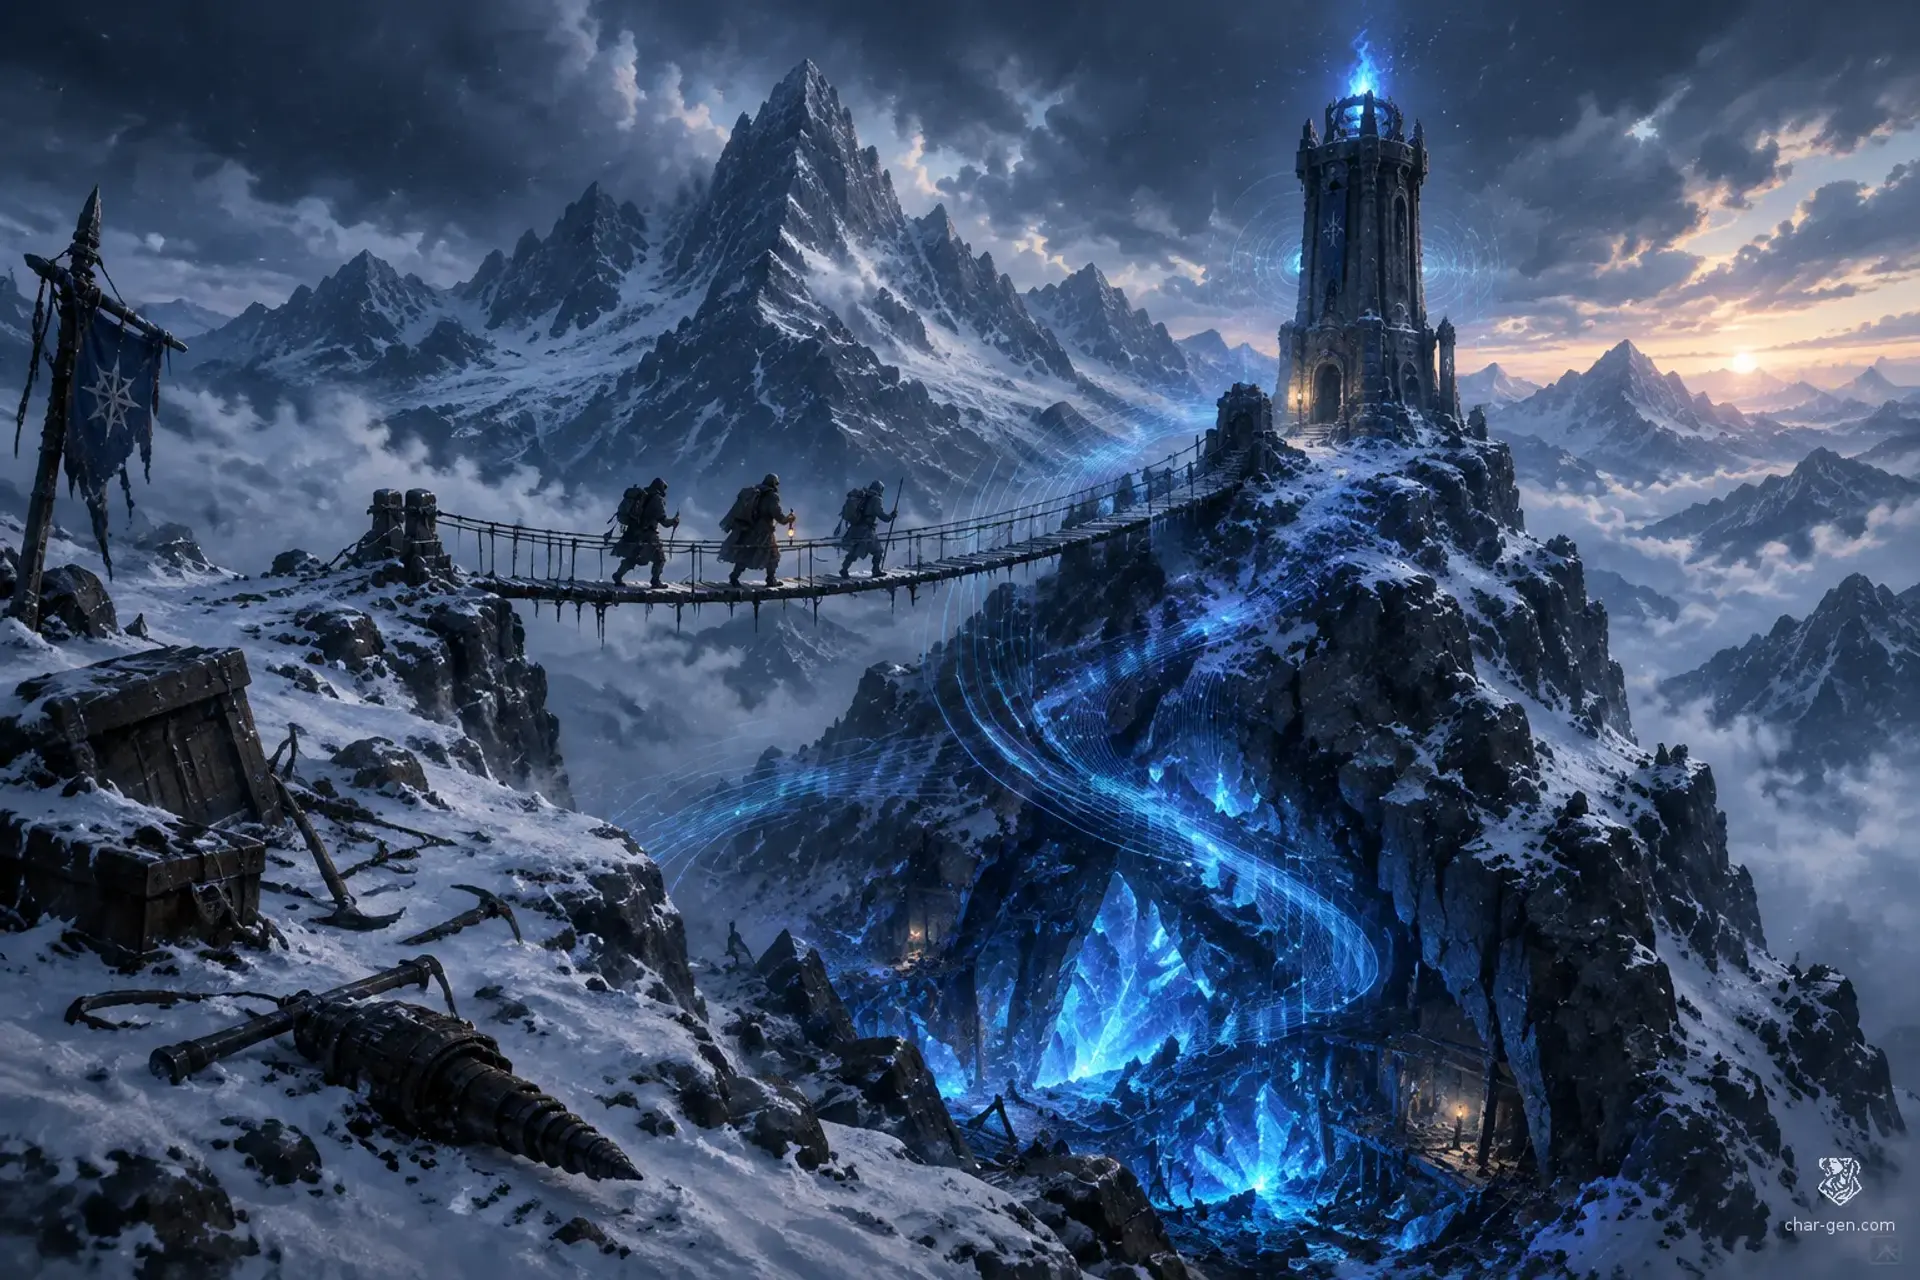
The blue beacon above Kettlewatch flashes three times, goes dark, then answers with a voice that sounds like your own. Routewarden Mara Venn offers a heavy purse to find the source before the next caravan enters the Shardspine pass. At dawn, the beacon begins calling again.
Run the session
Cheat sheet
Objectives
- 1Reach the dark beacon and discover the source of its strange signals.
- 2Investigate the mine and stop the dangerous pulsing.
- 3Decide the future of the beacon and restore or replace its warning function.
- 4Secure evidence of the old mining network.Optional
The clock
The next caravan reaches the unsafe pass at nightfall. Each major delay gives the party less time to warn it before the next beacon cycle.
Scenes
- 0:00A Signal That Answers
- 0:30The White Road
- 1:15The Broken Span
- 2:05The Voice Below
- 3:05What the Holds Will Hear
Cast
- Mara VennQuestgiver
- Sella OrunWitness
- Tovan RuskAntagonist
The hook
Set the scene
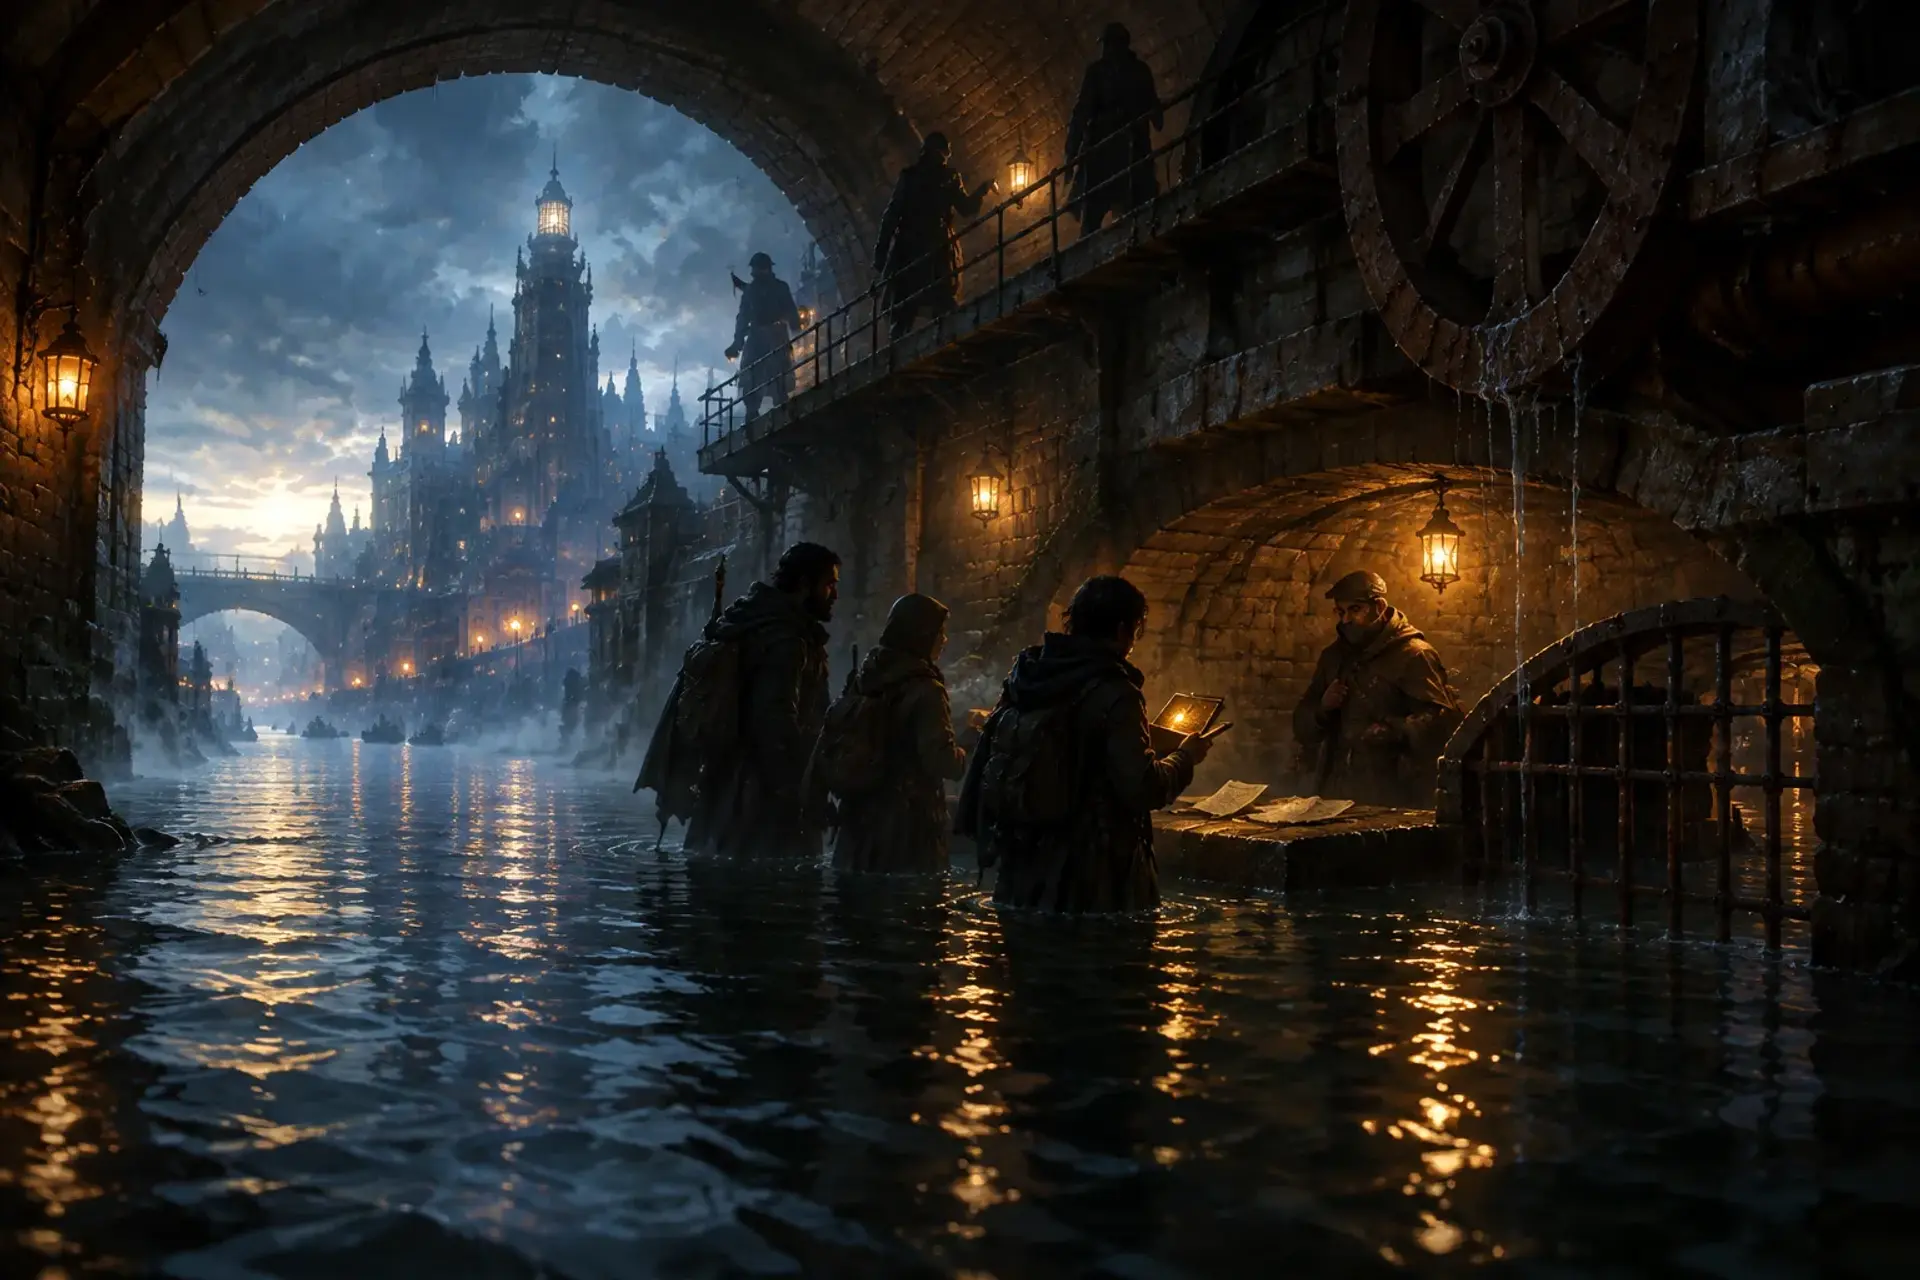
At Kettlewatch's routewarden station, Mara Venn spreads a map across a table weighted with iron nails. Outside, a blue flash stains the snowy window, followed by a faint voice repeating the last words spoken in the room. Mara explains that the next caravan is due by nightfall and asks the party to investigate before it reaches the pass.
How Mara Venn asks
Mara approaches the party in person at Kettlewatch's routewarden station.
She is candid about the danger, offers an advance for supplies, and asks them to keep the Holds calm until they know what caused the signals.
Rumours
Scenes
about 3.5 hours0:00
30 min
SocialThe table is here
1. A Signal That Answers
Kettlewatch routewarden station, with maps, travel gear, and a view of the dark beacon.
Mara explains the danger, offers payment, and shares the routewarden's map. Sella arrives with a warning about the mine and can describe the old song if treated respectfully.
NextThe party chooses a route through the upper pass and sets out before the next beacon cycle.
0:30
45 min
Exploration
2. The White Road
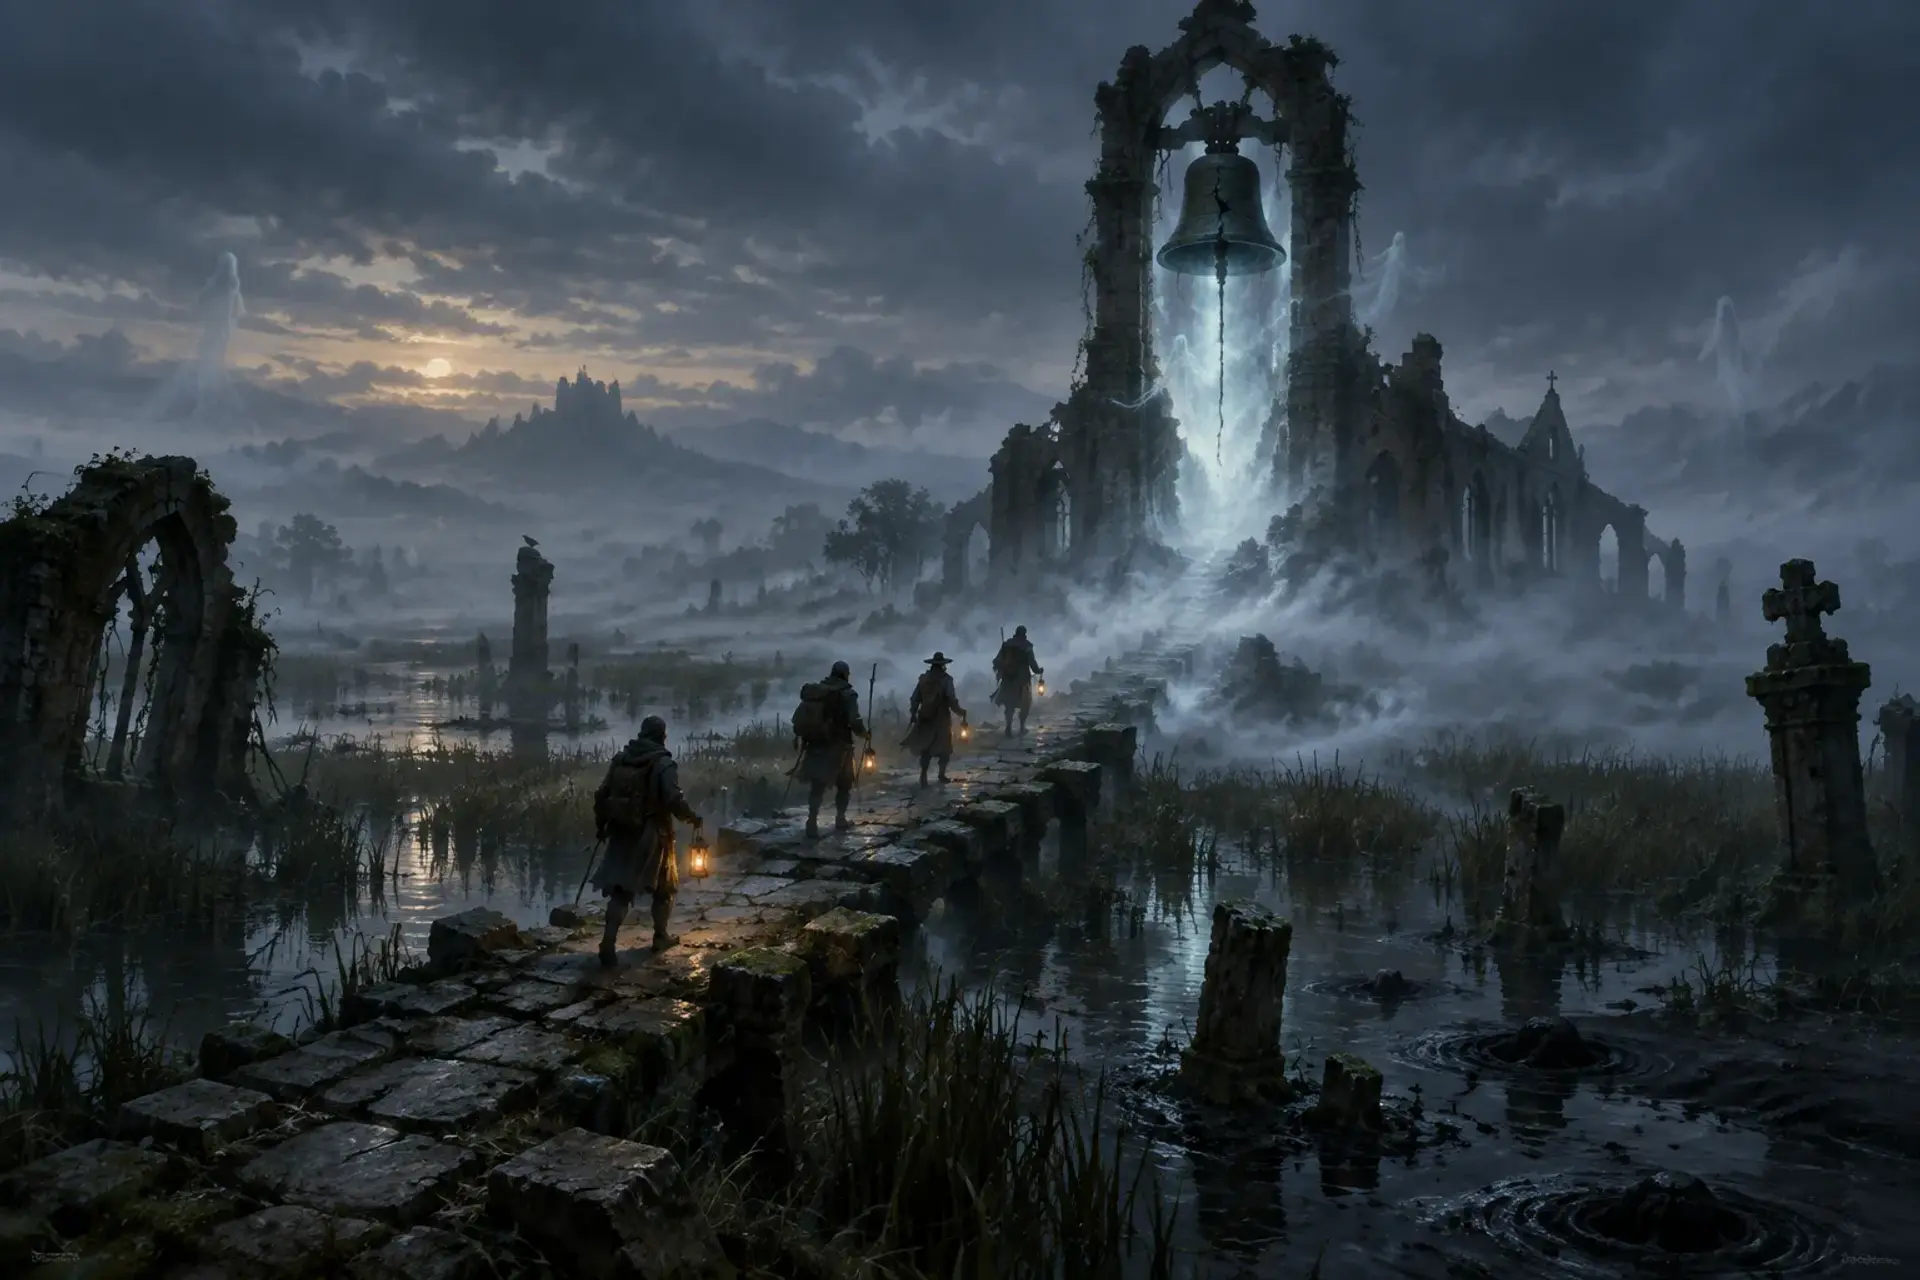
The climb from Kettlewatch to the beacon ridge, where wind, fog, and old mining markers complicate navigation.
The party follows the old survey road through shifting snow and exposed ridges. Clues include fresh drill marks, broken beacon parts, and a shepherd's trail that bypasses an unstable slope.
NextThe party reaches a broken rope bridge that is the only direct approach to the beacon shelf.
1:15
50 min
Combat
3. The Broken Span
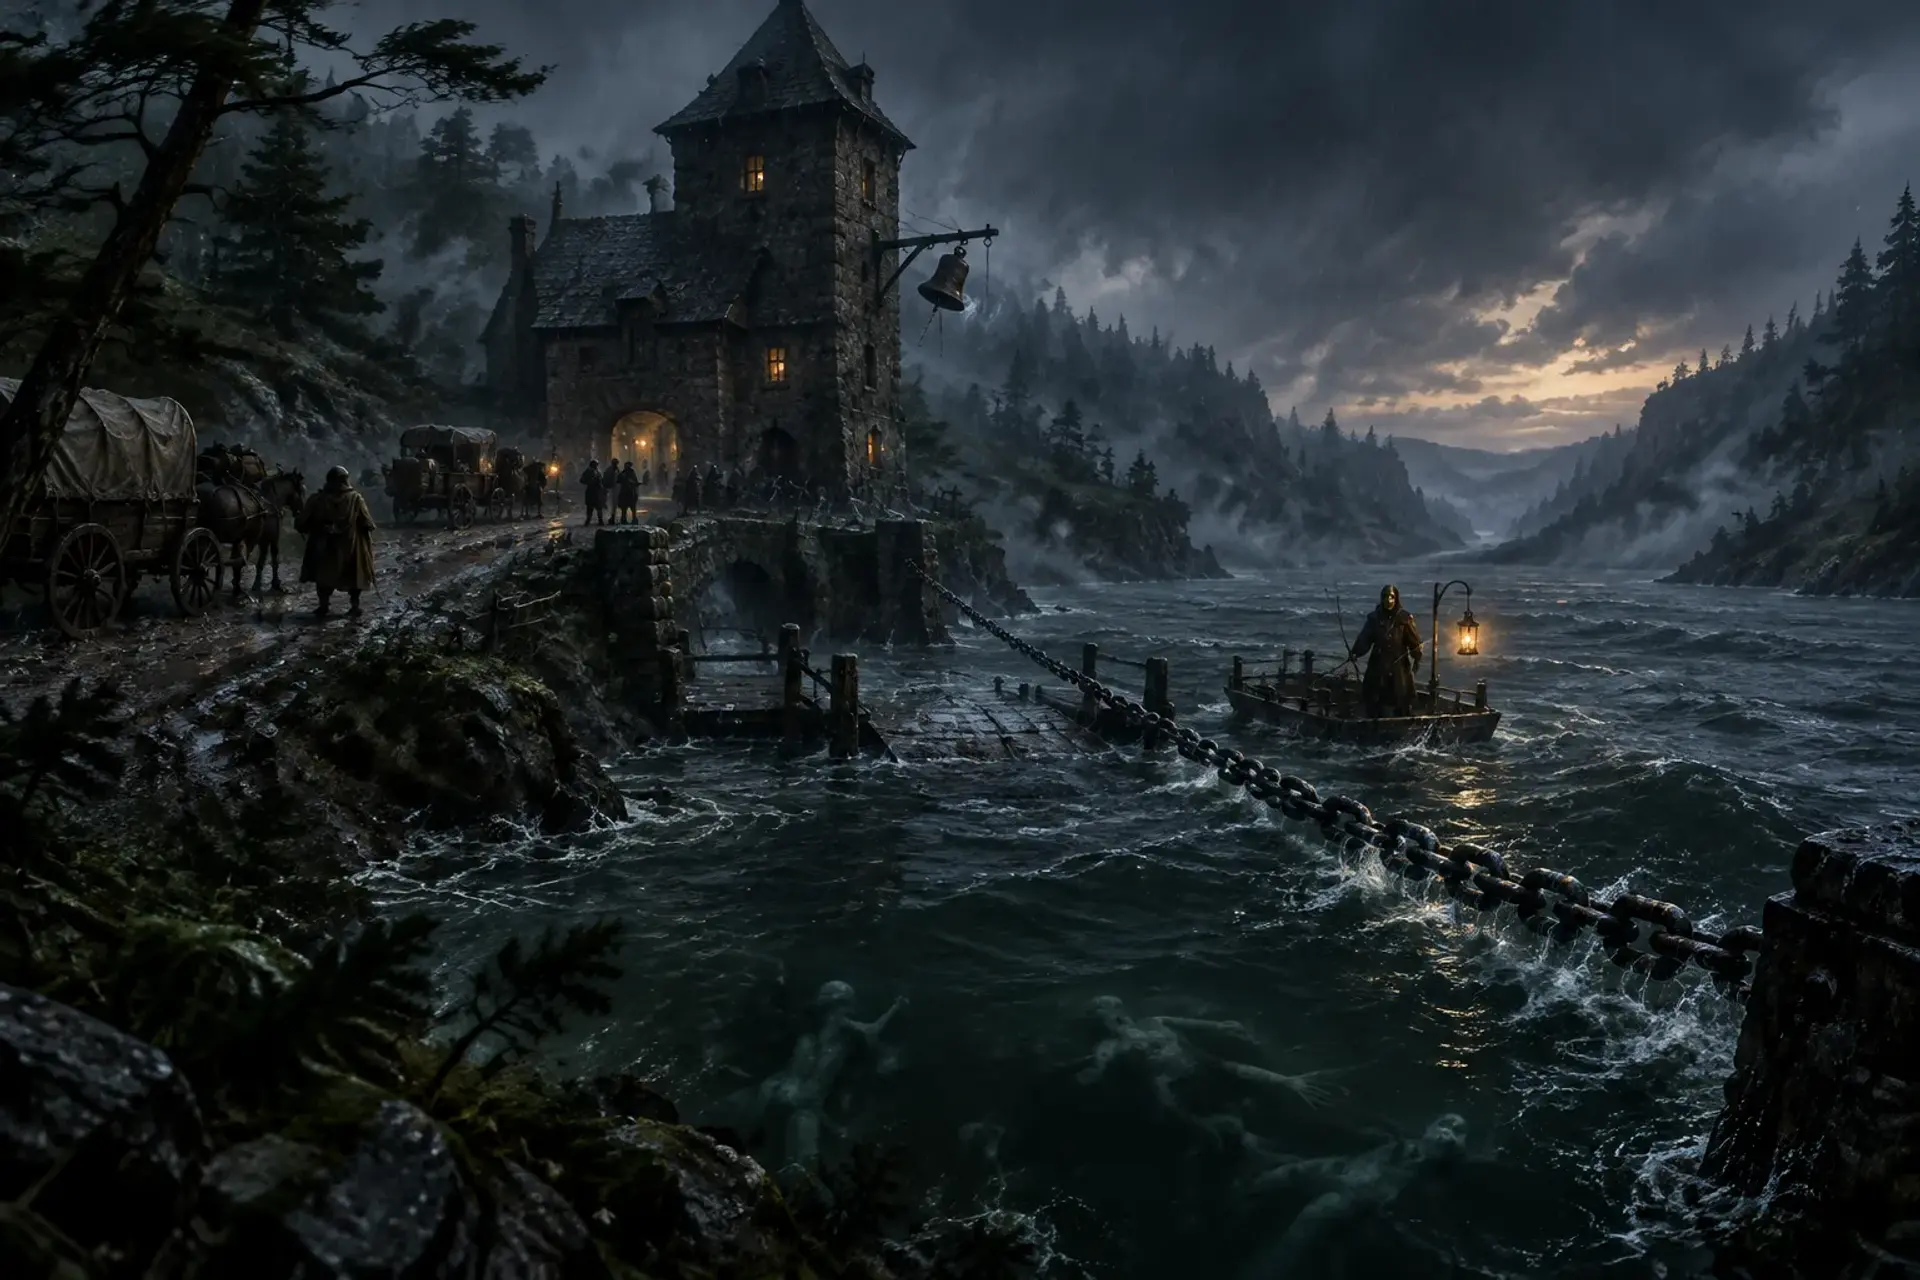
A rope bridge and narrow ledges above a ravine, with fresh bootprints leading toward the beacon.
The party crosses or repairs the bridge and deals with the claim-jumpers and scree-hounds. The claim-jumpers can be talked down if the party offers a safe hearing or exposes Tovan's reckless work.
The Broken SpanNextBeyond the bridge, the party finds a service hatch leading under the beacon tower.
2:05
60 min
Skill
4. The Voice Below
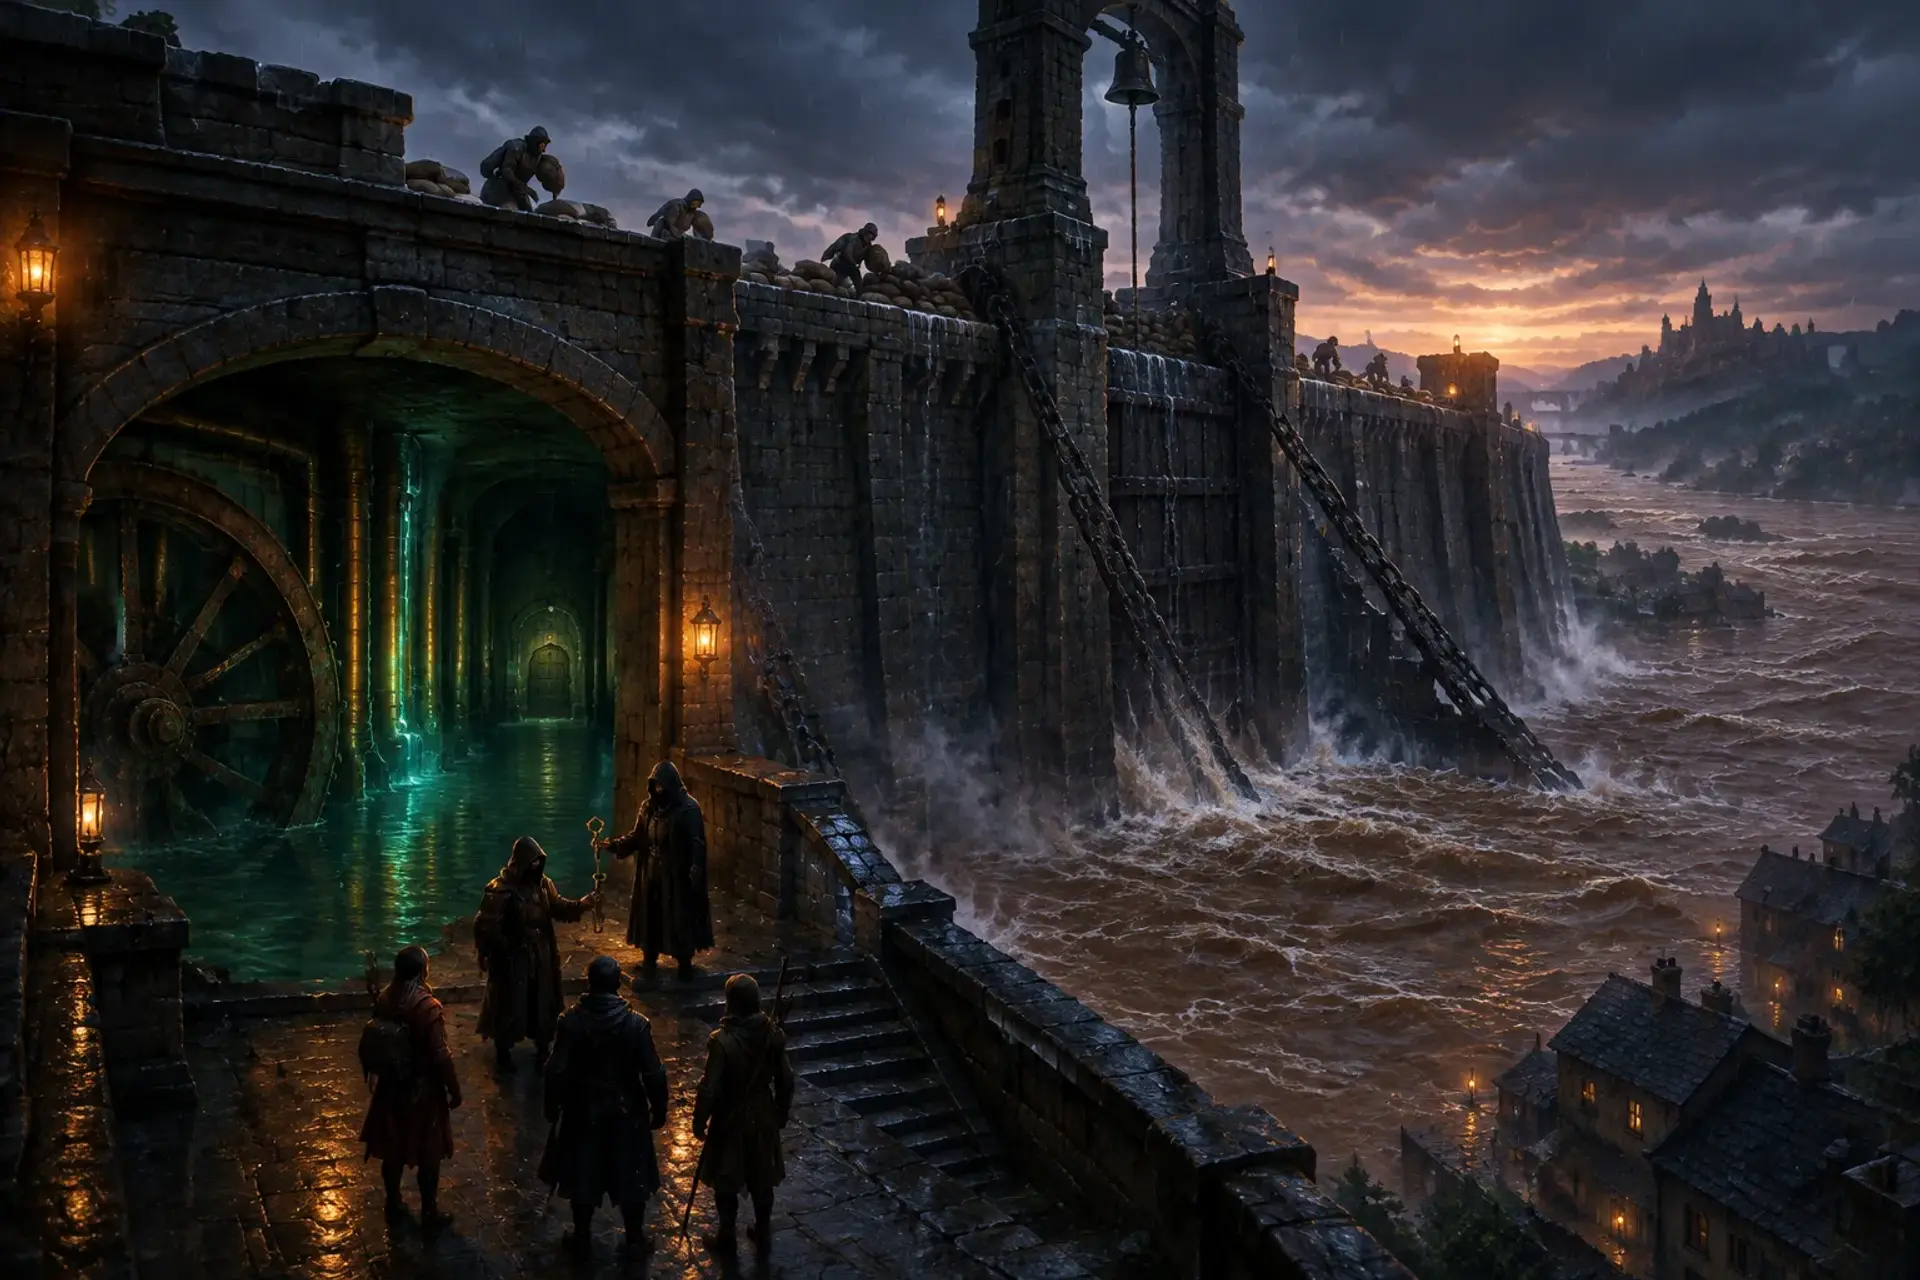
The buried survey chamber beneath the beacon, where an unstable lens and fractured star-glass pillar feed on the same conduits.
Sella's warning song matches the pulses in the chamber. The party discovers Tovan's work and learns that the signal is coming from a cracked seam rather than a hostile creature. Tovan can explain his plan before violence begins.
The Heart Below the BeaconNextOnce the party understands the source, they must choose whether to repair, sever, or carefully preserve the beacon's connection.
3:05
35 min
Social
5. What the Holds Will Hear
The beacon platform at dawn, with Mara, Sella, and any surviving members of Tovan's crew awaiting the party's decision.
The party settles the immediate crisis by repairing the lens, disabling the connection, or creating a safer signal. Their approach affects what evidence survives and how the Holds respond.
NextThe party returns to Kettlewatch with the outcome, or follows a surviving clue toward another sealed shaft.
Behind it
What people believe
The beacon above Kettlewatch has gone dark and begun sending strange signals across the Shardspine Holds.
Routewarden Mara Venn hires the party to reach the tower, discover what has disrupted it, and prevent the next caravan from entering an unsafe pass. A local shepherd warns that the beacon is tied to a sealed mine beneath the ridge, while a salvage engineer is already working in the area.
Background
The Shardspine Holds are a chain of high mountain valleys connected by narrow passes, rope bridges, and mining roads.
Their settlements depend on old beacon towers to warn one another when avalanches, raiders, or sudden storms threaten the routes. The beacons have burned blue for generations, though no one agrees on why.
The stakes
If the beacon fails during the next signal cycle, caravans may enter an avalanche-prone pass without warning, and the Holds could lose trust in the routewardens.
If the star-glass seam is mishandled, the beacon may become permanently unusable or spread its unpredictable pulses to neighboring towers.
Encounters
2The Broken Span
Combat or negotiation
A narrow rope bridge over a deep ravine, with swaying planks, exposed anchor posts, and shelves of loose scree on either side.
Foes
Ridgeback scree-hounds
Tovan Rusk's hired claim-jumpers
ComplicationThe beacon's pulses make loose stones vibrate and periodically spoil clear speech. Characters may need to reposition, use signals, or interrupt the pulse before coordinating safely.
ScalingFor a less capable party, use one scree-hound and two claim-jumpers, and let the party spot the danger before combat begins. For a stronger party, add two scree-hounds or have the gusts repeatedly shift the safe ground.
The Heart Below the Beacon
Combat or social
An old survey chamber beneath the ridge, with narrow catwalks, a fractured crystal pillar, shallow water, and a central beacon lens connected to the mine by metal conduits.
Foes
Star-glass sentinels
Tovan Rusk
ComplicationEach strong pulse from the beacon agitates the crystal growths. A character who touches an exposed shard receives a painful static shock and may trigger a brief flash that obscures the chamber.
ScalingFor a smaller or less experienced party, use one sentinel and make Tovan willing to retreat once his plan is exposed. For a stronger party, use three sentinels and let Tovan activate a second pulse, increasing the chamber's hazards.
Cast
3Mara Venn
QuestgiverQuestgiver, routewarden of Kettlewatch
WantsKeep the settlements connected and prevent panic while the beacon network is investigated.
“The beacon has never failed in my lifetime. I need you to find out what happened before the next caravan enters the pass.”
Sella Orun
Witness, shepherd and keeper of local oral histories
WantsProtect her people from the consequences of reopening an old mining shaft, even if that means keeping the Holds isolated.
“Those lights are not warnings. They are answers. Something below the ridge has started calling, and the mountain is listening.”
Tovan Rusk
Antagonist, independent mining engineer
WantsComplete his salvage operation and sell the recovered star-glass before the other Holds claim it.
“I followed the old survey marks. The beacon is drawing power from a vein of star-glass, and I can make it shine brighter than ever.”
How it ends
Rewards
Items
A routewarden's storm cloak, useful as a practical cold-weather reward.
A hand-sized star-glass shard, if recovered and judged safe. Its faint recorded whispers are a custom story item, not a rules-defined magical effect.
On a win
The immediate danger is contained and the caravan is warned or safely rerouted.
The party's choice determines whether the beacon is repaired, deliberately dismantled, or replaced by a new warning system. Mara reports the outcome to the Holds, while Sella and Tovan respond according to whether the party respected their concerns or treated the star-glass as mere salvage.
What it leaves open
If it fails
- The party cannot locate or safely disable the source before the next scheduled beacon cycle.
- The beacon continues pulsing erratically, causing two Holds to close their routes and leaving nearby caravans stranded until a later expedition can reach the chamber.
- The party fails to restrain Tovan or secure the recovered crystal during the confrontation.
- Tovan escapes with a small quantity of star-glass. He gains leverage with a distant buyer and may return with better-equipped salvagers.
- The party destroys the crystal pillar without preserving or repairing the beacon lens.
- The party can still end the immediate danger, but the beacon network remains unreliable and the Holds disagree over who should control its repair.
Complications (d6)
- 1A sudden crosswind tears a section of the party's route marker line loose. The group must secure it or lose the marked path through the next stretch of fog.
- 2A supply sled breaks through a snow crust into a shallow crevasse. Rescuing it costs time, and the loud cracking ice draws nearby predators.
- 3A beacon flashes three times in a pattern used by the southern Hold to signal an avalanche. The signal is false, but a caravan begins evacuating its camp.
- 4A local guide recognizes Tovan's trail marks and insists the party hand him over to face a blood-debt hearing before anyone proceeds.
- 5Blue sparks crawl across metal equipment near the old mine. One carried tool becomes dangerously hot until it is dropped or insulated.
- 6A snow bridge collapses behind the party, cutting off the quickest retreat and forcing them to find another route before nightfall.
Media
0 imagesNo images yet.
Turn The Voice Beneath the Beacon into a sheet
A high-res, share-ready sheet you can post or print.