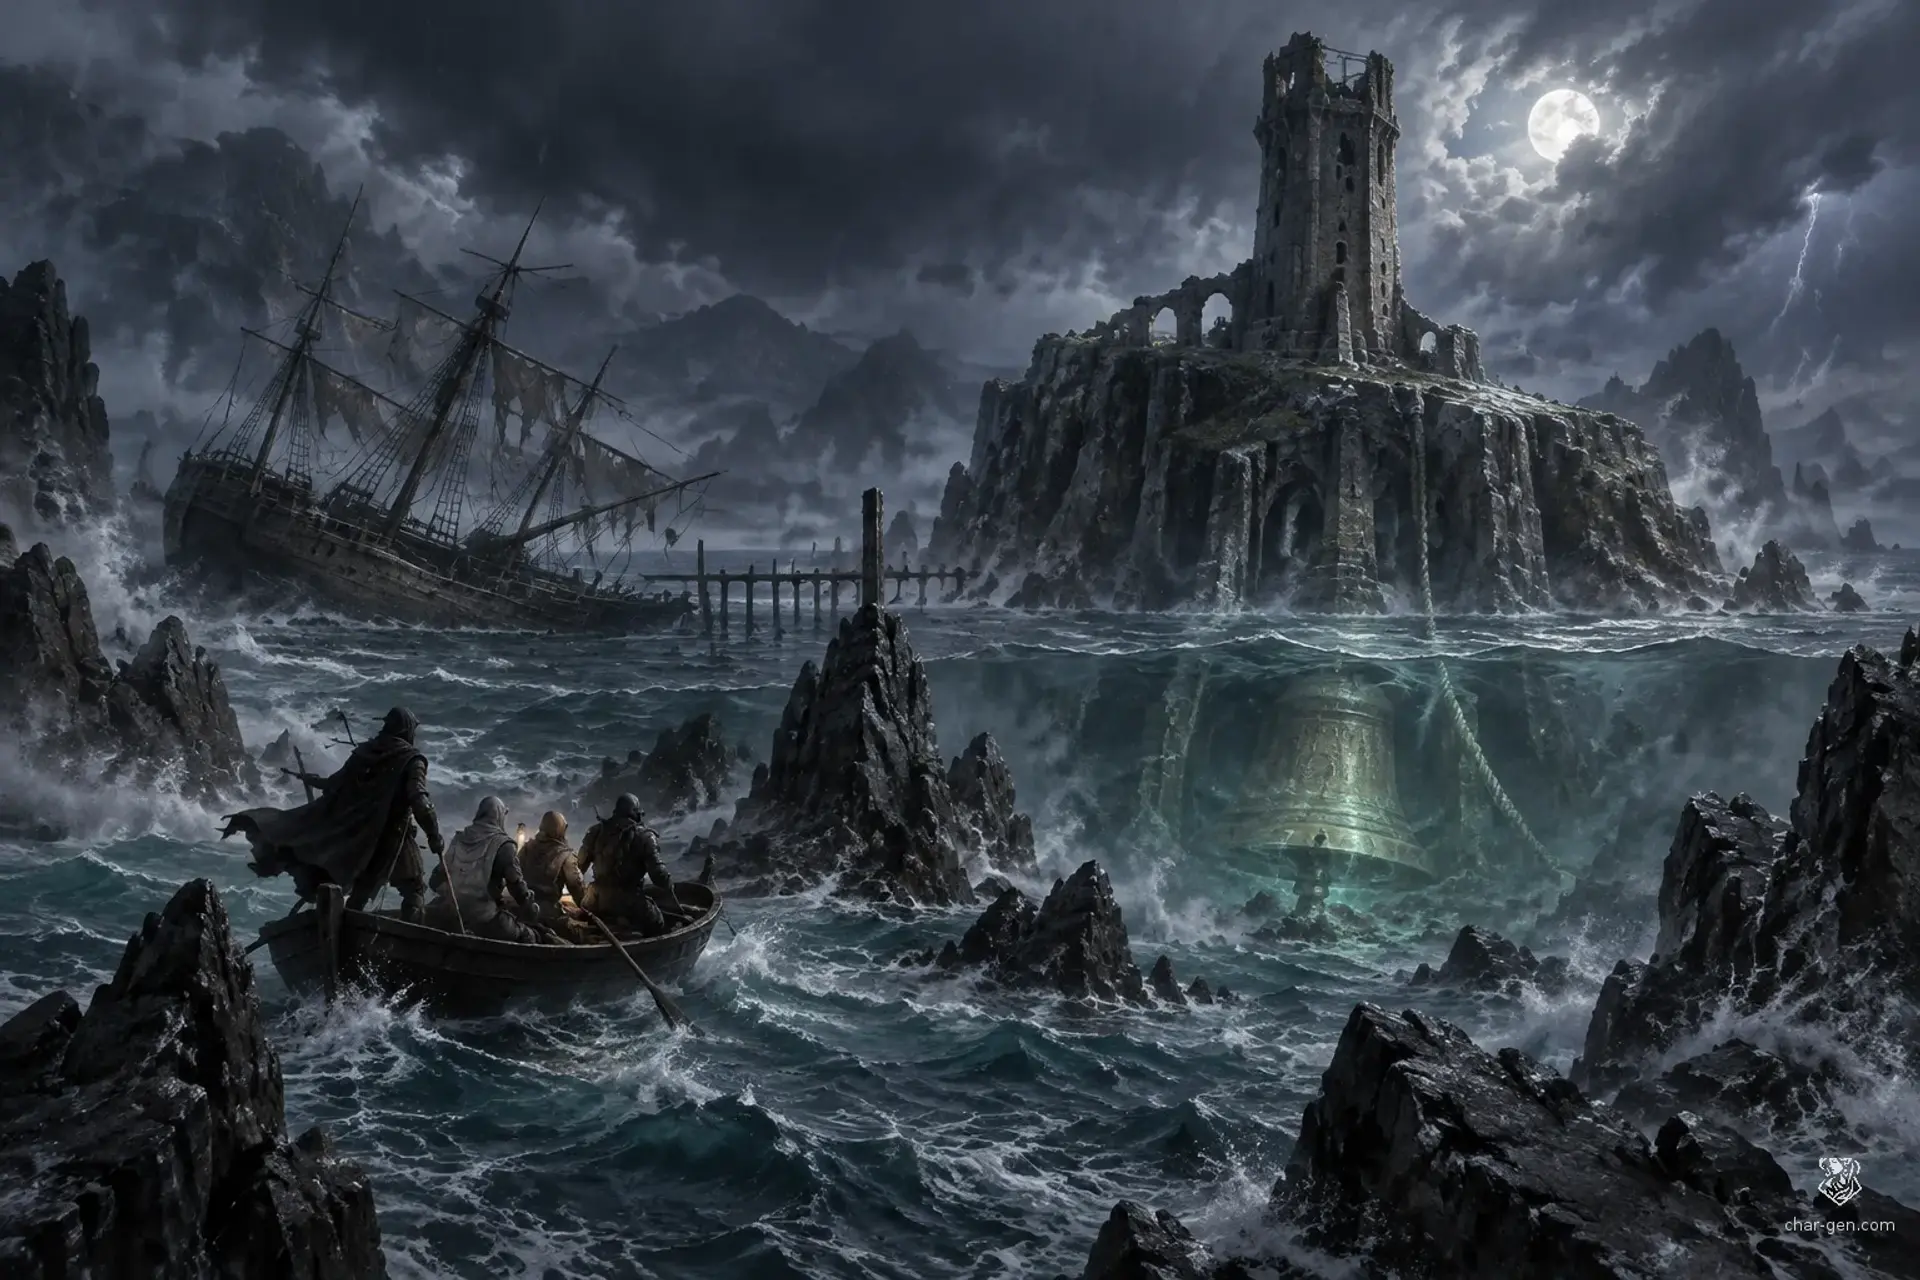
The Bell Beneath the Greywash
The Bell Beneath the Greywash
Read aloud
The Starling has drifted into port with its sails torn, its hold full of seawater, and no crew aboard. Captain Mara Venn offers a reward for anyone who can find her people before the next storm reaches the Greywash. As she speaks, a wet rope slides across the deck by itself, pointing toward the island of Bellwether.
Run the session
Cheat sheet
Objectives
- 1Determine why the Starling returned empty and identify the crew's last known destination.
- 2Find a safe route across the reef and into the island's abandoned signal tower.
- 3Rescue the Starling's crew and resolve the danger tied to the bell.
- 4Learn what protected Bellwether and what the protection may have cost.Optional
The clock
The next storm reaches the Greywash after the party's first night on Bellwether. Increase pressure with worsening weather and rising water, but allow player choices to delay or redirect the danger.
Scenes
- 0:00The Ship That Came Back Empty
- 0:50The Reef That Moves
- 1:35A Keeper's Account
- 2:35Below the Waterline
- 3:30The Bell Beneath the Greywash
Cast
- Captain Mara VennQuestgiver
- Sella RookAlly
- Tomas ValeWitness
- Warden Edrin PellAntagonist
The hook
Set the scene
Read the hook aloud as the party boards the Starling. Captain Venn is waiting beside the flooded hatch with a map of the Greywash and a list of the missing crew. Tomas sits apart from the others, soaked though he has been ashore for hours. The ship creaks once, and from somewhere below deck comes the faint sound of a bell.
How Captain Mara Venn asks
Captain Mara Venn approaches the party at the dock, offers an upfront travel stipend, and asks them to inspect the Starling before its evidence is lost to the tide.
Rumours
Scenes
about 4.5 hours0:00
50 min
explorationThe table is here
1. The Ship That Came Back Empty
The Starling, anchored in a quiet harbor, with a listing deck and flooded lower hold.
The party boards the Starling, examines the flooded hold, and questions Tomas. Clues include seawater flowing uphill along a bulkhead, a torn crew manifest, and a bell-shaped impression in the mud. The group can recover evidence without combat if they work carefully.
NextThe evidence points toward Bellwether; Captain Venn arranges a small boat, while Tomas offers a partial memory of hearing a bell.
0:50
45 min
skill
2. The Reef That Moves
A narrow channel between jagged reefs, beneath a fast-moving bank of fog.
Crossing the reef requires the party to interpret local tides, question Sella, or take a risky route. A successful approach reveals a sheltered landing and signs that someone recently climbed toward the tower.
NextSella leads the group inland or gives them the bearings to reach the tower before the next tide.
1:35
60 min
social
3. A Keeper's Account
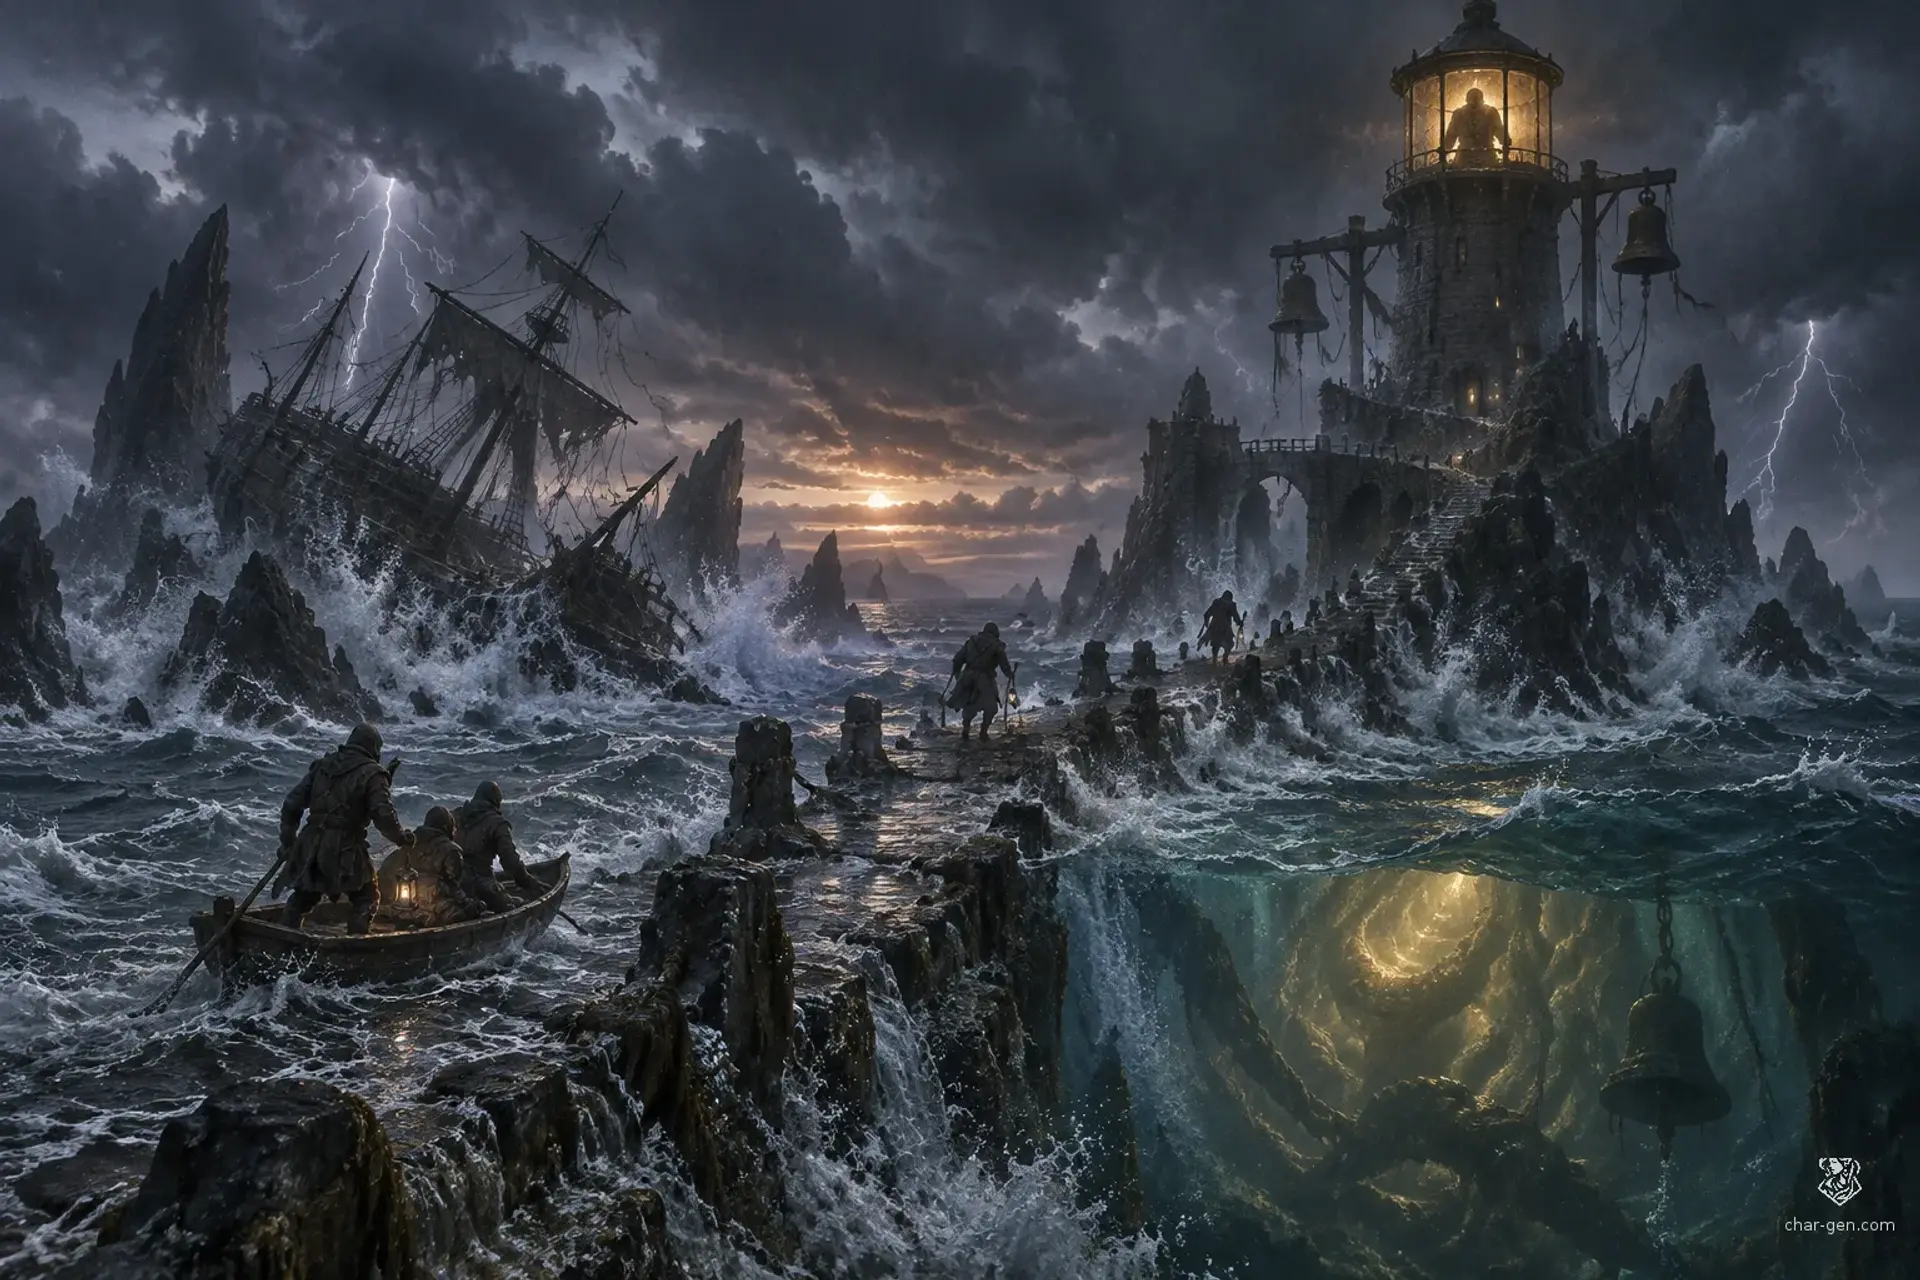
Bellwether's tower, with wind-whipped upper floors, a locked chart room, and stairs descending below sea level.
The party searches the abandoned signal tower and questions Edrin Pell. The records, old ropes, and fresh footprints support more than one explanation; Pell attempts to keep them away from the flooded base.
NextA clue or confrontation reveals the hidden lower chamber, and the tide begins to rise.
2:35
55 min
exploration
4. Below the Waterline
A submerged stone passage beneath the tower, with a trapped chamber, loose masonry, and a narrow air pocket.
The party descends into the flooded foundation, avoids or confronts the reef scavengers, and locates the sealed air pocket where the crew is trapped. Evidence in the chamber can confirm what happened without requiring anyone to trust Pell.
NextThe rescued crew identify the bell as the sound that lured them, and the party must choose how to handle its mechanism.
3:30
70 min
combat
5. The Bell Beneath the Greywash
The flooded foundation of the signal tower, where the bell's rope runs through cracked stone above a rising pool.
The party confronts Pell, negotiates with him, or attempts to alter the bell while its chamber floods. Their choice determines whether Bellwether keeps its protection, loses it, or begins a different arrangement.
NextAfter the bell's fate is decided, the party returns to the harbor with the crew or with proof of what became of them.
Behind it
What people believe
The merchant ship Starling drifted back into port without its crew.
Captain Mara Venn needs help finding them before a storm closes in. The ship's last known course points toward Bellwether, a reef-ringed island with a long-abandoned signal tower and a reputation for strange sounds at sea.
Background
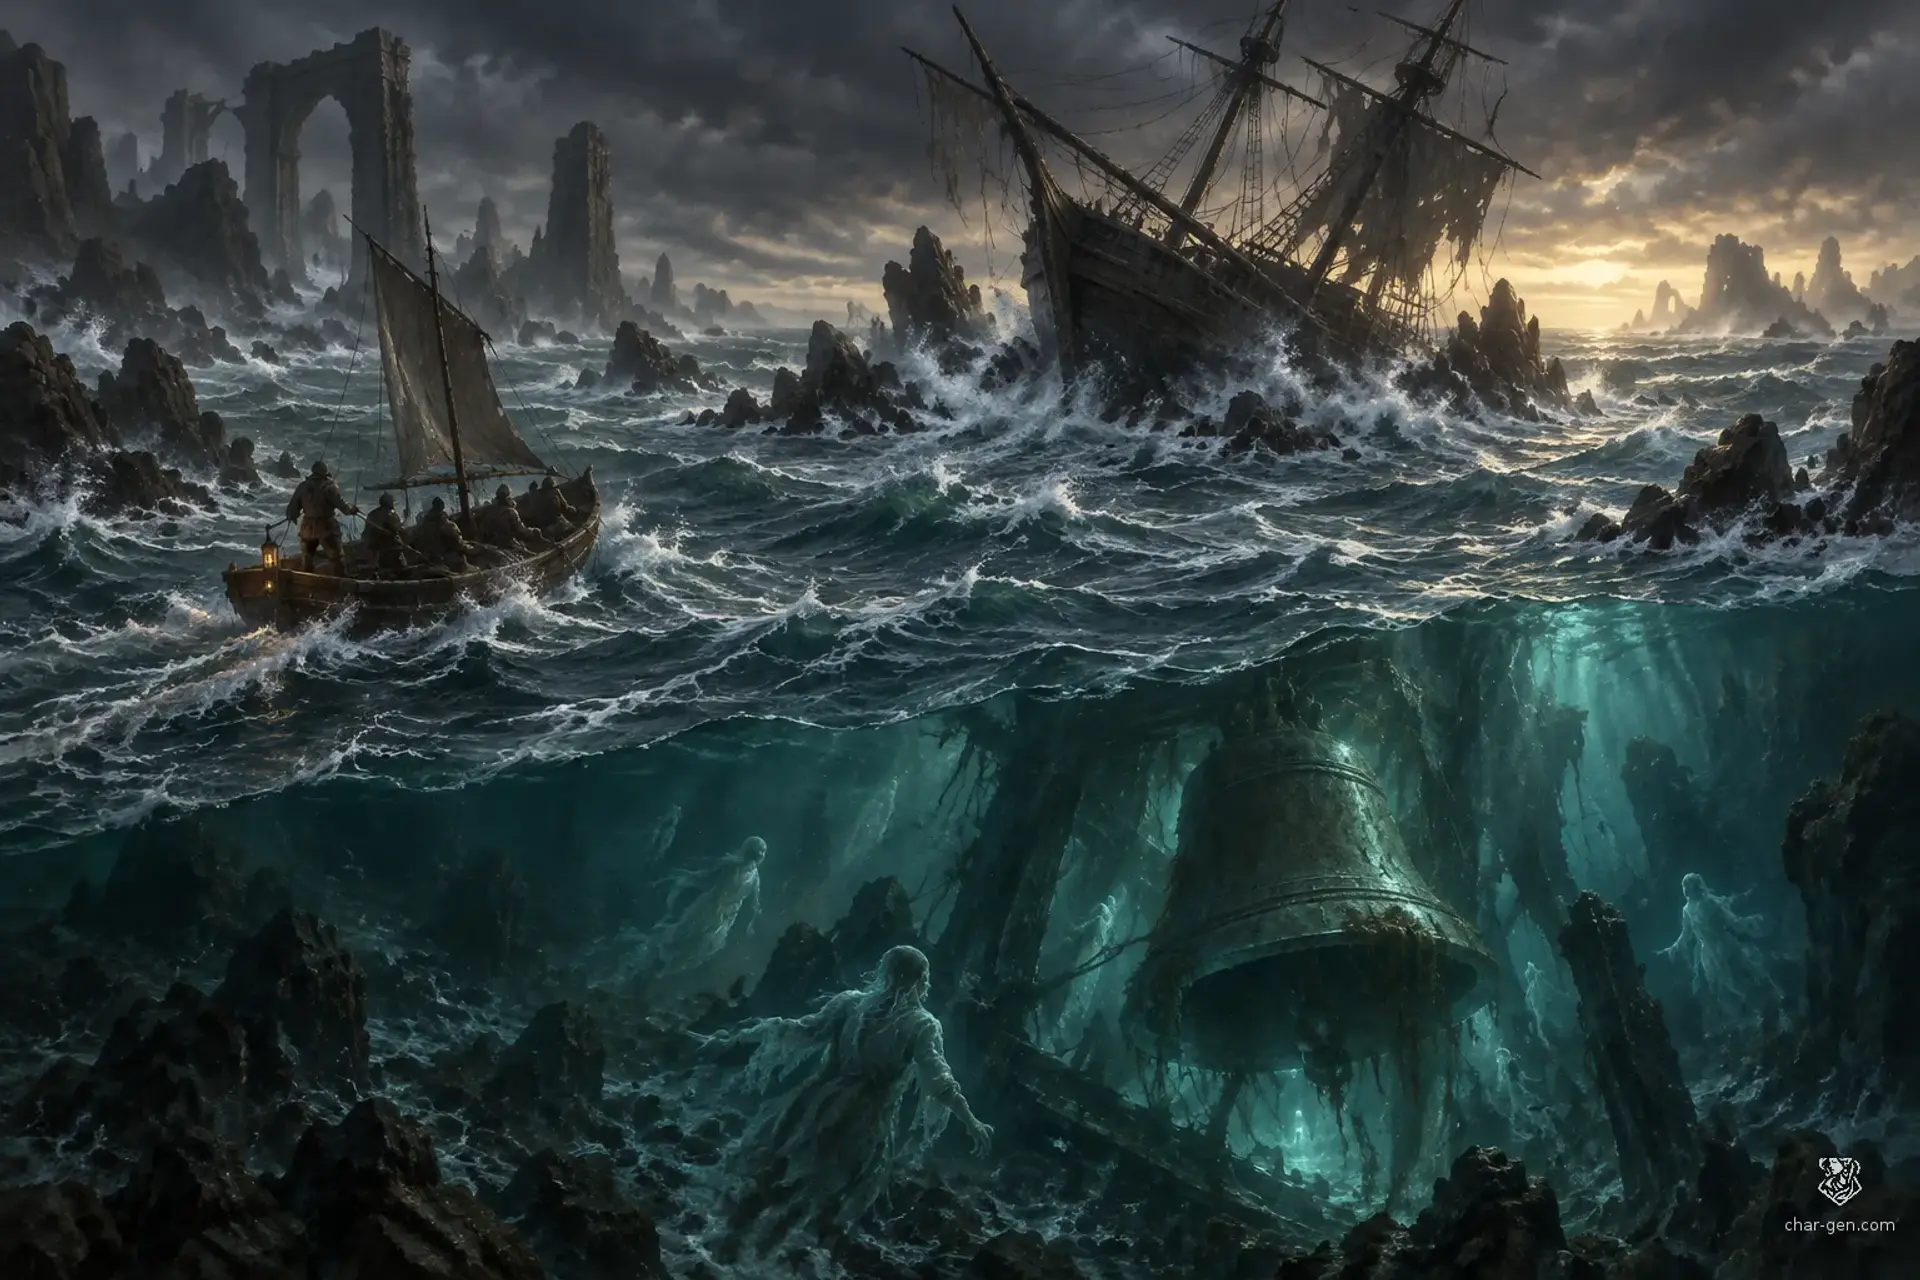
The merchant vessel Starling was found drifting in the Greywash, its crew missing and its cargo hold flooded with seawater despite no breach below the waterline.
The nearby island of Bellwether has no reliable harbor, but its old signal tower is visible from the surrounding reefs. Local sailors say the tower's bell rings before storms, though it has been silent for decades.
The stakes
The Starling's crew may drown or become permanently lost beneath the tower.
Bellwether's fishing fleet may also lose the protection it has unknowingly relied on, while preserving that protection may require the party to tolerate a dangerous bargain.
Encounters
2The Starling's Lower Deck
Combat or bypass
A listing merchant ship with narrow corridors, ankle-deep water that rises during the encounter, hanging ropes, and loose cargo that can be used for cover or knocked over.
Foes
Reef scavengers, using suitable low-level beast or monstrosity statistics
Optional: one brine-touched deckhand, using a suitable low-level humanoid or undead stat block
ComplicationA rising tide gradually floods the lower deck. At the end of each round, a new section becomes difficult terrain; after three rounds, unsecured evidence there is washed away.
ScalingFor a party near level 2, use two reef scavengers and omit the deckhand. For a party near level 7, use four scavengers and add the deckhand. Adjust hit points and damage to the party's actual strength. These are encounter suggestions, not official creature names or stat blocks.
The Bell Chamber
Combat, negotiation, or sabotage
A circular chamber in the tower's flooded base, with waist-deep water, a cracked bell rope, slick steps, and a narrow raised ledge leading to the mechanism.
Foes
Edrin Pell, using a suitable humanoid statistic block
Bellwether's drowned echoes, represented by suitable low-level undead statistics
ComplicationThe tower bell swings over a flooded stone stair. On initiative count 20, the swing dislodges a stone or shifts the water; creatures on the stairs must keep footing or slide one step toward the flooded chamber.
ScalingFor a party near level 2, Pell attempts to flee or bargain and there are no drowned echoes. For a party near level 7, include up to three echoes and give Pell a defensive ally or terrain advantage. Use existing statistics appropriate to the party and campaign; the names and bell effects here are custom, not official D&D 5E features.
Cast
4Captain Mara Venn
QuestgiverQuestgiver
WantsFind her missing crew and learn why the Starling returned without them.
“Bring my people home. If the ship is lost, tell me what happened, not what is easiest to believe.”
Sella Rook
Ally, island boatwright
WantsProtect Bellwether's residents while hiding her own role in the island's old signal-tower rites.
“The sea does not keep a secret. It only waits until someone asks the right question.”
Tomas Vale
Witness, Starling deckhand
WantsConvince the party that the missing crew were lured away, while concealing that he abandoned his post during the crisis.
“I heard the bell from inside the hold. It sounded like my mother calling me by my childhood name.”
Warden Edrin Pell
Antagonist, keeper of the signal tower
WantsKeep the tower's presence secret and preserve the bargain that has protected Bellwether's fishing fleet.
“The bell only asks for what the sea is owed. You can still choose who pays.”
How it ends
Rewards
Items
A waterproof chart of the Greywash with the Starling's route marked
A brass signal lantern from the tower, a custom keepsake with no assumed magical properties
On a win
The party finds the missing Starling crew and brings them back alive or secures a clear account of their fate.
They also make a deliberate choice about the bell: silence it, negotiate with Pell and the islanders, or attempt a new arrangement. Captain Venn rewards them, while Bellwether's people respond according to the protection they retain and the cost they accept.
What it leaves open
If it fails
- The party fails to identify the bell as the lure. They can still follow Tomas's account or Sella's local knowledge, but begin the island investigation without corroborating clues.
- If the party leaves the Starling without investigating, the tide carries away key evidence and the crew's trail becomes harder to follow.
- The missing crew remain undiscovered for now, and Captain Venn's trust is damaged. The party can continue the search, but the rescue becomes more urgent.
- If the party cannot reach the island before nightfall, a second signal draws one more person from Bellwether toward the sea.
- The surviving crew can be rescued from the lower chamber, but the tower's records and any evidence tied to the bargain are lost.
- If the party destroys the bell without first stabilizing the tower, the flooded foundation partially collapses.
- The adventure reaches a temporary peace, but the unresolved bargain creates a future crisis and Captain Venn may oppose the party.
- If the party accepts Pell's bargain without examining its cost, Bellwether's boats are spared immediate danger but another person must be offered to the sea at the next storm.
Complications (d6)
- 1A sudden cross-swell throws the party against the rail. Each character on deck must secure themselves or lose one carried, unsecured item overboard.
- 2A fog bank cuts visibility to a few yards. The next navigation or ranged attack check made aboard the vessel is at disadvantage unless someone climbs to a clear vantage point.
- 3A waterlogged Starling logbook page snags on the hull. It contains a partial crew list, but the ink runs unless it is dried or copied promptly.
- 4A reef breaks the surface ahead. The pilot must make a suitable check or the boat takes damage and everyone aboard must brace against the impact.
- 5A bell rings beneath the waves. One character hears a familiar voice from below and must choose whether to investigate, alert the others, or ignore it.
- 6A drifting supply barrel is caught in the current. It holds useful provisions, but approaching it brings the boat within reach of the reef's lurking scavengers.
Media
0 imagesNo images yet.
Turn The Bell Beneath the Greywash into a sheet
A high-res, share-ready sheet you can post or print.