Session 3: Siege of Ravenbrook Keep
Session 3: Siege of Ravenbrook Keep
Read aloud
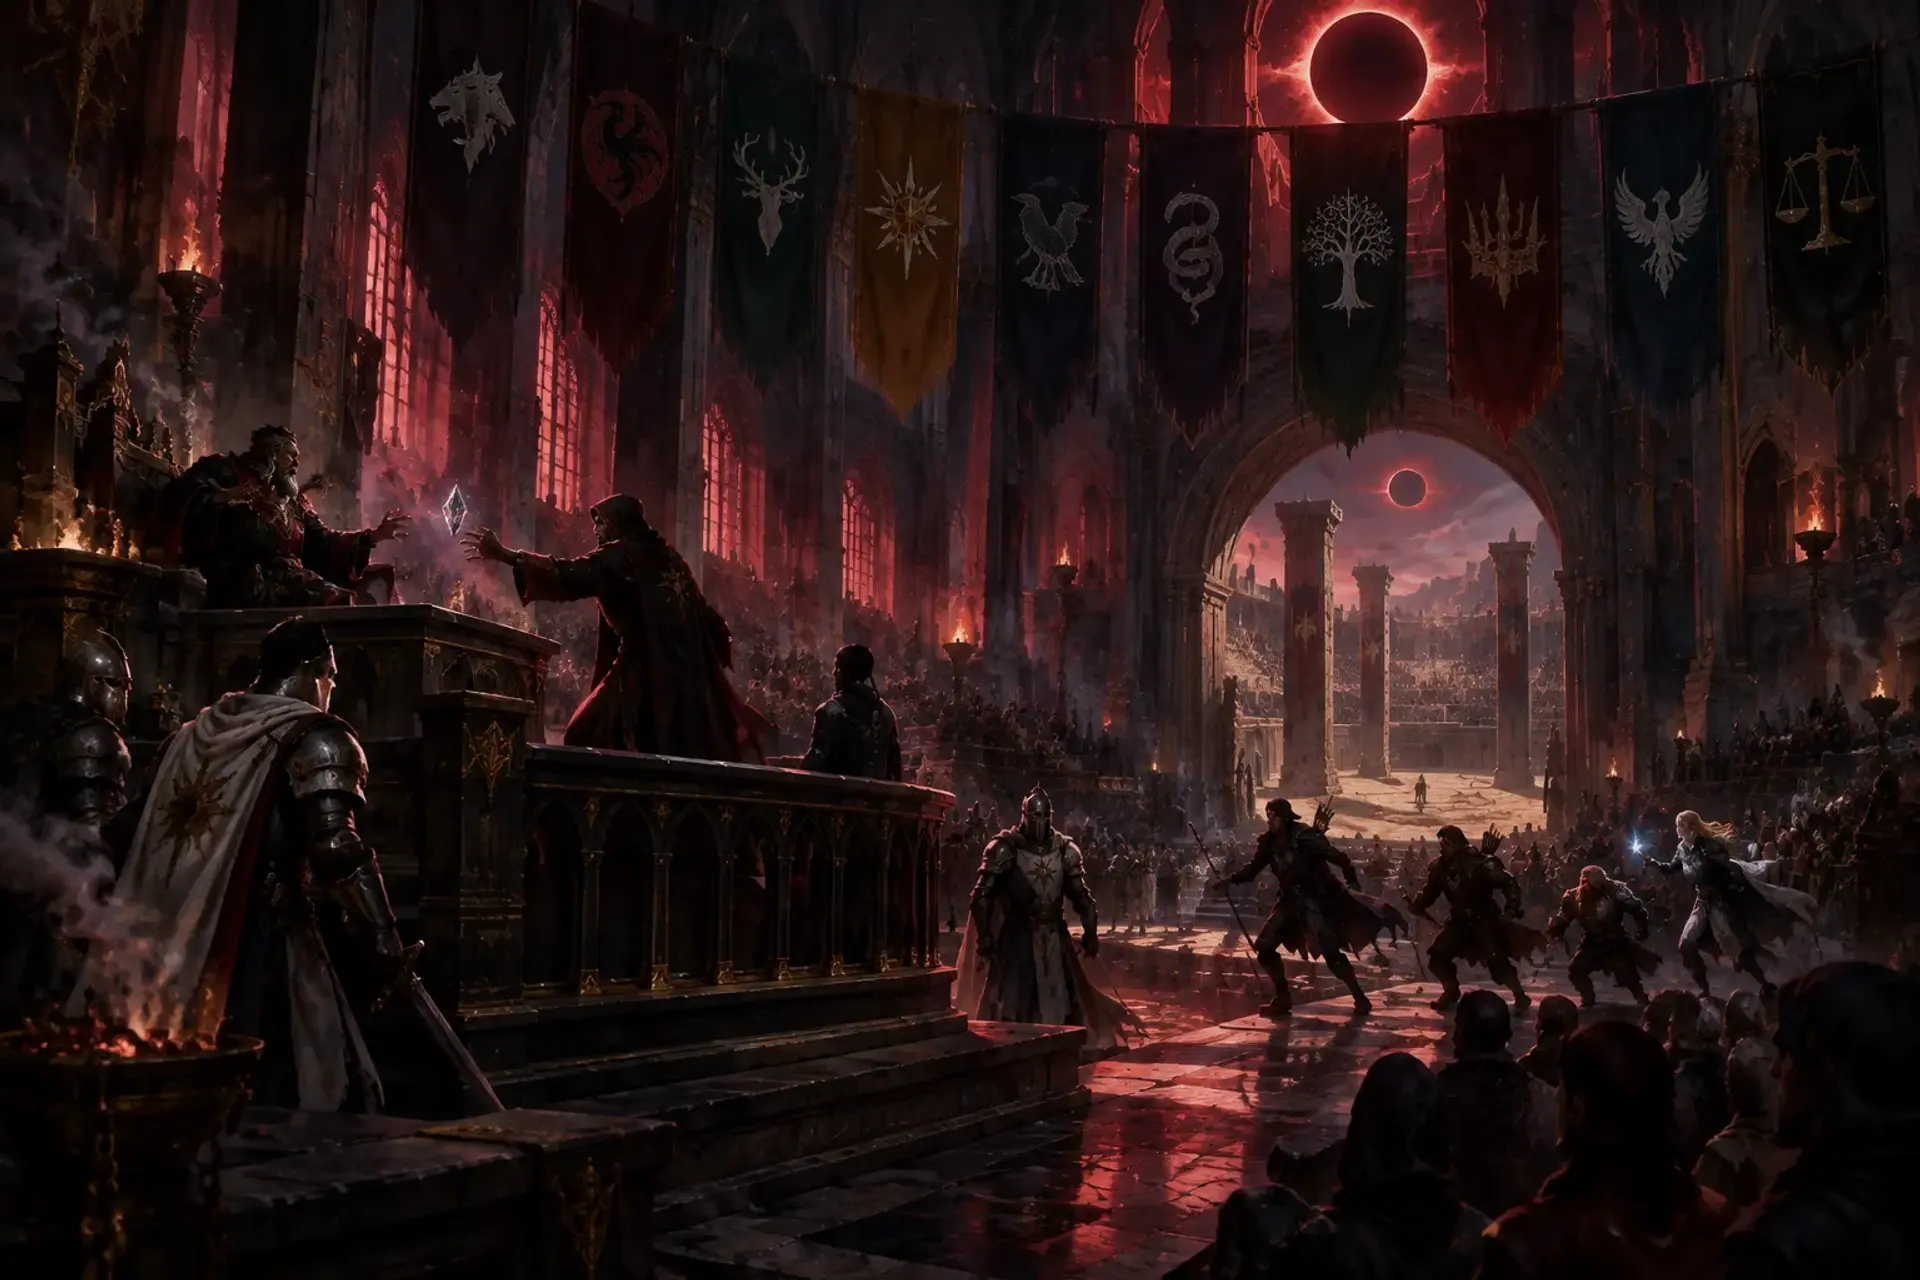
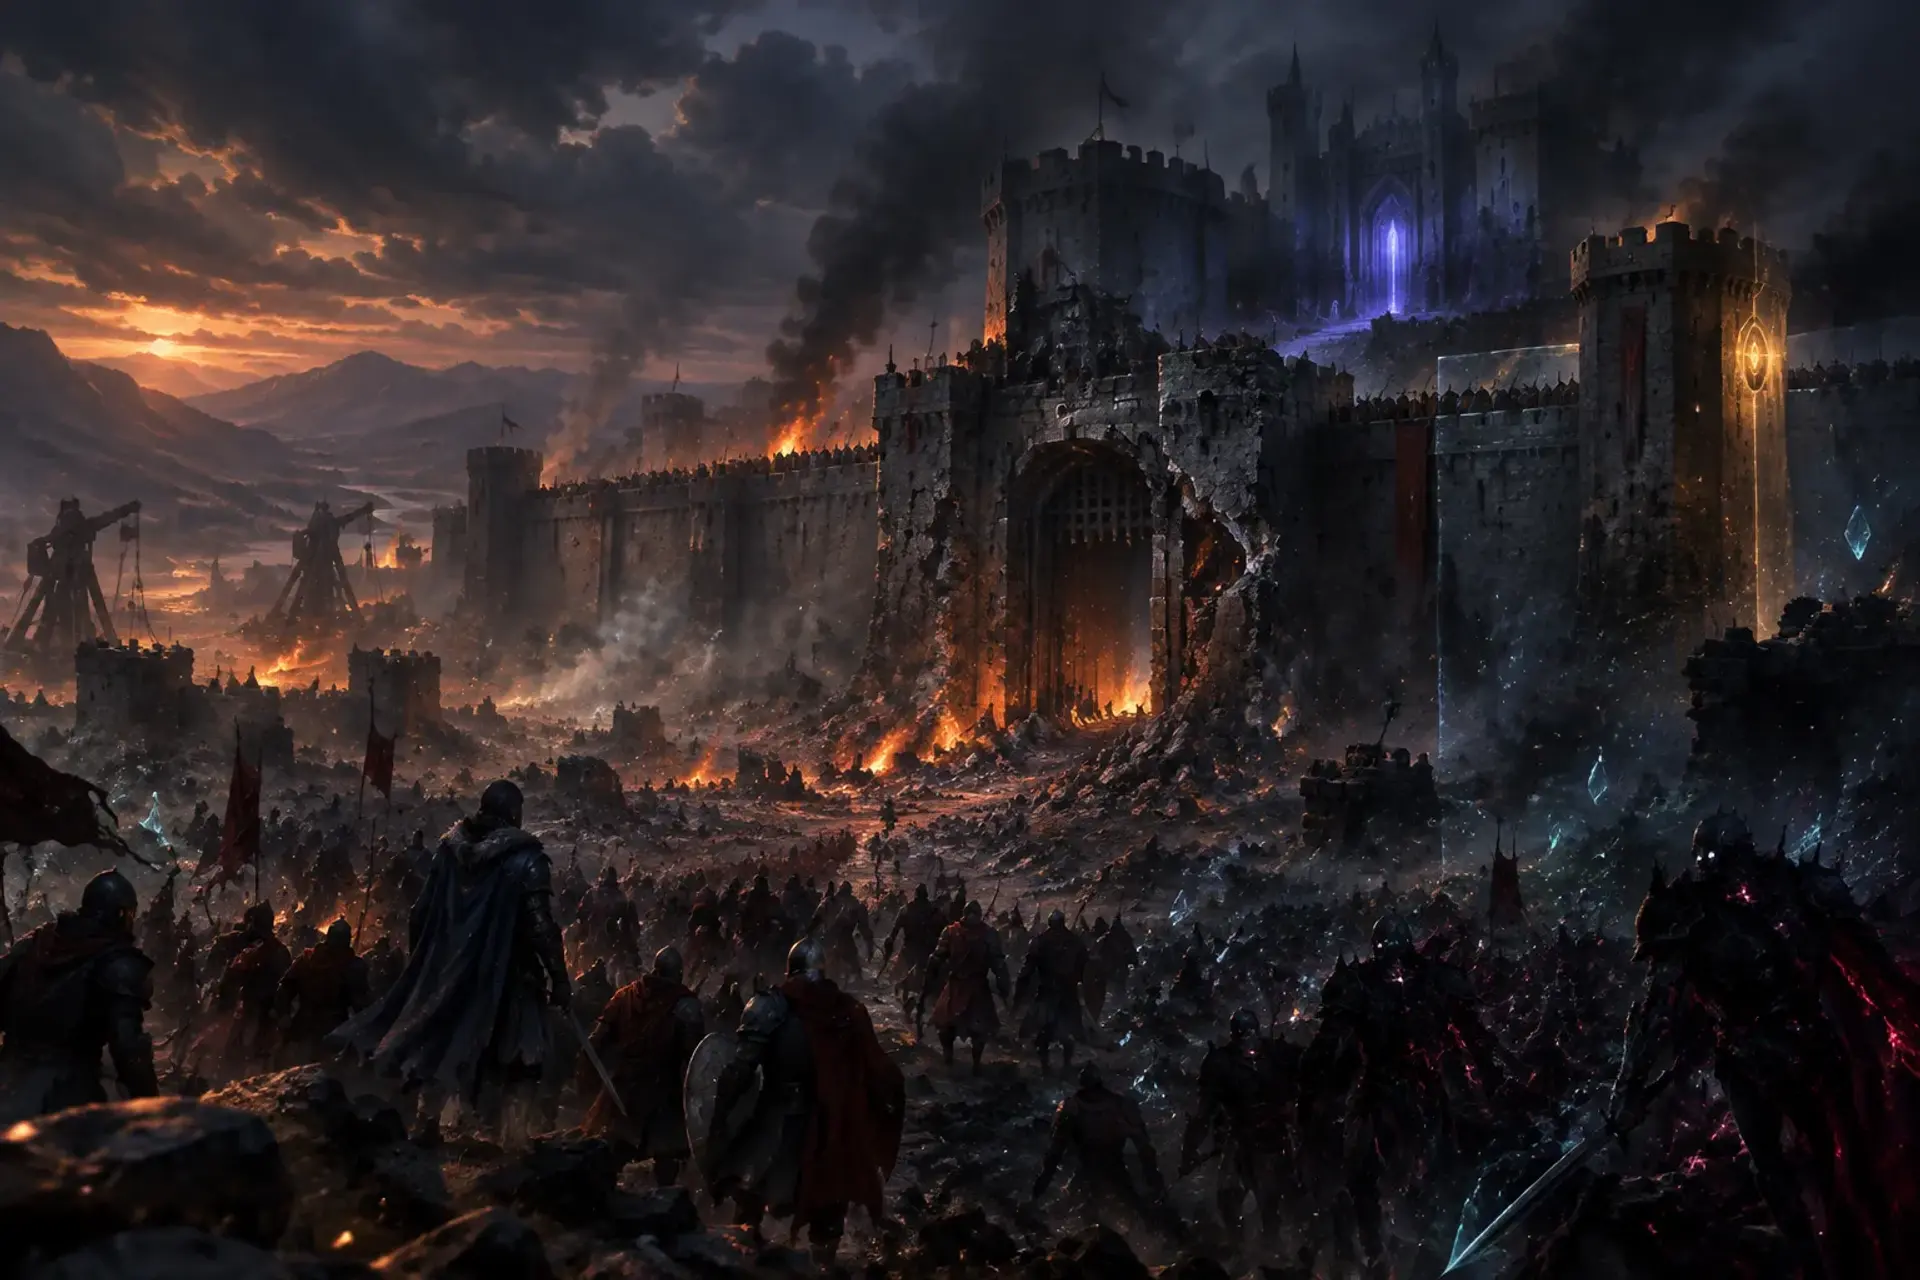
Smoke rises over Ravenbrook's walls before you are close enough to see the breach. Corwin's banner still flies above a gatehouse ringing with steel. A breathless scout runs from the road and shouts, 'The garrison is overrun, and someone wearing our colors is leading them!'
Run the session
Cheat sheet
Objectives
- 1Organize Ravenbrook's defense before the outer line collapses.
- 2Stop the assault from spilling through the wall breach.
- 3Recover the shard before the attackers can take it.
- 4Choose where Cindreth's emergency wards will turn the tide.Optional
The clock
Run the siege in escalating phases rather than a single uninterrupted battle. After each major scene, advance the assault: attackers gain ground, defenders lose supplies, or the breach worsens unless the party's actions have contained that pressure. If the party spends too long on optional investigations, show the cost through a specific change in the battlefield.
Scenes
- 0:00Smoke on the Road
- 1:00The Gatehouse Press
- 3:00The Broken Wall
- 5:30Signals in the Inner Keep
- 7:00The Vault and the Third Shard
Cast
- Duke Corwinquestgiver
- Arren Grayfootwitness
- Cindreth Valeoreanally
- The Ash-Cloaked Commanderantagonist
The hook
Set the scene
On the road out of Crescent Woods, Arren Grayfoot staggers into the party's path, one hand pressed to a bleeding shoulder. Smoke stains the western sky. He reports that mercenary bands and corrupted knights have overrun Ravenbrook's garrison, and that the attackers are pushing toward the commander's vault. A courier has brought Cindreth's emergency ward-case, its etched metal warm through the wrapping. Arren's last words before the keep comes into view are that a knight in Ravenbrook colors was giving orders to the enemy.
How Duke Corwin asks
Arren intercepts the party on the road out of Crescent Woods with an urgent report.
At Ravenbrook, Duke Corwin grants emergency authority and asks the party to keep the attackers from reaching the vault.
Rumours
Scenes
about 9.5 hours0:00
60 min
socialThe table is here
1. Smoke on the Road
The road from Crescent Woods to Ravenbrook Keep, then the battered outer approach beneath its walls.
Arren gives the party the urgent report and hands over the ward-case. As they approach, smoke crawls across the sky and the keep's bells clash with the deeper thud of siege engines. The party sees Corwin's banner above the threatened gatehouse and receives emergency authority to direct the defense.
NextAs the party chooses a first order, a horn cries from the gatehouse and draws them toward the threatened entrance.
1:00
120 min
combat
2. The Gatehouse Press
K1, the gatehouse, where smoke veils the parapet and the gate's iron braces shudder under repeated blows.
The garrison is wavering as Orc Raiders press the gatehouse. The party can rally defenders with Persuasion or Intimidation, direct the gate mechanism, fight attackers, or combine those approaches. Success gives the defenders a chance to hold the line while the party decides where to commit its strength.
NextWhen the gatehouse line steadies or gives way, a horn answers from farther along the wall, and defenders point toward the breach.
3:00
150 min
combat
3. The Broken Wall
K2, the wall breach, where a section of Ravenbrook's outer wall has fallen into a slope of jagged rubble.
Corrupted Knights push through the breach over broken stone. The party must stop their advance, protect the defenders, and choose whether to spend time saving people, damaging siege equipment, or pursuing the attackers' command signals. Rubble is difficult terrain, and the ash-cloaked commander's presence may be glimpsed at a distance.
NextOnce the breach is contained or the defenders fall back, a runner reports movement inside the keep and points toward the commander's vault.
5:30
90 min
exploration
4. Signals in the Inner Keep
The keep's inner passages, where torch smoke clings to damp stone and distant fighting shakes grit from the ceiling.
The party moves through the inner keep, where defenders search among stores and damaged corridors for saboteurs. They can question witnesses, inspect the enemy's signals, and determine whether the vault ward-case should be used here if it has not already been spent. The traitorous knight remains an accusation without a proven identity.
NextA metallic pulse rises from below, and the party follows it down toward the vault door.
7:00
150 min
combat
5. The Vault and the Third Shard
K3, the commander's vault, where a warded iron door opens onto a chamber of cold stone, old metal, and a restless shard.
At the vault, the party faces saboteurs and the ash-cloaked commander while attempting the Arcana bypass. If the check fails, the alarm sounds and the attackers gain time to press the encounter. The party secures Threxis's Shard, learns nothing definitive about the traitor, then feels the shard's forceful pulse turn toward the west.
NextAs the shard's pulse points west, Corwin's voice carries up from the yard, calling the defenders to witness the party's recognition.
Behind it
What people believe
Ravenbrook Keep is under siege.
Mercenaries and corrupted knights are attacking the walls, and a third shard is held in the commander's vault. Duke Corwin gives the party authority to direct the defense, while a courier brings emergency wards from Cindreth. Reports of a knight in Ravenbrook colors among the attackers raise questions the defenders cannot answer during the battle.
Background
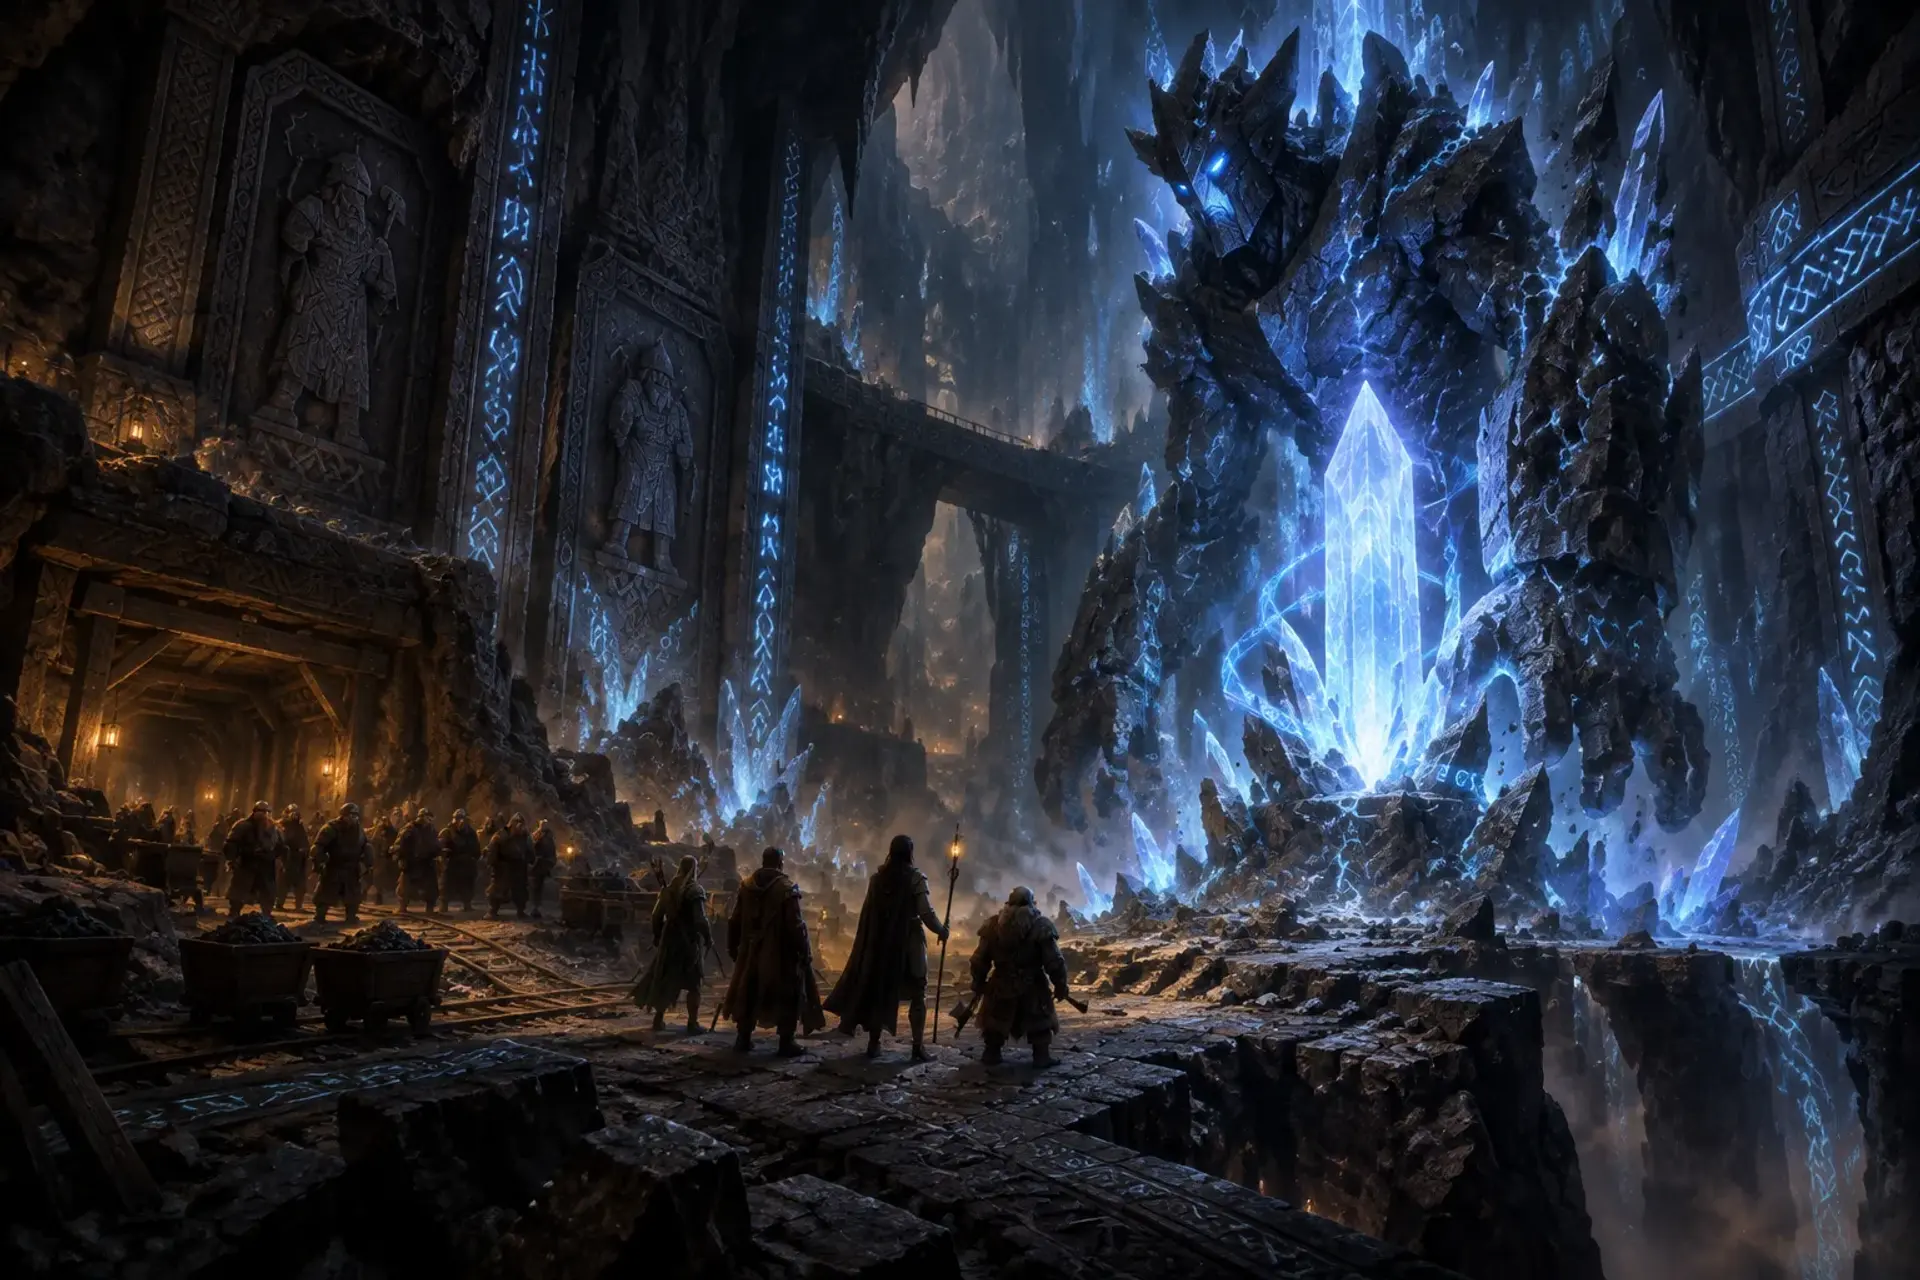
Ravenbrook Keep guards a store of dangerous relics and old wards.
As the garrison buckles under a coordinated assault, the attackers are driving toward the commander's vault, where the third shard is held. The siege is designed to span at least three sessions: the party must make defensive choices, hold ground under pressure, then reach and secure the vault.
The stakes
If the party loses the keep, the attackers may take the third shard and Ravenbrook's garrison will be shattered.
Even if the keep holds, the party must decide how to divide limited support between the walls and vault, while the unresolved traitor may still threaten Corwin's command.
Encounters
3K1: The Gatehouse Press
Combat
Narrow stone passages, crenellated parapets, a heavy gate mechanism, ladders, scattered shields, and partial cover behind merlons. The gatehouse is noisy with iron impacts and smoke that stings the eyes.
Foes
Orc Raiders
Mercenary Veterans
ComplicationAt the gatehouse, the defenders are close to breaking. A DC 13 Persuasion or Intimidation check rallies them; on a success, they hold their position and give the party a clear route to the gate mechanism. On a failure, the party must spend time stabilizing the line before operating it.
ScalingFor a smaller or depleted party, reduce the number of mercenaries and have the garrison absorb one raider group off-screen. For a larger or well-rested party, add a second wave of orc raiders after the gate mechanism is secured. Keep the battle's objective, holding or closing the gate, more important than defeating every attacker.
K2: The Broken Wall
Combat
A jagged breach opens onto a slope of broken stone. Rubble is difficult terrain, a toppled hoarding offers half cover, and a narrow stair leads to the inner wall walk. Dust grits between the teeth and loose stones skitter underfoot.
Foes
Corrupted Knights
Mercenary Veterans
ComplicationRubble in the breach is difficult terrain. Each round, attackers try to widen the gap or force defenders back. The party can spend actions to brace a damaged barricade, pull defenders to safety, or disrupt the enemy's advance. Apply the d6 complications table when the defense needs a sudden pressure point.
ScalingBegin with a manageable group of corrupted knights and reinforce them only if the party is holding easily. For a weakened party, let the garrison contain one knight while the characters face the remaining threat. Corrupted knights are custom foes for this adventure; use an appropriate knight-style stat block and add a visible shard-corruption effect without assuming an official monster trait.
K3: The Commander's Vault
Combat
A compact stone vault chamber with a warded iron door, narrow shelves, a central plinth, and a stair back toward the keep. The air smells of cold metal and burnt incense. The shard's pulse trembles through the floor.
Foes
Shard-Touched Saboteurs
The Ash-Cloaked Commander
ComplicationThe vault's ward recognizes the shard's presence but resists the attackers' interference. A DC 14 Arcana check bypasses it without triggering an alarm. On a failure, the ward alerts the inner keep and gives the remaining attackers time to reach the vault; the party can still open it by another suitable method or by dealing with the ward's defenses.
ScalingUse the commander as a dangerous but defeatable opponent, supported by a small number of saboteurs. If the party spent the emergency ward here, it protects the vault door for the duration of this encounter and can prevent one attempted breach. If the party spent it at the wall, the vault has no such protection. The commander can retreat if the fight turns against them, preserving the unresolved traitor thread.
Cast
4Duke Corwin
Questgiverquestgiver
WantsDuke Corwin wants the keep and its people defended, and gives the party emergency authority to direct the garrison. He is concerned about the vault, but will not abandon the walls to protect it.
“The gate will fall before the next horn. Tell me where to put the people who can still hold a shield.”
Arren Grayfoot
witness
WantsArren wants to get the party to the keep quickly and make sure they take the report of the traitorous knight seriously. He is exhausted, but knows the roads and the attackers' approach.
“I saw our colors at the breach, and heard our own hand-signals answered from the enemy line.”
Cindreth Valeorean
ally
WantsCindreth Valeorean cannot reach Ravenbrook in time. He has sent emergency wards by courier and wants the party to use them where they will save the most lives.
“The stones are remembering how to close. Give me one wall, and I can make the breach costly.”
The Ash-Cloaked Commander
antagonist
WantsThe attacker's field commander wants the garrison distracted at the walls while a small force reaches the vault. The commander uses Ravenbrook signals and colors, but their identity and history are deliberately left unresolved.
“Your banner has a fine view from here. I wonder how long it will keep flying.”
How it ends
Rewards
Items
Threxis's Shard, the Endless Blade's shard of War and Conflict. Once per long rest, as a bonus action, its bearer gains advantage on their next attack roll and deals an extra 1d4 damage if that attack hits. On a failed save when the shard's influence presses on them, the bearer must choose the most aggressive available option for their next turn or decision.
Cindreth's emergency ward-case, consumed when used to reinforce one wall section or ward the vault door for the duration of its encounter.
On a win
The party recovers Threxis's Shard and prevents the attackers from taking the commander's vault.
The keep may be battered, the garrison bloodied, and the traitor's identity unknown, but Corwin's banner remains over Ravenbrook. Corwin recognizes the party as defenders of Jorthiel and pledges military support. The shard's westward pulse points the heroes toward the wider danger, while its influence makes aggression feel like the simplest answer.
What it leaves open
If it fails
- The party fails to rally or organize the gatehouse defense.
- The garrison loses the gatehouse or a section of wall, forcing Duke Corwin to withdraw defenders into the inner keep. The party can still protect the vault, but the keep suffers greater damage and civilian losses.
- The party fails to contain the breach or leaves the wall fight unresolved for too long.
- Attackers enter the inner keep before the party can intercept them. They damage stores, take prisoners, or force the party to split its strength between rescue and pursuit.
- The party fails the Arcana bypass and does not find another way to manage the ward.
- The vault ward sounds an alarm and destabilizes. The party can still recover the shard, but must face a more difficult approach and accept damage to the keep's warding system.
- The party defeats the immediate assault but allows the field commander or key saboteurs to escape.
- The shard is recovered but a surviving enemy escapes with the attackers' account of Ravenbrook's defenses. Duke Corwin still recognizes the party, though he cannot pledge the same strength of military support.
Complications (d6)
- 1A siege engine's chain snaps, sending its counterweight through a crowded platform. Characters nearby must clear the area or help two trapped defenders before the next volley.
- 2A fire catches in the gatehouse's stacked arrow stores. If left unattended through the scene, the garrison loses access to its reserve ammunition.
- 3A frightened messenger delivers a forged order to withdraw from the wall. The party can verify it by finding the commander or comparing its seal to Duke Corwin's authority.
- 4A corrupted knight pins a wounded defender beneath fallen masonry at the breach. Reaching the defender exposes the rescuer to the attackers' next advance.
- 5A signal horn sounds from inside the keep, answering the enemy's call. The party must identify the source before attackers use the signal to time a coordinated push.
- 6A ward courier is knocked from a stair and the ward-case slides toward the open battlements. Recovering it costs time, but losing it prevents the party from reinforcing a wall section or the vault door.
Media
0 imagesNo images yet.
Turn Session 3: Siege of Ravenbrook Keep into a sheet
A high-res, share-ready sheet you can post or print.