The Bell Beneath the Fog
The Bell Beneath the Fog
Read aloud
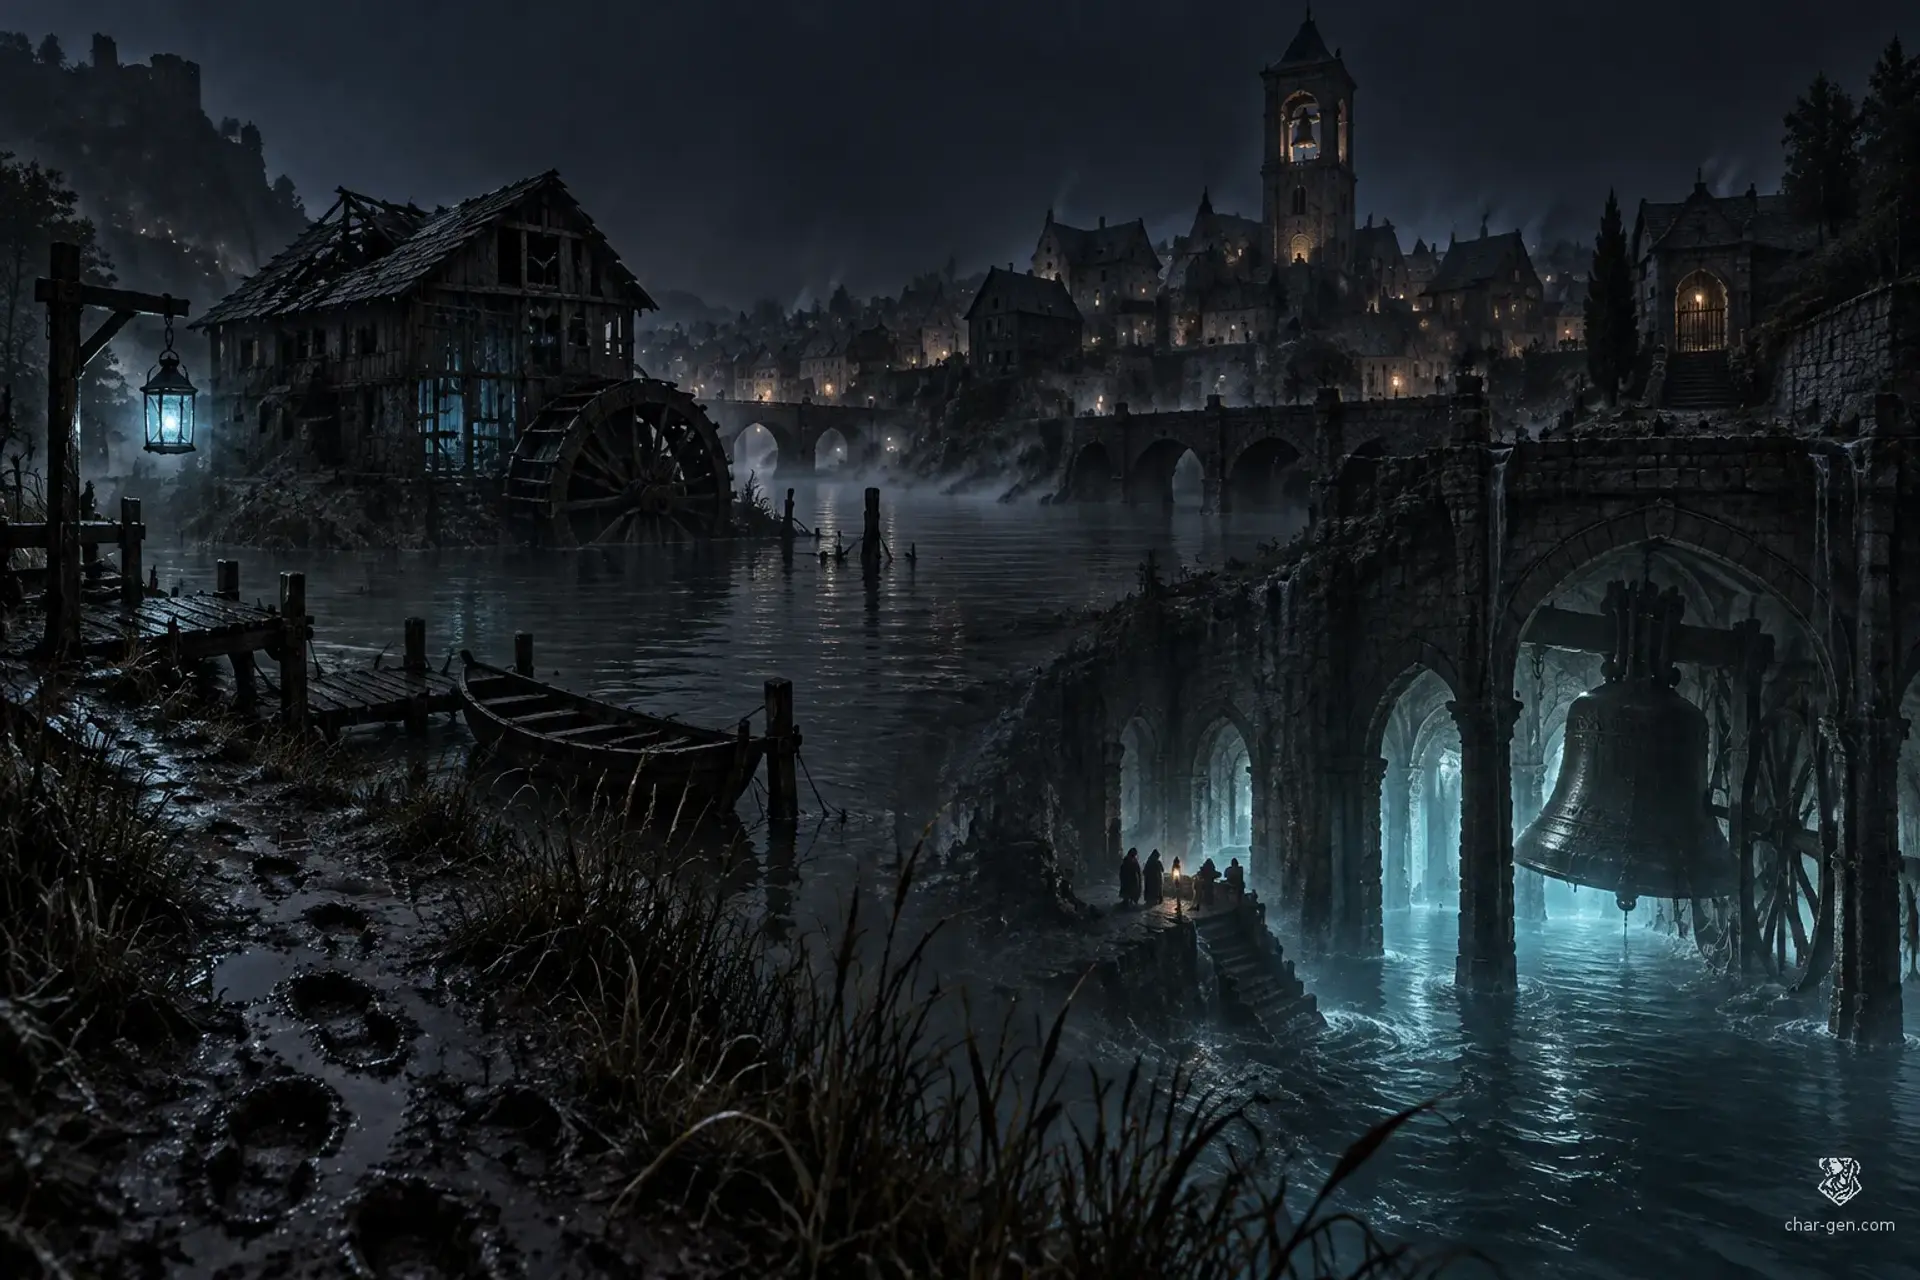
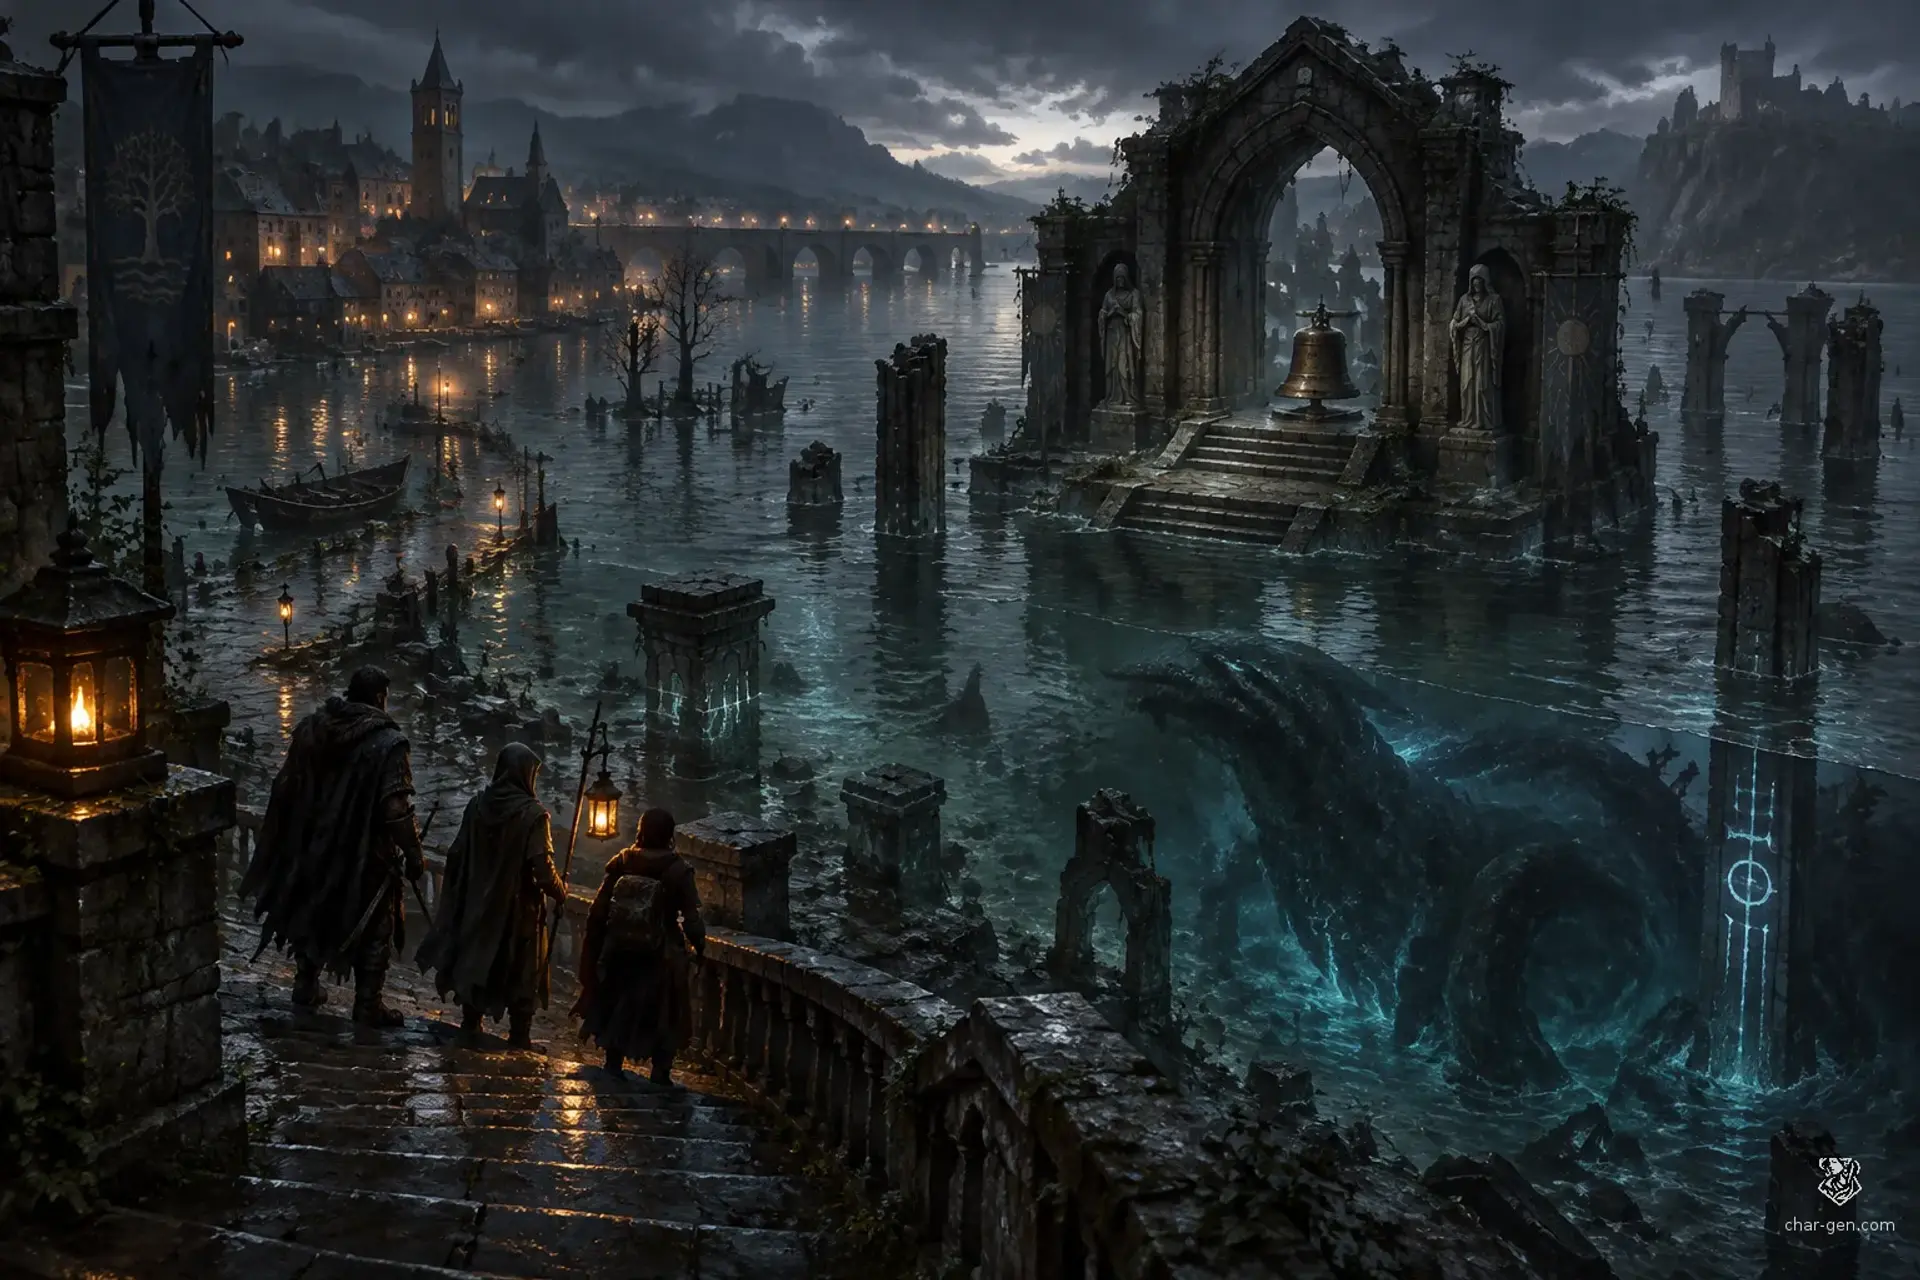
At midnight, Bellwether's harbor bell rings from a tower whose clapper was removed years ago. By morning, the lighthouse keeper is gone, and every chart in town shows a coastline that no sailor has ever seen. Mara Venn offers a reward to anyone who can find her brother and explain what the bell is calling.
Run the session
Cheat sheet
Objectives
- 1Determine how the bell is ringing and why the charts have changed.
- 2Reach the Saint Orra wreck before Edrin claims its contents.
- 3Rescue the missing keeper and stop the dangerous resonance.
- 4Secure the wreck's ledger before it is lost or exploited.Optional
The clock
The next midnight bell opens the passage for roughly one hour. Each major delay brings the tide higher, gives Edrin more time to reach the wreck, and increases the risk that the channel will close with Halen still trapped.
Scenes
- 0:00The Bell at Midnight
- 0:35A Map That Should Not Exist
- 1:25The Mapmaker's Warning
- 2:05The Light Turns Seaward
- 3:05The Coast Beneath the Fog
Cast
- Mara VennQuestgiver and harbor reeve
- Tomas RillAlly and assistant lighthouse keeper
- Sella QuillWitness and retired mapmaker
- Edrin ValeAntagonist and salvage broker
The hook
Set the scene
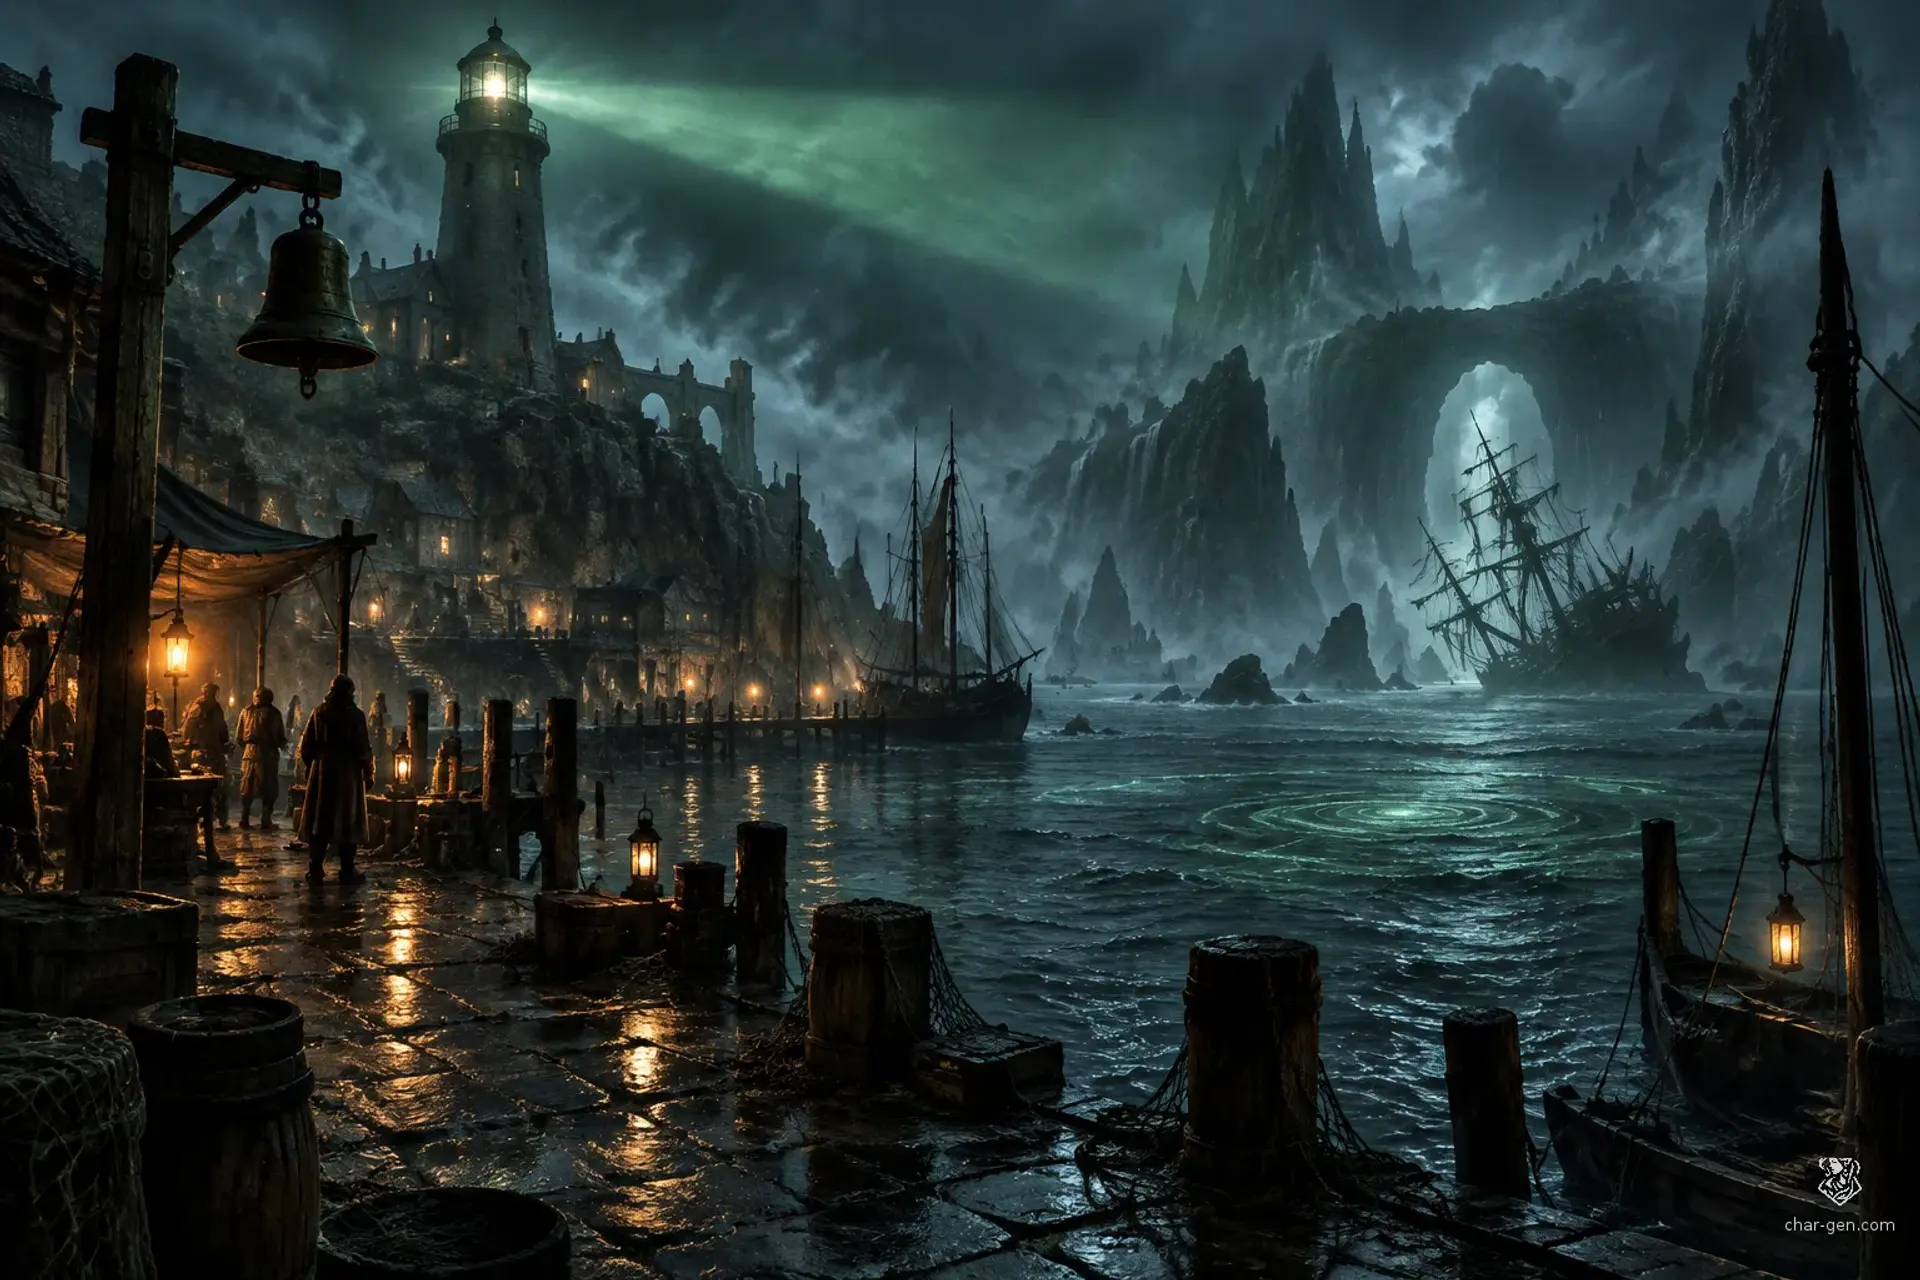
Read the hook aloud as the party arrives at Bellwether's rain-slick quay. Mara waits beside a covered lantern, while townsfolk watch the lighthouse through the fog. She explains that the council will send a search party at dawn, but she fears they will blame Tomas and destroy evidence before then.
How Mara Venn asks
Mara approaches the party privately at the harbor office, asks them to investigate before dawn, and offers payment from the harbor's emergency fund.
Rumours
Scenes
about 4.5 hours0:00
35 min
SocialThe table is here
1. The Bell at Midnight
Bellwether harbor office and nearby quay, under rain and low fog.
Mara presents the case and asks the party to investigate discreetly. They can question her, Tomas, and dockworkers, and learn that the bell rang from inside the tower while a green light crossed the fog.
NextA witness mentions that Edrin recently sought the harbor charts, directing the party to the chart room.
0:35
50 min
Exploration
2. A Map That Should Not Exist
The harbor chart room and its narrow quay entrance.
The party searches the chart room, compares altered maps, and deals with Edrin's crew if they arrive. Clues include a wet boot print from inside the locked room, a scraped outline where a chart was removed, and a tide schedule annotated in Halen's hand.
The Chart Room ScrambleNextSella can identify the chart's unusual ink and points the party toward the lighthouse lens and its maintenance records.
1:25
40 min
Social
3. The Mapmaker's Warning
Sella's map shop, crowded with rolled charts, weights, and glass instruments.
Sella and Tomas reveal conflicting details about the night Halen vanished. Careful questioning or comparing records shows that Tomas left his post to help Halen, while the lighthouse log was altered after the fact.
NextThe evidence identifies a brief passage visible only when the lens catches the next midnight bell.
2:05
60 min
Skill
4. The Light Turns Seaward
The lighthouse's spiral stair and upper gallery, where green light moves across wet stone.
The party reaches the lighthouse gallery as the anomaly strengthens. They can confront the custom hazards, disrupt the resonance, or use the lens and bell mechanism to reveal the passage to the wreck.
The Lighthouse GalleryNextWhen the resonance breaks or the passage opens, a channel appears through the fog and leads toward the Saint Orra.
3:05
70 min
Exploration
5. The Coast Beneath the Fog
The partially submerged Saint Orra, accessible through a temporary channel in the fog.
At the wreck, the party finds Halen trapped behind a jammed hatch and Edrin searching for the sealed ledger. They must decide whether to bargain, fight, rescue Halen first, or secure the instrument before the tide closes the passage.
NextThe party returns to Bellwether with Halen, evidence, and whatever choices they made about the ledger and instrument.
Behind it
What people believe
The harbor bell at Bellwether has rung at midnight despite having no clapper, the lighthouse keeper has vanished, and local charts now depict a coastline unknown to every sailor.
Harbor reeve Mara Venn seeks discreet investigators to find her brother and explain the disturbances before the council acts.
Background
For generations, the village of Bellwether has rung its bronze harbor bell at sunset to mark the safe return of the fishing fleet.
Three nights ago, the bell rang at midnight, though its clapper had been removed years earlier. By dawn, the lighthouse keeper was missing and every chart in the harbor office showed a coastline that does not exist.
The stakes
If the party fails to stop the resonance, the false coastline may draw more vessels into the passage, while Bellwether's council may scapegoat the lighthouse crew.
If Edrin secures the ledger, he gains a record that could help him locate other anomalous wrecks.
Encounters
2The Chart Room Scramble
Combat or negotiation
A cramped harbor chart room with overturned tables, hanging nets, a window overlooking the quay, and ankle-deep water spreading across the floor.
Foes
2 to 4 smugglers
1 smuggler lookout
ComplicationThe floor is slick with seawater. On a failed check to move quickly across the flooded stones, a character falls prone or drops a small unsecured object. The tide rises after several rounds, making the lowest area difficult to cross.
ScalingFor a smaller or less experienced party, use two smugglers and no lookout. For a larger or stronger party, add two smugglers. Use suitable low-threat humanoid statistics for the party's level.
The Lighthouse Gallery
Combat or skill challenge
A circular stone gallery around the lighthouse lens, with narrow stairs, a waist-high rail, wet masonry, and a heavy chain that swings when the bell sounds.
Foes
1 animated chain, custom minor hazard
2 drowned scavengers, custom low-threat undead
ComplicationEach time the bell rings, the light briefly bends toward the nearest character. A character who rushes across the wet gallery risks slipping; a character who investigates the bell or the lens can discover a way to interrupt the phenomenon.
ScalingFor a smaller party, use the chain as an environmental hazard and one drowned scavenger. For a more capable party, use three scavengers. These are custom encounter elements, not named official creatures; substitute appropriate low-threat statistics.
Cast
4Mara Venn
QuestgiverQuestgiver and harbor reeve
WantsFind her missing brother and prevent the village from turning on the lighthouse staff.
“I need the truth before the council decides the sea has claimed another person.”
Tomas Rill
Ally and assistant lighthouse keeper
WantsProtect the lighthouse and conceal that he left his post briefly to help the missing keeper.
“The light was green that night. I swear it. Then the bell rang from inside the tower.”
Sella Quill
Witness and retired mapmaker
WantsRecover a stolen chart and keep the strange tide phenomenon from being exploited by smugglers.
“A map is only a promise made by someone who has not yet been proven wrong.”
Edrin Vale
Antagonist and salvage broker
WantsUse the anomaly to open a hidden route to a wreck and retrieve a sealed ledger before anyone else reaches it.
“You can blame the fog, the sea, or me. Only one of those will tell you where the missing man went.”
How it ends
Rewards
Items
A brass harbor pass that grants access to Bellwether's docks and lighthouse stores.
A waterproof chart case containing Sella's corrected map of the local shoals.
Optional custom item: the Saint Orra lens shard, a palm-sized glass fragment that briefly glows near supernatural changes in tides. It grants no combat bonus.
On a win
The party locates Halen, resolves the immediate danger of the resonance, and returns with enough evidence to establish what happened.
If they also recover the ledger, Mara can prevent the harbor council from concealing the truth and reward the party for securing the wreck's records.
What it leaves open
If it fails
- The party cannot persuade the crowd that Tomas is innocent before the council intervenes.
- Mara loses authority with the harbor council, Tomas is detained, and the party must continue the investigation without his help.
- The party spends too long searching the false coastline clues or fails to reach the wreck before the next low tide.
- Edrin reaches the submerged wreck first and escapes with the ledger. The mystery can still be solved, but he becomes a recurring rival and the broker's network gains leverage.
- The party does not interrupt the bell's resonance before the tide turns.
- The anomaly closes with the missing keeper still beyond reach. Bellwether is spared immediate danger, but the keeper's fate remains uncertain.
Complications (d6)
- 1A sudden bank of fog separates the party. Each separated character hears the harbor bell from a different direction; regrouping requires a clear signal, a successful navigation effort, or a short delay.
- 2A frightened dockworker accuses Tomas of causing the disappearances and draws a small crowd. The party must calm the crowd or lose time protecting Tomas from being detained.
- 3The tide rises faster than expected, flooding the lower passage to the lighthouse. The party must secure a rope line, find a higher route, or risk losing supplies to the water.
- 4Edrin's hired lookout spots the party and signals the salvage crew. The crew reaches the next location prepared, gaining cover or an early warning.
- 5A chart inked with the false coastline begins to run in seawater, obscuring one clue. Sella can reconstruct it if the party preserves the remaining markings and gives her time.
- 6The bell rings once without being touched. Anyone nearby glimpses a familiar place beneath a dark, rippling sea, then loses a few minutes of time.
Media
0 imagesNo images yet.
Turn The Bell Beneath the Fog into a sheet
A high-res, share-ready sheet you can post or print.