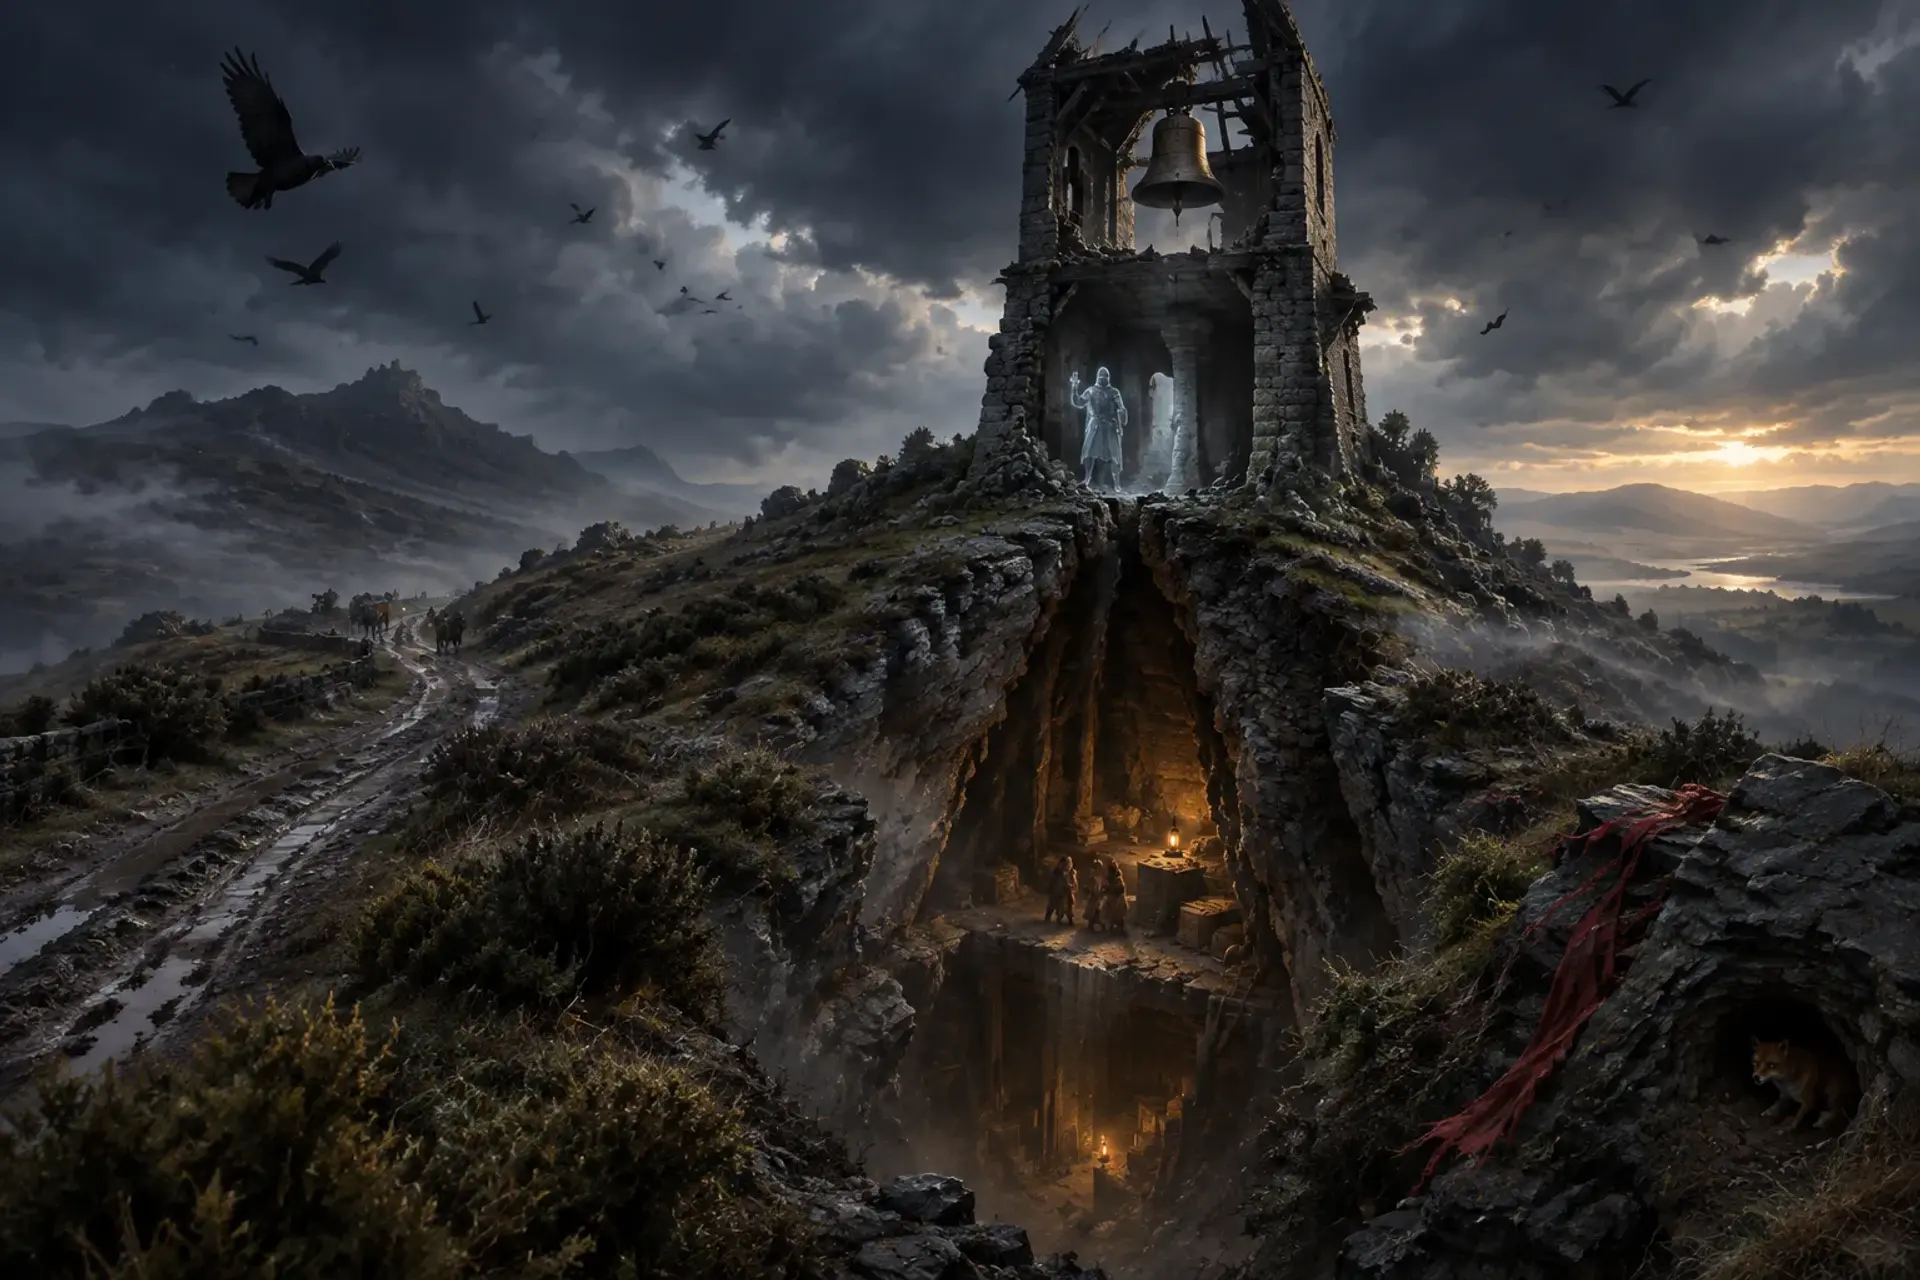
The Bell Beneath Greyhook
The Bell Beneath Greyhook
Read aloud
Three carriers and a shipment of fever medicine vanished on the road below Greyhook Watchtower. The trade factor will pay you to recover the cargo and bring the carriers home. A survivor insists the tower bell rang just before the hill swallowed the road.
Run the session
Cheat sheet
Objectives
- 1Locate the missing carriers beneath Greyhook Watchtower.
- 2Recover the medicine shipment and its tally.
- 3Return with the carriers and settle the job with Mara Venn.
- 4Resolve Halvek's lingering watch.Optional
The clock
The fissure is unstable. After each major delay or extended rest at the tower, roll once on the complications table or have the next tremor worsen the escape route. This is a pacing tool, not a strict deadline.
Scenes
- 0:00A Shipment Unaccounted For
- 0:25Tracks Beneath the Tower
- 1:00The Last Sergeant
- 1:45The Storehouse Below
- 2:35The Road Reopens
Cast
- Mara VennQuestgiver and town factor
- Tomas ReedWitness and surviving carrier
- Sergeant HalvekAntagonist and potential negotiator
The hook
Set the scene
Mara Venn meets the party in the trade factor's counting room, where two empty medicine crates sit beside a road map. A mud-streaked carrier, Tomas Reed, waits nearby with a bandaged arm. Mara offers a fixed reward for the marked cargo, the carriers, and their tally slate, then asks the characters to leave before the next supply run is due.
How Mara Venn asks
Mara Venn asks for a private meeting at the trade factor's counting room.
She explains the shipment's value, offers a clear fixed payment, and lets Tomas Reed describe what he saw. She does not ask the party to risk their lives for vague promises: the agreed coin is paid on return, with an additional bonus if all the carriers and the tally slate are recovered.
Rumours
Scenes
about 3 hours0:00
25 min
socialThe table is here
1. A Shipment Unaccounted For
The trade factor's counting room in the regional trade town.
Mara presents the contract and Tomas gives his account. Characters can question them, inspect the crates and map, and agree on payment and conditions before setting out.
NextTomas marks the last known location on the road map and offers to guide the party as far as the tower approach.
0:25
35 min
exploration
2. Tracks Beneath the Tower
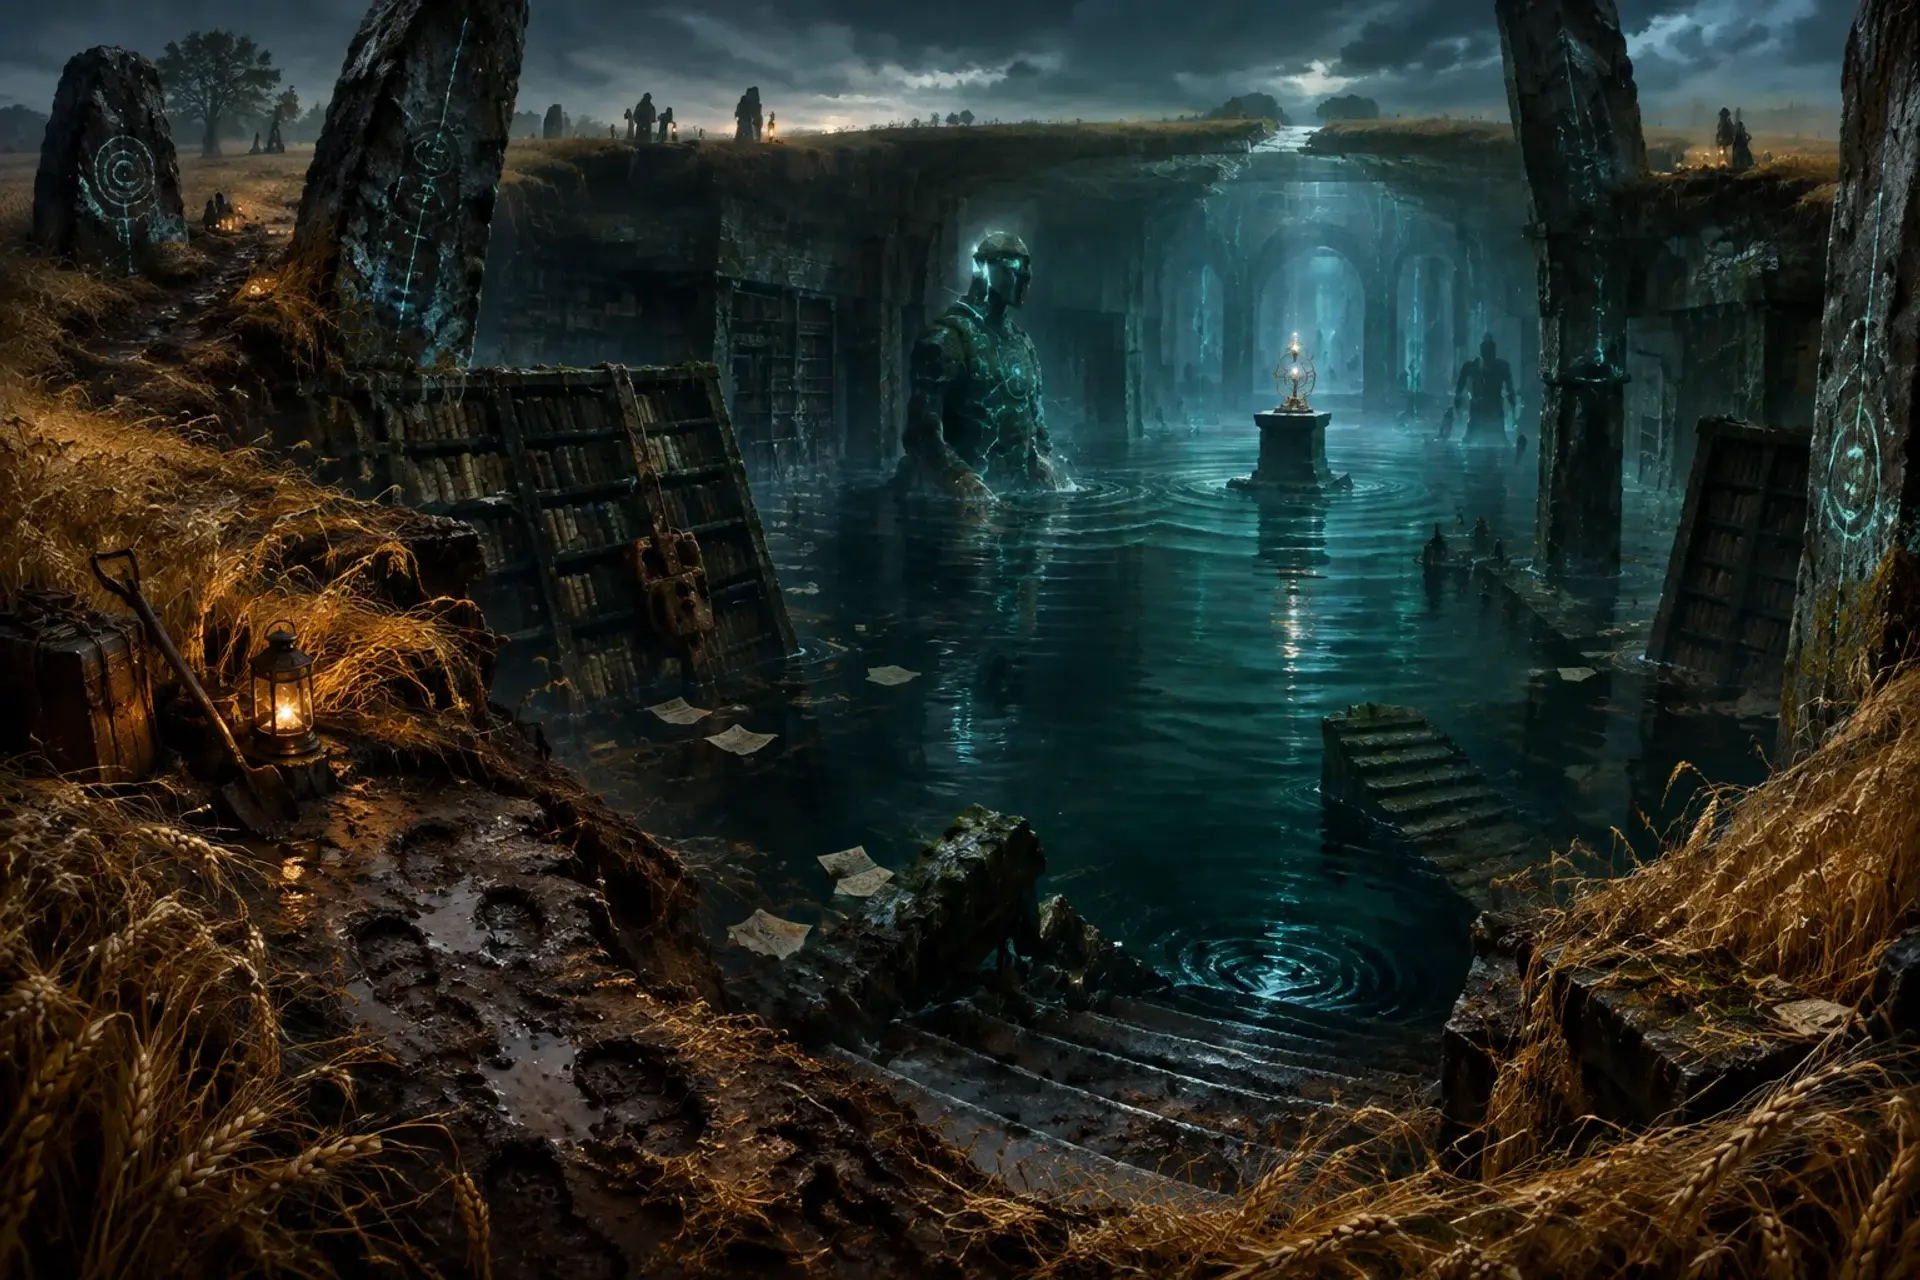
A rutted trade road crossing a scrubby hillside below the abandoned tower.
The party follows the road to the hill and finds a broken cart, disturbed shale, and animal tracks. Careful investigation reveals that the cart slipped toward the tower rather than being attacked on the road; the fox den and fallen red cloth point toward a gap beneath the storehouse.
NextThe characters reach the tower grounds and can approach through the entrance, a cracked outer wall, or the animal burrow.
1:00
45 min
social
3. The Last Sergeant
The ground floor and guardroom of Greyhook Watchtower, beneath the ruined signal loft.
The party explores the tower's old guardroom and can find the watch token, the bell rope, and signs that the lower floor collapsed recently. Halvek confronts them. They can offer the token, describe the rescue, or try to pass unseen; the encounter may become combat if the party threatens him or fails to convince him.
The Watch That Would Not EndNextHalvek's directions, the visible fissure, or a search of the guardroom leads down to the trapped carriers and cargo.
1:45
50 min
skill
4. The Storehouse Below
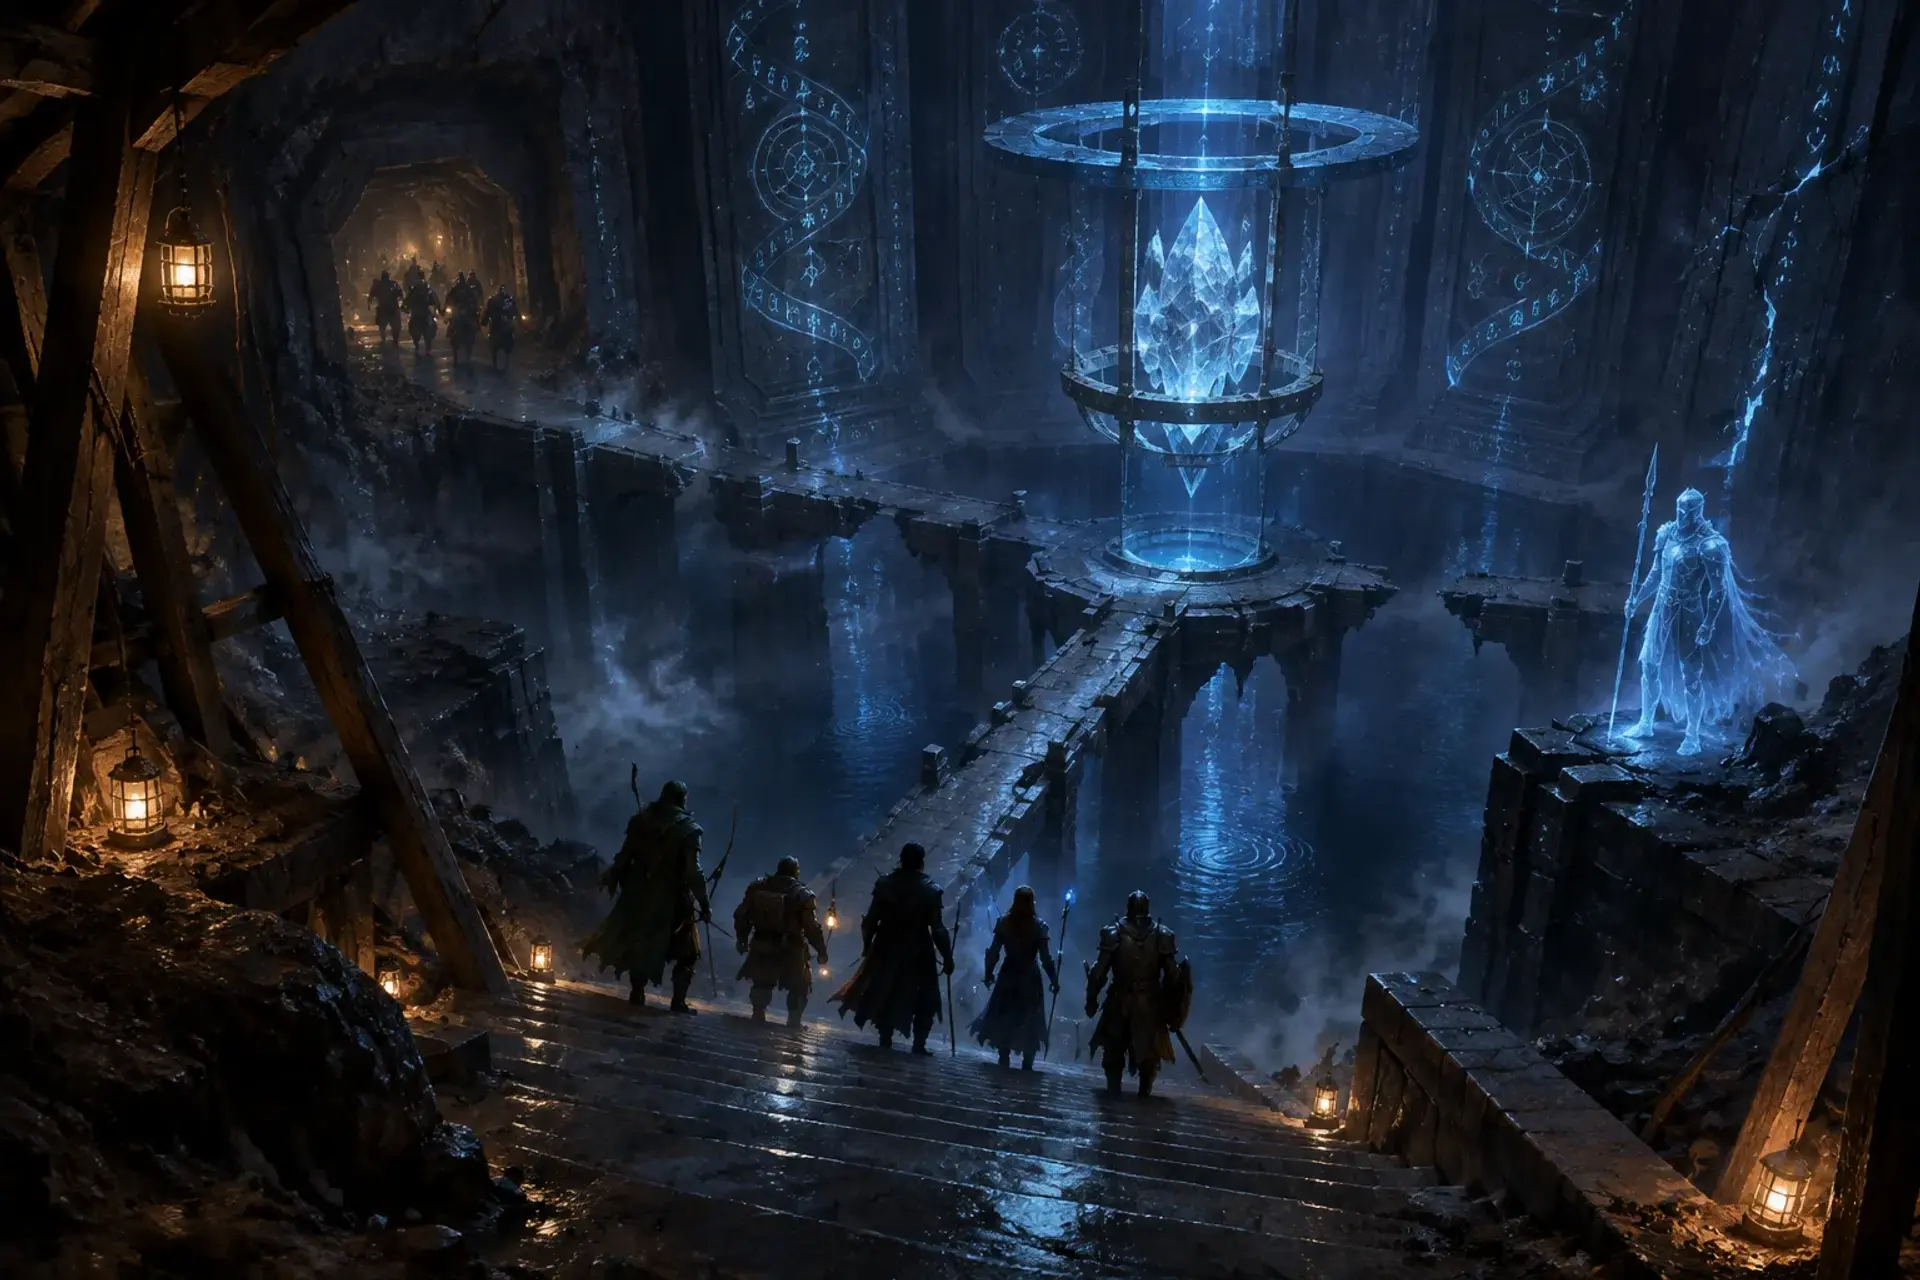
A narrow fissure beneath the storehouse, with a shallow cistern, loose masonry, and one dry supply alcove.
The characters descend into the fissure, locate the trapped carriers in a dry alcove, and recover the medicine crates and tally slate. They must choose how to secure the unstable ledge and move people and cargo back to the surface.
NextOnce the carriers and cargo are out, the party returns to town to report the outcome and collect payment.
2:35
20 min
social
5. The Road Reopens
The trade factor's counting room, with townsfolk waiting for news of the missing carriers.
The party presents the recovered shipment and reports what happened. Mara pays according to the agreed terms, and Tomas confirms the rescue. If Halvek was appeased, the bell gives one clear note as the characters leave the tower behind.
NextClose the adventure with the payment and the town's thanks, or use an open-ended hook to begin a new job.
Behind it
What people believe
Three carriers and a shipment of fever medicine vanished near the abandoned Greyhook Watchtower.
A surviving carrier reports that the tower bell rang just before a tremor opened the hillside. The town's trade factor is hiring capable help to recover the shipment, locate the missing people, and find out whether the tower is dangerous.
Background
The Greyhook Watchtower was built generations ago to protect the trade road from raiders crossing the surrounding hills.
Its spring-fed cistern and signal bell made it a useful waystation until a rockslide severed the road and the tower was abandoned. The hillside is now home to burrowing foxes, nesting jackdaws, and a colony of bats in the old signal loft. Recent tremors have opened a fissure beneath the tower's storehouse.
The stakes
Without the medicine, the town's infirmary will soon have to ration treatment.
The carriers may die if the fissure collapses further, and a violent confrontation with Halvek could leave the tower and its old supplies inaccessible.
Encounters
1The Watch That Would Not End
Combat or social
A cramped ground-floor guardroom with a broken stair, a central stone pillar, scattered crates, and a waist-high drop into the fissure. The drop is dangerous but not immediately fatal; a character who falls can climb out with help.
Foes
Sergeant Halvek, using the 5e 2014 wight stat block
Two tower sentries, using the 5e 2014 skeleton stat block
ComplicationThe narrow stair and rubble limit movement, while the central stone pillar provides cover. If the party rings the bell or attacks without warning, Halvek begins combat near the stair landing. Characters who present the watch token or explain their rescue purpose can attempt to negotiate before initiative.
ScalingFor a less dangerous fight, use Halvek alone and have the skeletons crumble when he is reduced to half hit points. For a tougher party or if the characters have substantial resources, add one skeleton, but do not add it automatically for this two-PC party. Halvek can be persuaded to stand down by returning the watch token and affirming that the carriers will be rescued; a successful approach should end the encounter without combat.
Cast
3Mara Venn
QuestgiverQuestgiver and town factor
WantsKeep the town's infirmary supplied and prevent panic among the carriers. She offers a credible fixed payment from the trade syndicate's emergency fund.
“I pay for the load returned, not for a heroic story. Bring back the medicine and the carrier's tally, and the promised coin is yours.”
Tomas Reed
Witness and surviving carrier
WantsGet the missing carriers rescued and warn people away from the unstable storehouse. He is shaken but can describe the route into the fissure.
“I heard the bell, then the hill groaned. The others went down through the floor. I climbed out because the foxes had already made a hole.”
Sergeant Halvek
Antagonist and potential negotiator
WantsProtect the tower's old emergency stores and its remains from anyone he believes to be a looter. He is the restless spirit of the watch sergeant, bound to the tower by an old oath.
“This tower was entrusted to me. Show me the seal, name the watch, or leave the stores alone.”
How it ends
Rewards
Items
A brass Greyhook watch token, if the party earns Halvek's trust. It is a keepsake and proof of their service, not a magic item.
One intact healer's kit from the cargo, if the rescued carriers agree the town can spare it.
On a win
The party returns the medicine and rescued carriers to town.
Mara pays the agreed fee and the promised recovery bonus. The town's supply of fever medicine is secured, the carriers can explain the collapse, and the immediate danger at Greyhook is understood. If the party made peace with Halvek, the watch spirit falls silent or resumes a harmless vigil over the tower.
What it leaves open
If it fails
- The party leaves without recovering the medicine crates.
- The town loses the medicine and must ration its remaining supplies. Mara still pays a reduced fee for the rescued carriers and the information gathered, but trust in the party's reliability falls.
- The characters fail to stabilize the lower ledge or choose to rush the evacuation.
- The fissure widens during the rescue. The carriers escape, but the party must abandon some cargo or spend additional time securing a safe route out.
- The party kills or evades Halvek without learning what he was protecting or making peace with his oath.
- Halvek remains bound to the tower and may challenge future visitors. The town's old watch stores remain inaccessible, and the party has gained no agreement from the spirit.
Complications (d6)
- 1A shelf of loose shale slides across the path. Each character must choose a safe route over unstable stone or spend time finding a detour; a careless crossing knocks one carried item loose and sends it downslope.
- 2A sudden gust swings the tower's broken signal bell. The sound draws Halvek's attention and gives the party a warning that something inside has heard them.
- 3A fox has dragged a strip of carrier's red cloth into its den. The den is harmless, but the cloth leads to a narrow animal burrow that reveals a way into the lower storehouse.
- 4The cistern water sloshes through the fissure, making the lower ledge slick. Anyone rushing across risks a fall into shallow water and loses time recovering their footing.
- 5A jackdaw drops a brass watch token near the party. It bears the same mark as the seal on the tower's old supply chest and can help establish their good faith with Halvek.
- 6A tremor shifts a fallen beam and partly blocks the escape route. The party can brace it, find another exit, or leave it and risk delaying the rescued carriers.
Media
0 imagesNo images yet.
Turn The Bell Beneath Greyhook into a sheet
A high-res, share-ready sheet you can post or print.