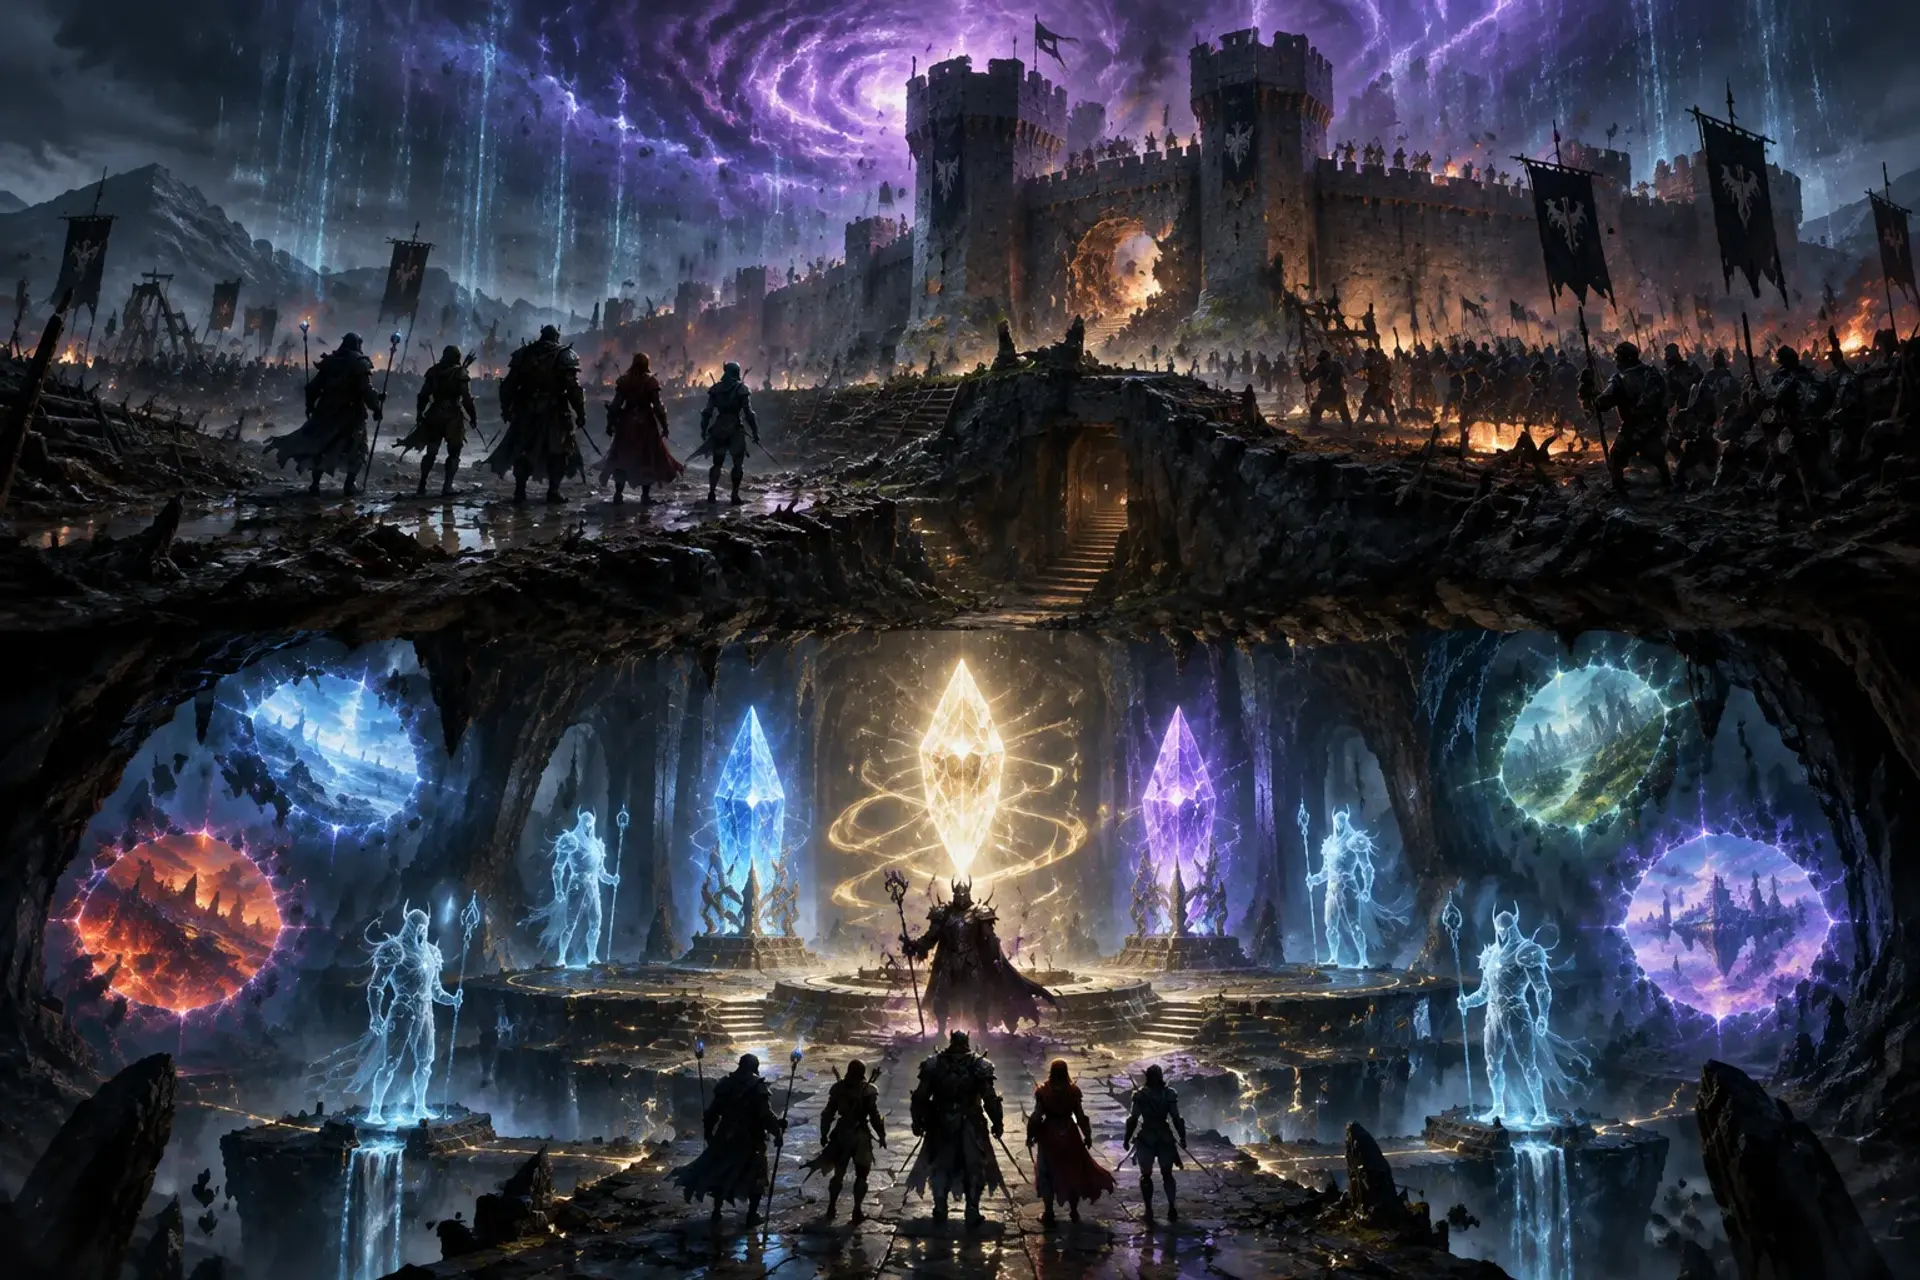
Storm at the Seventh Nexus
Storm at the Seventh Nexus
Read aloud
A bloodied messenger staggers through Dawnvale’s Noon Gate, clutching a rain-soaked dispatch. “Azkhar has found Ravenbrook Keep,” they rasp. “He knows what lies beneath it, and he has the last shard.”
Run the session
Cheat sheet
Objectives
- 1Hold a sector of Ravenbrook’s defenses during the siege.
- 2Enter the Seventh Nexus and confront the ritual circle’s guardians.
- 3Stop the binding ritual.
- 4Resolve the battle at the Heart’s altar.
The clock
The ritual advances as the battle continues. Each round at N2, the Nexus flares at Initiative Count 20. Every third round at N1, Tribunal reinforcements enter through an active lane. Track both pressures openly so the party can judge when to fight, disrupt the crystals, or press onward.
Scenes
- 0:00The Dispatch at Noon Gate
- 0:45Choose the Line
- 2:15Below Ravenbrook
- 3:00The Wardens’ Test
- 5:00The Last Living Shard
Cast
- Captain Maelis ThornQuestgiver and field commander
- Archmage Cindreth ValeoreanAlly and mentor
- AzkharAntagonist
- The Warden at the ThresholdWildcard and spectral guardian
The hook
Set the scene
At Dawnvale’s Noon Gate, the messenger’s blood runs pink in the rainwater as Cindreth reads the dispatch. The name Ravenbrook catches in the air like a struck chord. Captain Maelis Thorn is already gathering defenders, but she can reinforce only two of the three threatened sectors without the party’s help. The party chooses where to stand, while Maelis marks the other fronts on a rain-smeared map and starts issuing orders.
How Archmage Cindreth Valeorean asks
Cindreth gives the party the messenger’s dispatch and directs them to Captain Maelis Thorn.
He stresses that they must prevent Azkhar from completing the ritual, but does not volunteer everything he knows about the shard. Maelis asks the party to choose one sector for direct support before the defenders deploy.
Rumours
Scenes
about 7 hours0:00
45 min
socialThe table is here
1. The Dispatch at Noon Gate
Dawnvale’s Noon Gate, amid ringing bells, wet stone, and defenders assembling for departure.
A bloodied messenger brings the news at Dawnvale’s Noon Gate. Cindreth confirms Ravenbrook is under threat, and Maelis lays out the three sectors she cannot fully reinforce. Before the march, check the Regional Alliance Tracker: an Aligned Dwarven Smith Alliance can supply the portable Starsteel Bulwark; Alienated Draknaar standing changes the N1 reinforcement; Session 9’s Desert and Airship Clearances bypass N1.
NextMaelis’s orders carry the party through the gate and onto the storm-torn road to Ravenbrook.
0:45
90 min
combat
2. Choose the Line
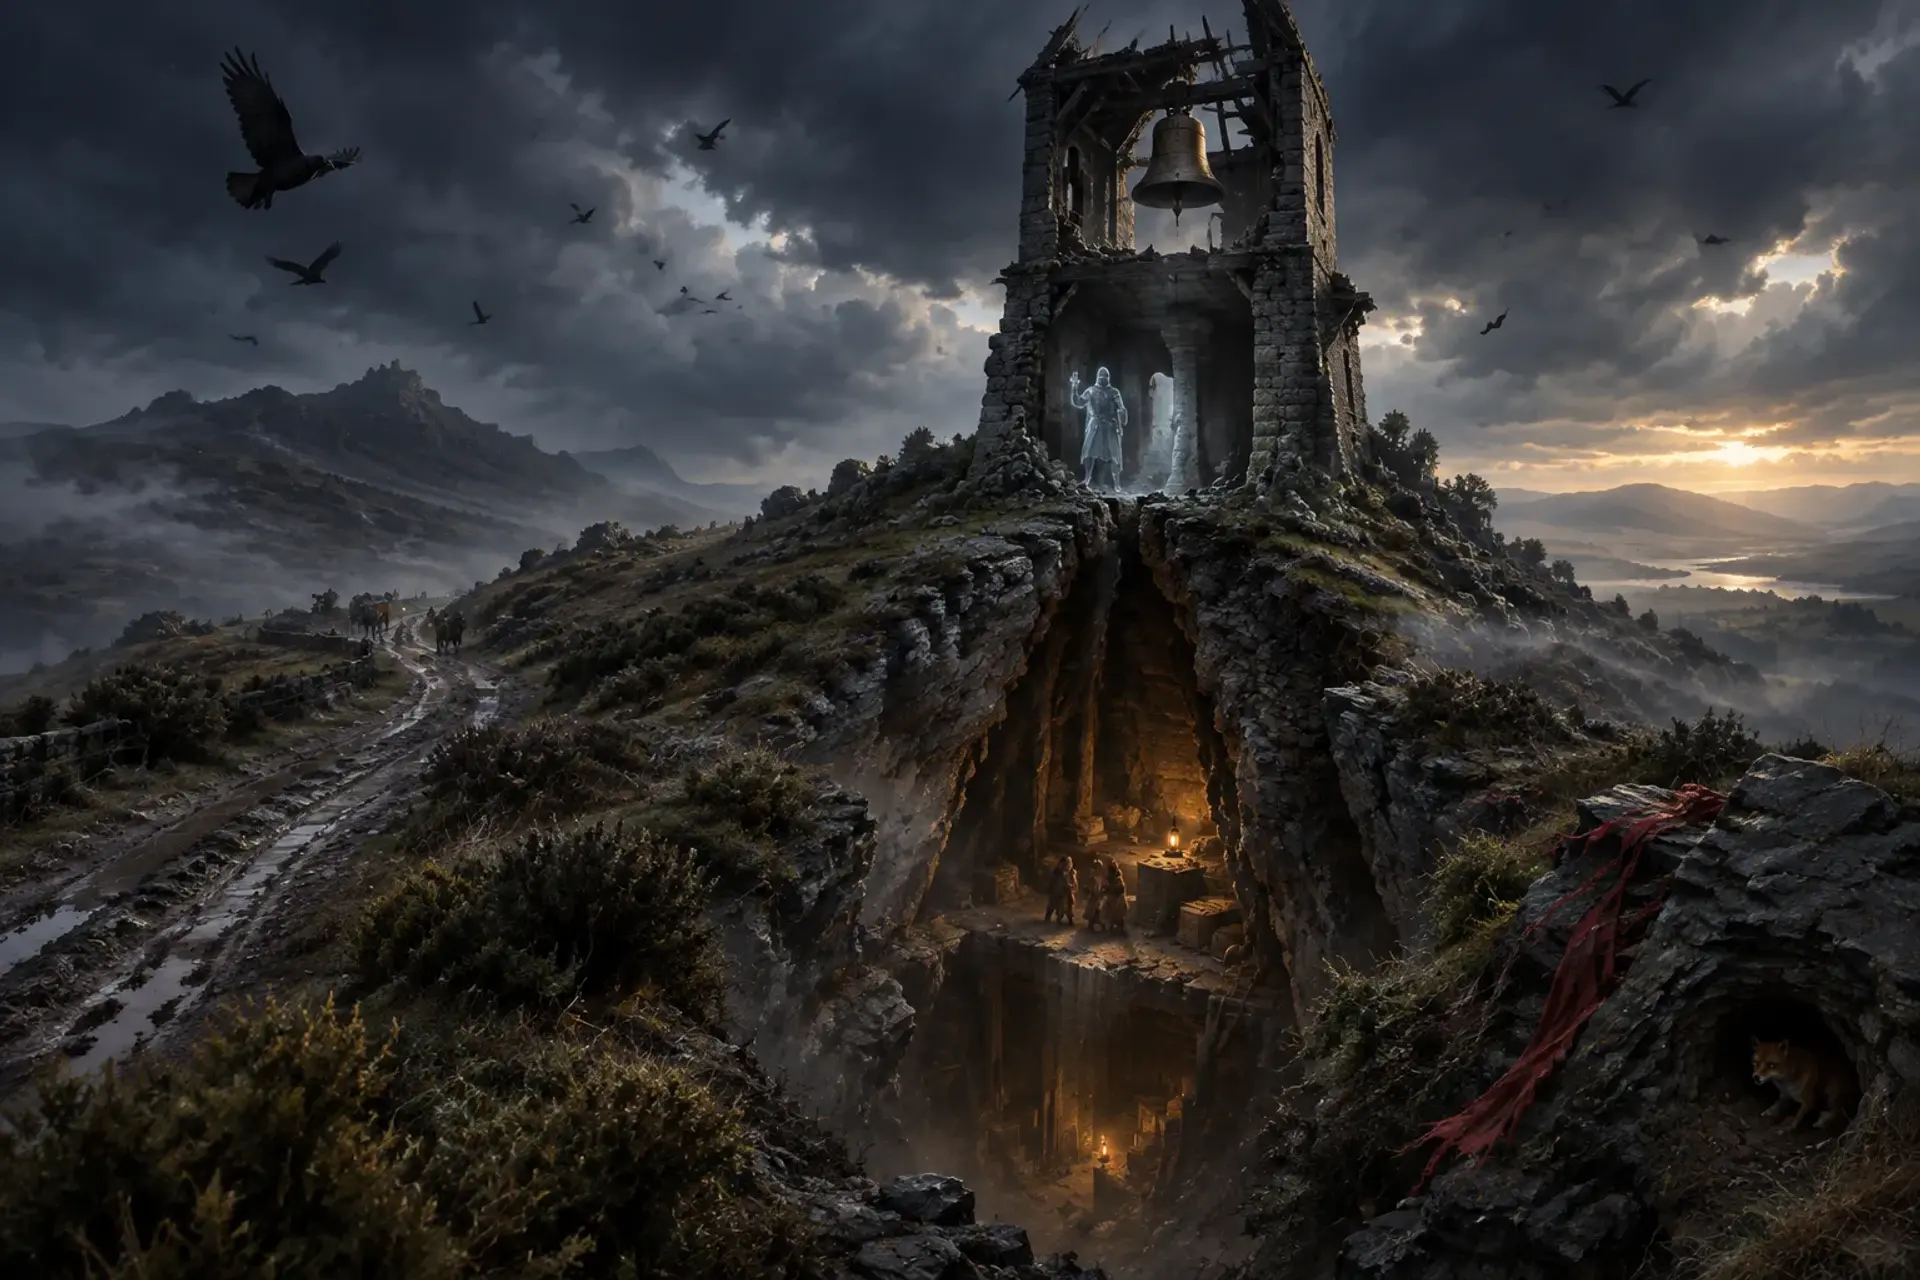
Below Ravenbrook’s familiar walls, where rising rain blurs the road and siege banners snap in the strange wind.
The party chooses the West Gate, North Walls, or Flooded Outer Fields for personal attention. Run the battlefield as a focused challenge: identify a critical threat, then resolve it through combat, tactics, or an appropriate skill-based approach. The party’s chosen sector receives the strongest defense; Maelis assigns available allies to the other two and reports the consequences as the party moves toward the hidden entrance.
N1: The Outer BattlefieldNextWith a breach held or a route opened, Maelis directs the party toward the concealed descent beneath the keep.
2:15
45 min
exploration
3. Below Ravenbrook
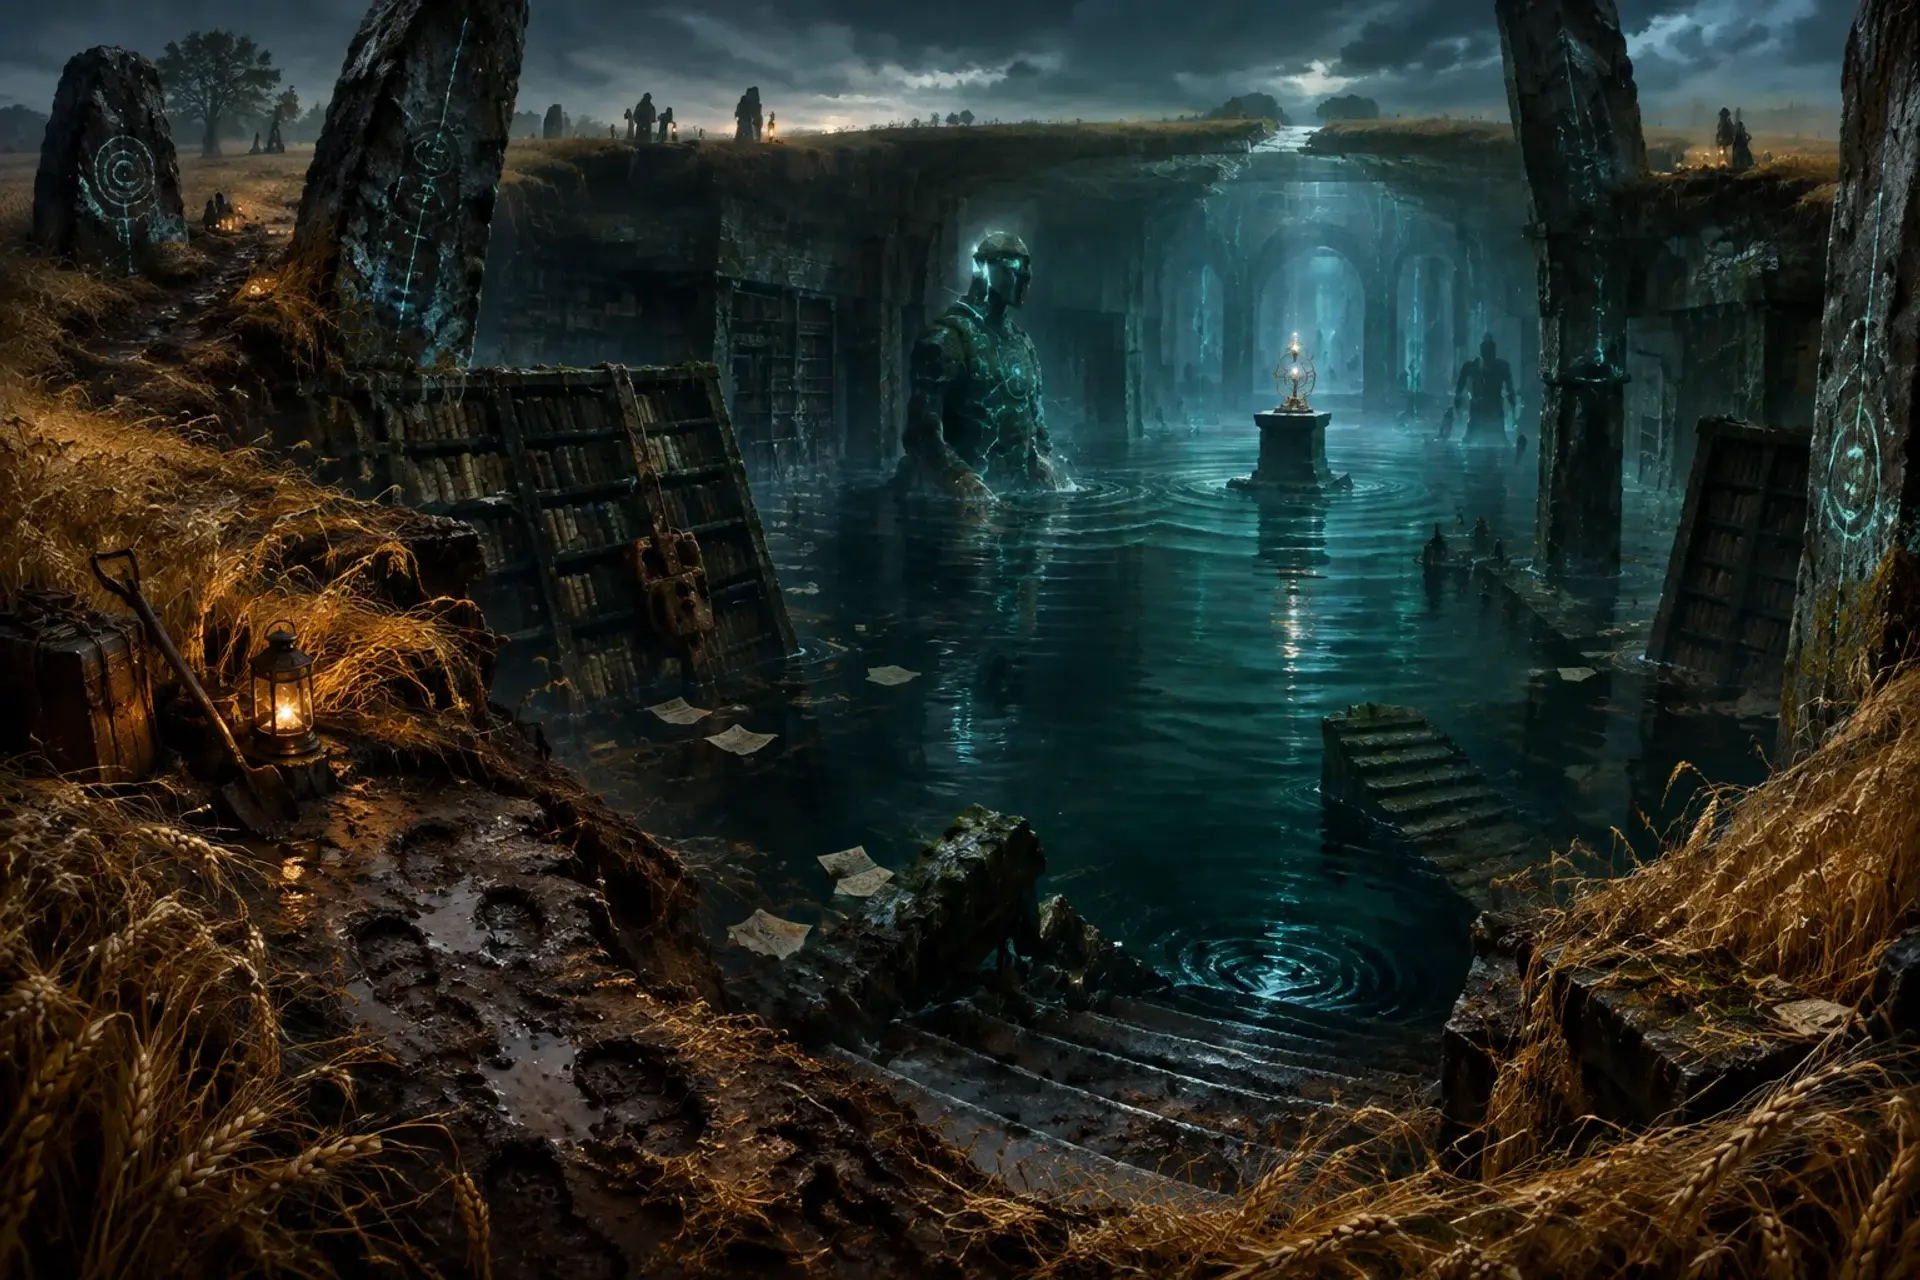
Ravenbrook Keep’s lower passages, where familiar masonry gives way to old Nexus stone and water drips upward into darkness.
Use the party’s memories of the opening location to make the return meaningful. They find the concealed descent and can identify signs that link the place to their first encounter with the Nexus. A successful search or informed use of an appropriate spell reveals a safer route; a delay allows Tribunal forces to secure one approach.
NextA pulse of light from beneath the floor guides the party down toward the ritual chamber.
3:00
120 min
combat
4. The Wardens’ Test
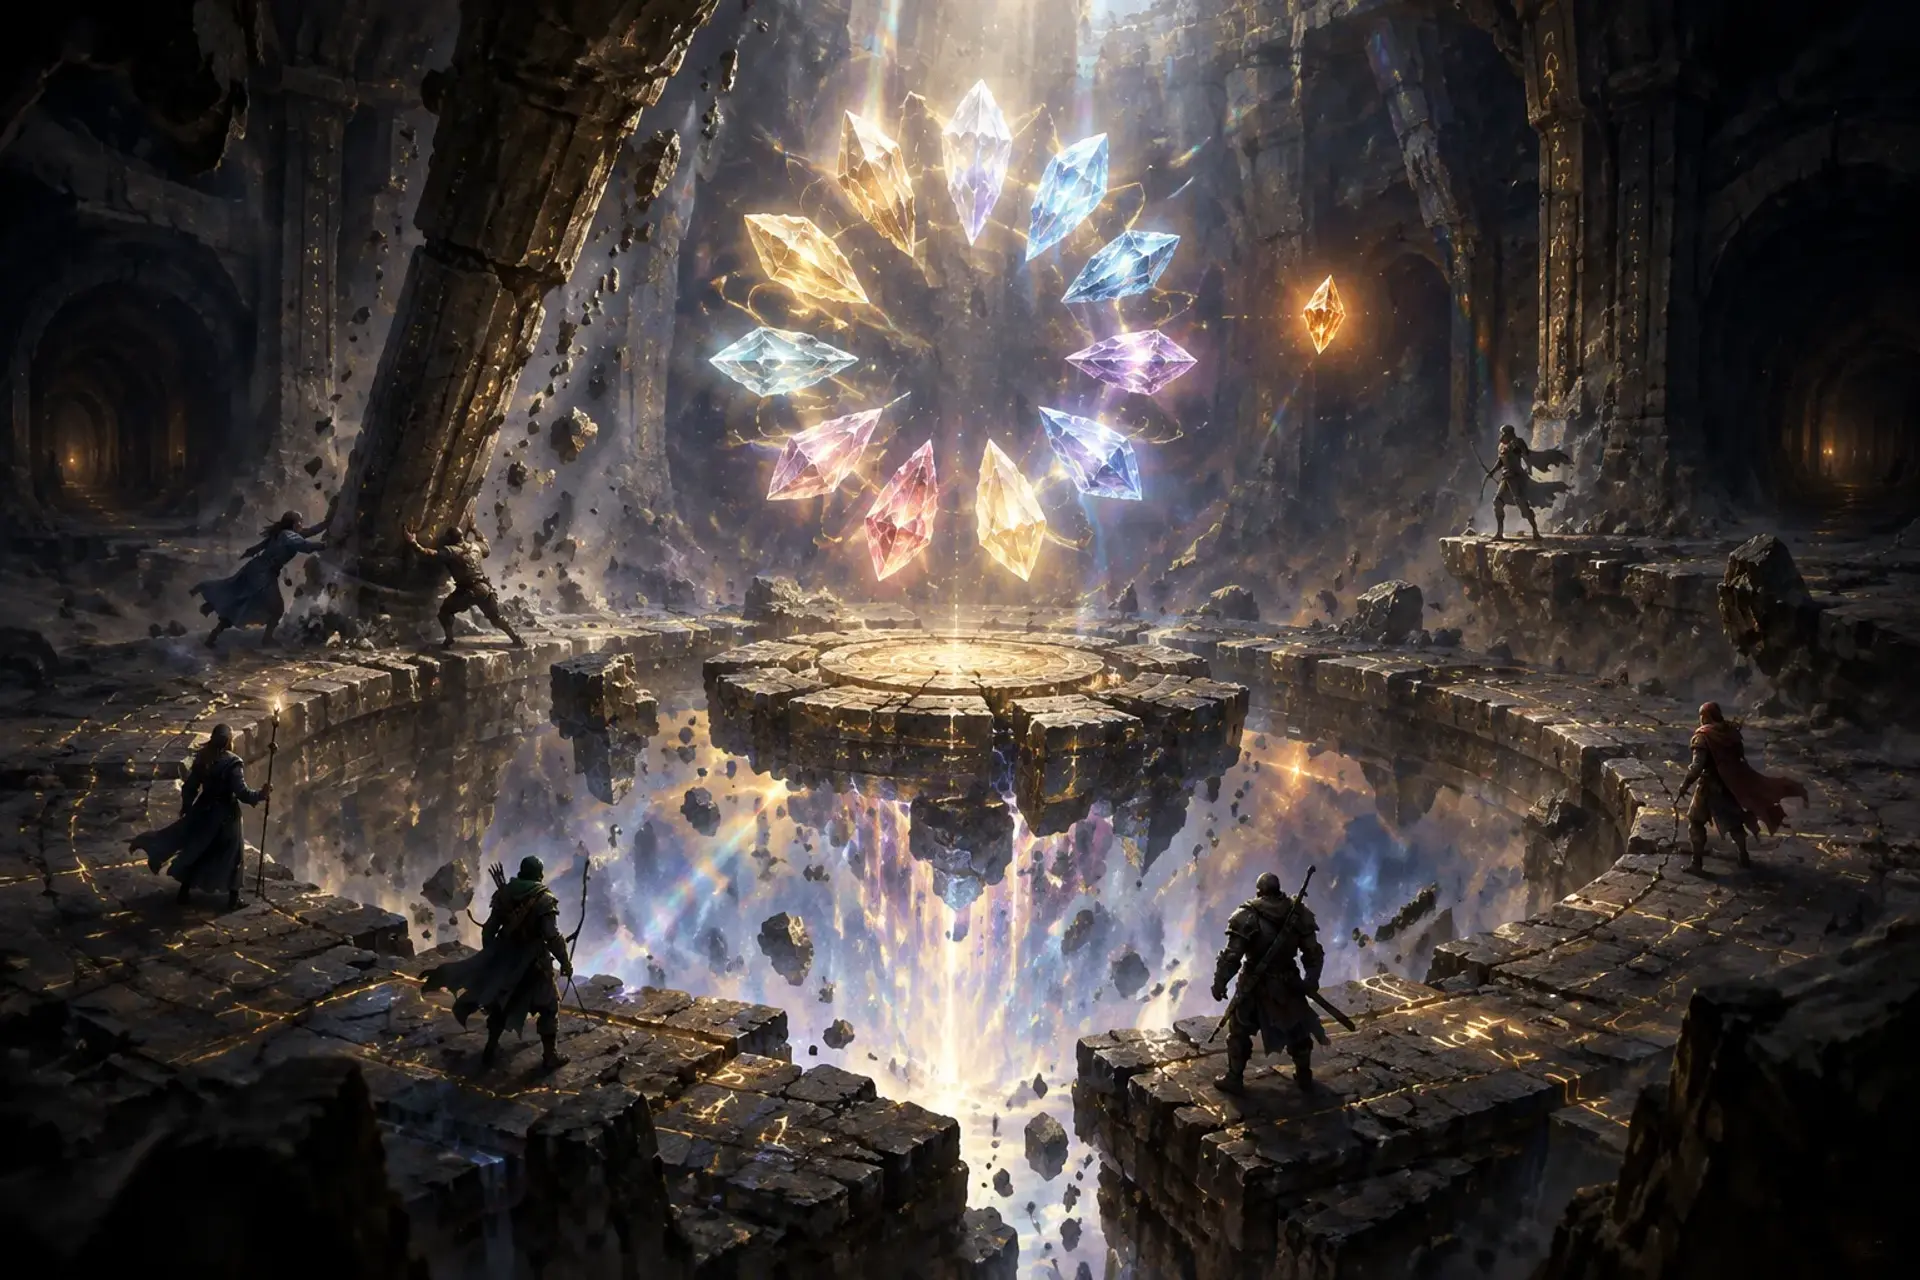
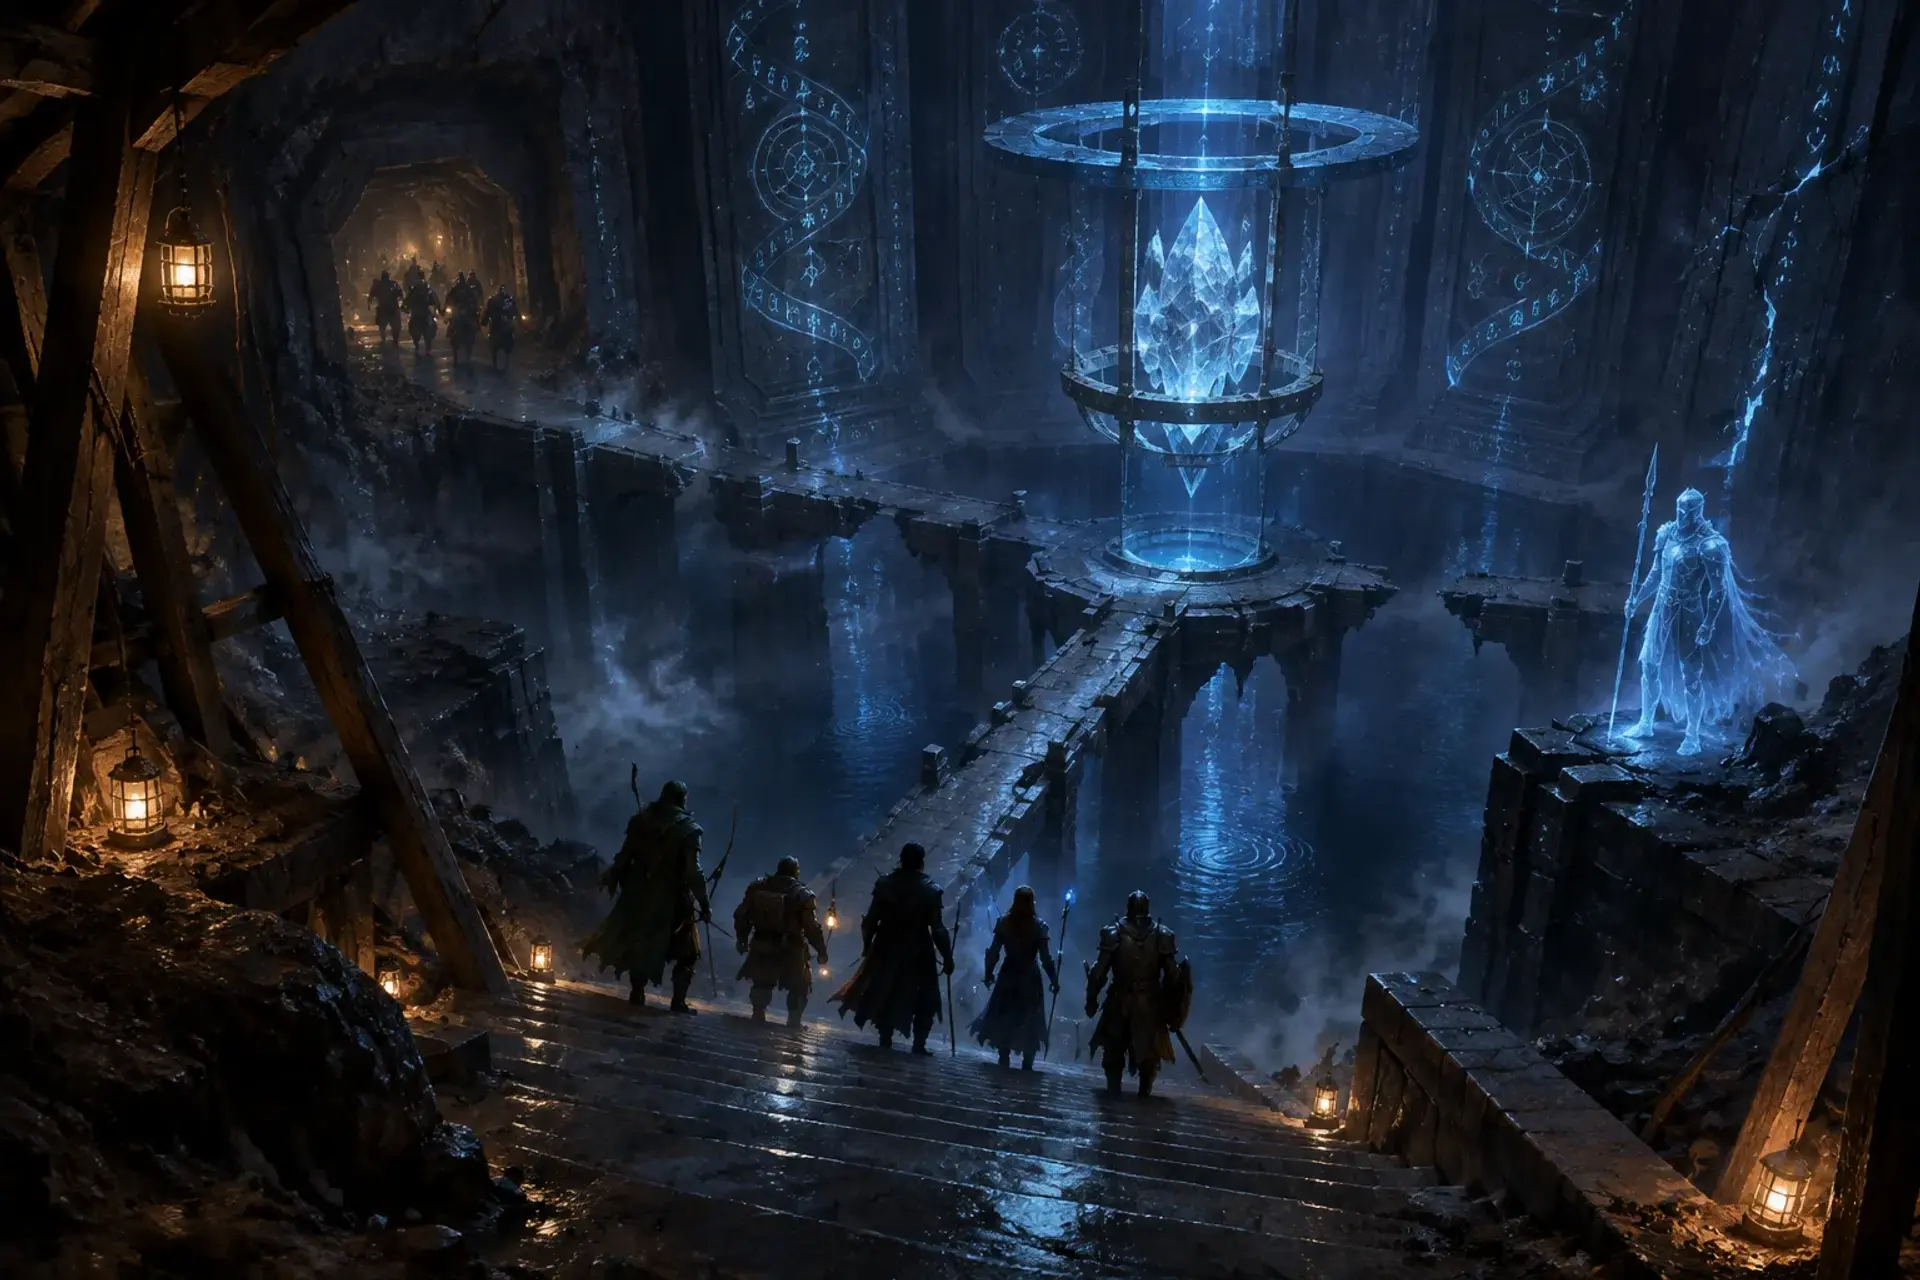
A vast hidden hall beneath the keep, with a glowing circle, three focusing crystals, four planar rifts, and rain shimmering in the air despite the lack of a sky.
The party enters the ritual circle as the wardens confront them. Give the characters an opportunity to make their intent clear through action, not only words. They can protect the circle, handle the three focusing crystals, manage the rifts, and endure the flare hazard. If they refuse to claim authority over the Heart, the wardens’ attitude shifts as the trial unfolds. Reveal Cindreth’s concealed knowledge here through his confession, the shard’s response, or evidence the party uncovers.
N2: The Ritual CircleNextAs the last crystal falters, the circle’s light draws inward toward the Heart’s altar.
5:00
120 min
combat
5. The Last Living Shard
The altar chamber beneath Ravenbrook, where the shard’s light flickers over the faces of the heroes who first began this journey above.
Azkhar confronts the party at the altar. Run the CR 13 Appendix B boss encounter, with the party balancing the fight against the shard’s safety and any unresolved political intervention. When Azkhar falls or the ritual is stopped, pause for the party’s decision about the shard and the future of the Nova’s Heart.
N3: The Heart’s AltarNextThe shard’s light gathers around the party’s choice as the storm above Ravenbrook begins to turn.
Behind it
What people believe
Azkhar and the Obsidian Tribunal have discovered Ravenbrook Keep and the hidden Seventh Nexus beneath it.
They are trying to seize the last living shard of the Nova’s Heart. Cindreth sends the party to Captain Maelis Thorn, who must divide limited defenders among the West Gate, North Walls, and Flooded Outer Fields. The party must help hold Ravenbrook, reach the Nexus, disrupt the ritual, and prevent Azkhar from taking the shard. The spectral guardians within may be more than another obstacle, and the consequences of the battle will determine who controls the Heart’s next chapter.
Background
Ravenbrook Keep is where the party’s story began, and the hidden Seventh Nexus beneath it is where the Nova’s Heart first broke open the wider crisis.
Now the keep stands above a battlefield warped by the Nexus: rain climbs into the clouds, familiar roads bend toward the old breach, and four planar rifts pulse around the ritual chamber. Azkhar has brought the Obsidian Tribunal to force the Heart’s final living shard into a binding ritual. Captain Maelis Thorn must defend the keep while the party descends to stop him.
The stakes
If Azkhar completes his ritual, he may bind a lesser deity and force the final living shard to choose a master under magical duress.
If Ravenbrook’s defenses fail, the Tribunal gains an unopposed route to the Nexus. Even in victory, the party must decide what becomes of the Nova’s Heart and whether any one person should hold authority over it.
Encounters
3N1: The Outer Battlefield
Combat
Below Ravenbrook’s walls, rain rises along the road. Barricades, broken siege engines, muddy trenches, and marked reinforcement lanes divide the field. The party chooses one sector for personal attention: West Gate, North Walls, or Flooded Outer Fields. Maelis assigns the available allied defenders to the other two.
Foes
Obsidian Tribunal soldiers
Obsidian Tribunal Zealots, if Draknaar standing is Alienated
ComplicationEvery third round, one or two additional Tribunal soldiers enter through an active reinforcement lane. If Draknaar standing is Alienated, replace the standard wave with three Obsidian Tribunal Zealots ambushing from a drainage tunnel behind the party. If Desert and Airship Clearances were earned in Session 9, the party bypasses this encounter and reaches N2 with one full round to prepare before Azkhar’s forces notice them.
ScalingUse the party’s level 10 encounter budget and the appropriate published stat blocks or the campaign’s Appendix B entries. For a smaller or depleted party, use one reinforcement soldier every third round and omit any additional elite. For a well-resourced party, retain the wave and add one soldier to the initial force.
N2: The Ritual Circle
Combat
A broad chamber beneath Ravenbrook Keep surrounds the ritual circle. Three focusing crystals stand around its perimeter; breaking, disabling, or safely redirecting each one disrupts Azkhar’s incantation. The circle distorts distance, and four planar rifts threaten exposed creatures. The Starsteel Bulwark is a deployable battlefield asset, not a new magic-item rule.
Foes
Spectral wardens of the ritual circle
Obsidian Tribunal ritualists
Nexus rift hazards
ComplicationUntil Azkhar’s concentration is broken, the circle is difficult terrain for creatures without a role in the ritual. At Initiative Count 20, the unstable Nexus discharges: creatures without Total Cover take 2d6 radiant damage. Four planar rifts create additional hazards using the companion map’s rift rules, if available. A portable Starsteel Bulwark supplied by an Aligned Dwarven Smith Alliance provides Total Cover from the flare for those behind it.
ScalingBegin with the wardens assessing the party. If the party protects the circle and refuses to claim authority over the Heart, the wardens shift from hostile opposition to a guarded test, withdrawing or assisting against Tribunal forces. If they are already depleted, reduce the ritualists’ numbers or have the wardens remain neutral until the party demonstrates its intent.
N3: The Heart’s Altar
Combat
The altar chamber is the nexus point of the ritual. The last living shard hangs above a fractured dais, casting light across wet stone and throwing shadows in several directions at once. The party can focus on defeating Azkhar, disrupting the ritual, protecting the shard, or combining these aims.
Foes
Azkhar, using the campaign’s Appendix B stat block, CR 13
Remaining Obsidian Tribunal ritualists
ComplicationThe shard’s resonance intensifies as Azkhar is pressed. At the GM’s discretion, a character who tries to seize or command it faces a magical backlash described as a custom story hazard, not an established 5e condition or feature. If the House Favor Ledger was accepted during Act II, rival family representatives demand that the party direct the final cosmic choice toward Draknaar political dominance.
ScalingAzkhar is intended as a major boss for the level 10 party. If the party has lost substantial resources in the siege, have the wardens suppress one of his advantages or remove remaining ritualist support. If the party arrives fresh with strong allied support, retain his full Appendix B statistics and add one surviving ritualist, not additional boss actions.
Cast
4Captain Maelis Thorn
Questgiver and field commander
WantsKeep Ravenbrook’s defenders alive and prevent the siege from spilling into the surrounding settlements. She needs the party to choose where their presence will matter most.
““I can hold two sectors, perhaps. The third will be yours to save, or to lose.””
Archmage Cindreth Valeorean
QuestgiverAlly and mentor
WantsStop Azkhar and protect the party, while concealing his fear that the shard’s choice could permanently alter whoever claims it.
““You have walked this road before. That does not mean you understand what waits beneath it.””
Azkhar
Antagonist
WantsUse the last living shard to bind a lesser deity and secure power for the Obsidian Tribunal. He believes overwhelming magical pressure can compel the shard to choose a master.
““The Heart will answer the hand strong enough to make it answer.””
The Warden at the Threshold
Wildcard and spectral guardian
WantsJudge whether the party can protect the ritual circle without claiming dominion over the Heart. The wardens may become allies if the party respects that distinction.
““We are not here to take the circle from you. We are here to learn what you do when no one can make you.””
How it ends
Rewards
Items
The portable Starsteel Bulwark is a battlefield asset if the Dwarven Smith Alliance is Aligned. It provides Total Cover against the Initiative Count 20 Nexus flare when correctly positioned; it is not automatically a permanent party item.
On a win
The ritual is broken, the Seventh Nexus is no longer under Azkhar’s control, and the last living shard is protected from immediate seizure.
Ravenbrook’s survival depends on the party’s battlefield choices and the support their alliances could provide. If the party protected the circle without claiming authority over the Heart, the spectral wardens recognize their restraint and may offer guidance. The victory leaves the Heart’s ultimate fate to the party.
What it leaves open
If it fails
- The party fails to disrupt the focusing crystals or break Azkhar’s ritual in time.
- Azkhar completes the binding attempt before the party can stop him. The shard remains contested, the summoned or bound power becomes an immediate campaign threat, and the party must pursue a dangerous containment or rescue mission rather than make the Heart’s final choice safely.
- The party abandons its assigned battlefield sector or fails to protect its key defensive position.
- Ravenbrook’s defenders are overwhelmed in the chosen sector. Survivors retreat, the keep suffers lasting damage, and the party enters the Nexus with fewer allies and a reinforcement lane left open.
- The party tries to claim authority over the Heart instead of protecting the ritual circle.
- The wardens regard the party as would-be conquerors rather than successors. They remain hostile or withdraw, and the party loses a potential source of guidance about the Heart and the guardianship test.
- If the House Favor Ledger was accepted, the party ignores or mishandles the representatives’ intervention.
- A rival House representative takes advantage of the confusion to press a political claim over the shard’s fate. The party must address the dispute after the battle, and Draknaar relations may suffer if the demand is rejected.
Complications (d6)
- 1A nexus flare catches an exposed defender. Unless an ally reaches them before the end of the next round, they are hurled into a nearby emplacement and the sector loses one defensive position.
- 2A drainage grate bursts open behind the party. If Draknaar standing is Alienated, three Obsidian Tribunal Zealots emerge here as an ambush instead of joining the standard N1 reinforcement wave.
- 3An upward-falling sheet of rain floods a stairwell from the ceiling. Crossing it requires a suitable check or a route around, and the delay lets Tribunal troops advance one reinforcement lane.
- 4A focusing crystal releases a discordant pulse. Each creature concentrating on a spell in the ritual chamber must make a concentration check or lose that spell.
- 5A panicked defender mistakes the party’s allies for Tribunal infiltrators. A quick reassurance, clear signal, or show of authority prevents a brief crossfire and preserves the sector’s support.
- 6One planar rift opens wide enough to disgorge a hostile creature or hazardous surge. Place it near the nearest active reinforcement lane; closing or suppressing the rift buys the party one round before the next wave.
Media
0 imagesNo images yet.
Turn Storm at the Seventh Nexus into a sheet
A high-res, share-ready sheet you can post or print.