The Light Beneath the Tide
The Light Beneath the Tide
Read aloud
A bell tolls through the harbor fog, and a beacon on the western headland goes dark. Moments later, a cargo ship strikes the reef and begins to sink within sight of the docks. Harbormaster Ilyra Venn offers a reward to anyone who can reach the tower, restore its light, and find out why it failed.
Run the session
Cheat sheet
Objectives
- 1Investigate the darkened beacon.
- 2Learn who redirected the Tide Lantern.
- 3Protect the Lantern Ports from the coming tide.
- 4Investigate the second light.Optional
The clock
The next major tide surge arrives at dawn. Use visible markers such as rising water at the quay and changing signals from the other lanterns to communicate the deadline. Delays may make routes harder, increase damage, or force the party to choose which district receives the signal.
Scenes
- 0:00A Beacon Goes Dark
- 0:35The Second Light
- 1:20The Drowned Causeway
- 2:15The Keeper's Ledger
- 3:05Light Against the Water
Cast
- Harbormaster Ilyra VennQuestgiver
- Tomas ReedAlly
- Councillor Maelin SornAntagonist
- Nera QuillWitness
The hook
Set the scene
Read the hook aloud as the party stands among dockworkers watching the damaged cargo ship list toward the reef. Ilyra Venn arrives with a soaked harbor chart and a brass key to the beacon's lower door. She asks the party to act before the tide turns, while Tomas Reed insists the tower was sabotaged and Councillor Sorn's clerk urges everyone to wait for an official inquiry.
How Harbormaster Ilyra Venn asks
Ilyra approaches the party in the chaos after a ship hits the reef.
She offers immediate access to the beacon and promises payment from the harbor treasury, then quietly admits that the port council is already arguing over who should be blamed.
Rumours
Scenes
about 4.5 hours0:00
35 min
socialThe table is here
1. A Beacon Goes Dark
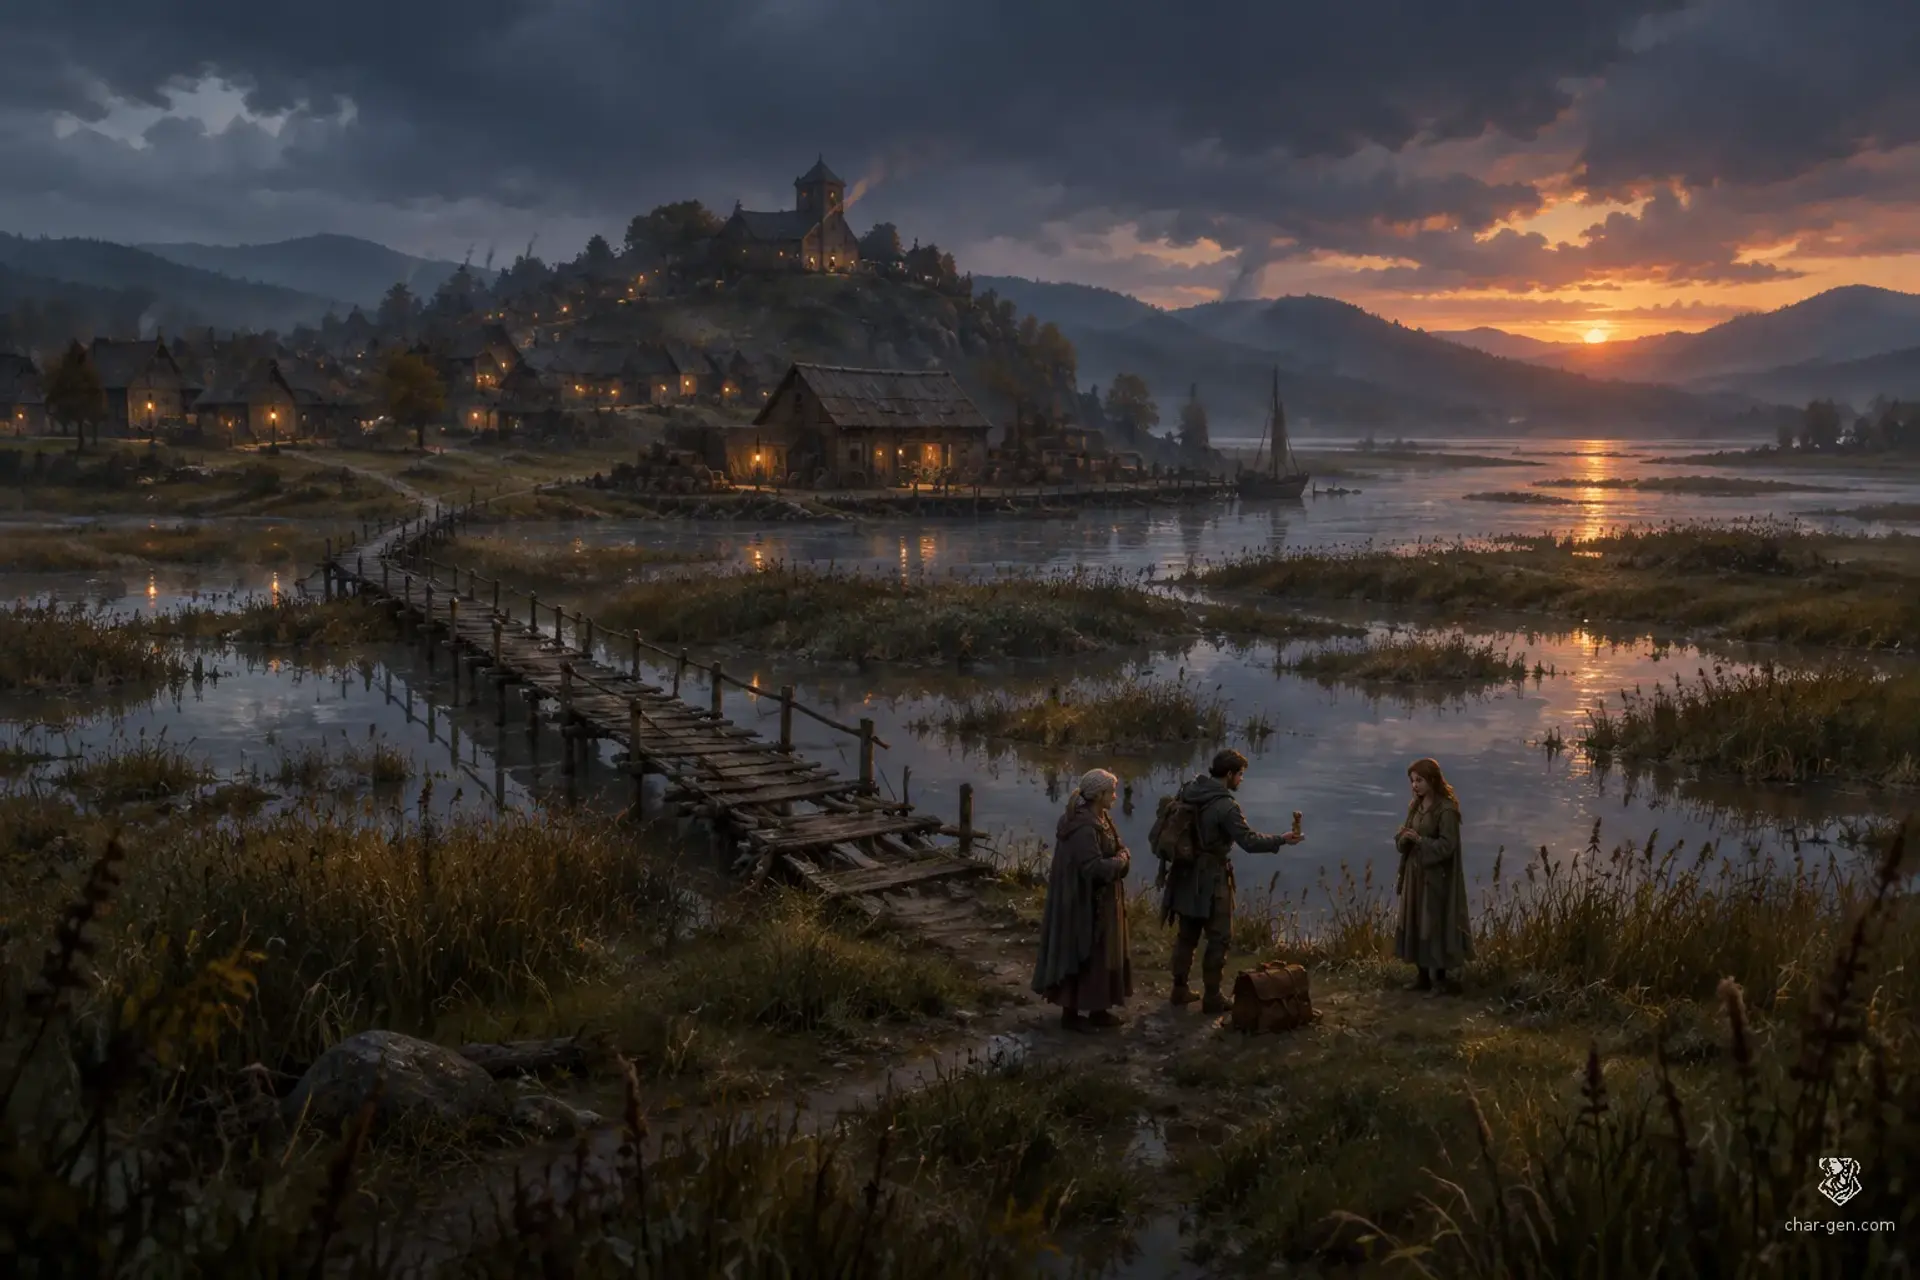
The rain-swept central quay, where sailors haul survivors from a damaged cargo ship.
The party sees the shipwreck aftermath and meets Ilyra, Tomas, and a council representative. They can secure supplies, question witnesses, and choose whom to trust.
NextTomas offers to guide the party along the lower causeway, while Nera asks to speak with them away from the council's people.
0:35
45 min
exploration
2. The Second Light
The lower docks, tide steps, and a stretch of reef-facing seawall.
The party questions Nera and follows evidence along the waterline. They find a fresh scrape on a signal lever and a trail of glassy residue leading toward the beacon.
NextThe evidence points toward the beacon's service entrance, but Sorn's enforcers arrive to block the causeway.
1:20
55 min
combat
3. The Drowned Causeway
A narrow causeway between the working docks and the western beacon.
The party must cross the flooded causeway. They can fight, bargain, expose Sorn's order, or take a hazardous route across moored boats.
NextBeyond the confrontation, the tower door stands open and the lightless lens turns slowly by itself.
2:15
50 min
skill
4. The Keeper's Ledger
The beacon's keeper room, filled with tide charts, maintenance tools, and a locked cabinet of old records.
The party searches the keeper's records and learns what the lanterns were built to do. They must decide what evidence to preserve and whether to confront Sorn before or after the mechanism is stabilized.
NextA violent shudder passes through the tower. The upper lens begins turning toward the open sea.
3:05
75 min
skill
5. Light Against the Water
The cramped upper chamber of the western beacon above a rapidly rising tide.
The party stabilizes the lens, deals with the eel, and chooses how to distribute the lantern signal. Their solution determines which ships and districts receive protection.
NextAt dawn, Ilyra gathers the port crews to hear what the party found and decide who will control the lantern network.
Behind it
What people believe
The western Tide Lantern has gone dark, leaving ships exposed to the shifting reefs around the Lantern Ports.
The harbor needs the beacon restored before the next dangerous tide, and the reason for its failure is disputed. The party must investigate the tower, navigate local political tensions, and find a way to keep the harbor safe.
Background
The Lantern Ports are a chain of fog-bound harbors connected by canals, seawalls, and beacon towers.
Their keepers maintain the Tide Lanterns, ancient lights whose synchronized glow guides ships through reefs that shift with the moon. Each port claims the lanterns are merely practical navigation tools, though old sailors insist the lights also keep something beneath the reefs asleep.
The stakes
If the beacon is not restored or replaced before the next surge, ships will strike the reefs and the lower harbor will flood.
If the party follows the evidence, they may discover that the lanterns are holding back a deeper threat, but the ports' leaders may resist any plan that costs them control or trade.
Encounters
2The Drowned Causeway
Combat or tense standoff
A narrow stone causeway between the lower docks and the beacon is slick with spray. Mooring posts provide cover, while a broken section opens directly into deep water.
Foes
Sorn's Dock Enforcers
Tideglass Eel
ComplicationThe water rises across the causeway during the confrontation. Each round or equivalent interval, safe ground shrinks and combatants risk being swept into the channel.
ScalingFor a smaller or less experienced party, use fewer enforcers and have the eel retreat after a strong hit. For a larger or more capable party, add an enforcer and let the eel use the rising water to separate characters.
The Turning Lens
Environmental hazard with optional combat
The beacon's upper chamber is cramped, with a suspended lens, narrow catwalks, exposed gears, and windows facing the black water.
Foes
Tideglass Eel
ComplicationThe lens housing has begun to rotate on its own. The party must stabilize the mechanism while the keeper's records and the tower's old controls offer conflicting instructions.
ScalingFor a gentler challenge, the eel is distracted by the lens and can be driven away with a display of light or sound. For a harder challenge, the lens shifts the safe platforms each interval and the eel attacks anyone handling the controls.
Cast
4Harbormaster Ilyra Venn
QuestgiverQuestgiver
WantsRestore the beacon before another ship is lost and protect the port's reputation.
“The western light went dark, and now every captain in the harbor is asking whether the sea has learned our names.”
Tomas Reed
Ally, junior lantern keeper
WantsProve that the beacon failure was deliberate and prevent the port council from scapegoating the keepers.
“The lenses are not broken. Someone turned them away from the water.”
Councillor Maelin Sorn
Antagonist
WantsRedirect the Tide Lanterns to protect the wealthy upper harbor, even if the poorer docks are left unlit.
“I am trying to save the harbor. The council would rather let the lower piers drown than admit the old charts were wrong.”
Nera Quill
Witness, net-mender
WantsMake the authorities acknowledge what they saw and keep their family safe from the coming tide.
“At low tide, there was a second light beneath the water. It blinked back at the tower.”
How it ends
Rewards
Items
A brass beacon key that opens service doors at the Lantern Ports
A sealed chart case containing old tide routes and keeper annotations
A weatherproof signal lantern usable for communication between nearby ships
On a win
The beacon's signal is restored or replaced with a safe alternative before the tide reaches the harbor.
The party exposes Sorn's tampering, negotiates a political settlement, or chooses a compromise that protects as many people as possible. If they investigate the second light, they also learn that the lantern network serves as a barrier against a danger beneath the reefs.
What it leaves open
If it fails
- The party fails to identify the true cause of the beacon's misalignment before the next tide surge.
- The party loses time and must choose which route to sacrifice as the tide covers the lower streets.
- The party cannot stop Sorn from taking the lens controls.
- The council gains control of the lanterns and redirects their light toward the upper harbor. Several lower-dock ships are lost, and the party's standing with dockworkers suffers.
- The party drives away the eel or restarts the mechanism without discovering the submerged signal.
- The beacon is restored only temporarily. The deep light remains active, and a later surge damages the port.
Complications (d6)
- 1A sudden fogbank swallows the harbor. Until the party finds a bell buoy or raised vantage point, distant signals and landmarks are difficult to identify.
- 2The tide surges through the lower streets ten minutes earlier than predicted, cutting off the safest route back to the port.
- 3A frightened keeper mistakes the party for saboteurs and locks the beacon's outer stairwell, forcing a negotiation or alternate entrance.
- 4A mooring line snaps and a loaded skiff drifts toward the reef. Rescuing its crew costs time but gains the trust of local sailors.
- 5Councillor Sorn's agents arrive with an order to seize the lens controls and remove Tomas from the tower.
- 6A pale light moves beneath the water, drawing nearby fish and making the harbor's working boats turn toward the open channel.
Media
0 imagesNo images yet.
Turn The Light Beneath the Tide into a sheet
A high-res, share-ready sheet you can post or print.