
Manage Session Covers and Media
Choose, inspect and manage cover and subject artwork without confusing ownership with visibility.
The Media tab keeps the session cover and supporting artwork together. Open your Session Library, choose a completed private session, then use its /sessions/{sessionId} detail route to inspect its cover and supporting art. The walkthrough uses an owned synthetic cover already attached to Crossing the Mire, with no paid generation or upload required.
Review the current cover
1. Open Media and inspect the source
Select Media. The retained session shows one owned cover. Use View larger to inspect composition and readability before changing it. The tutorial image is fictional and has no real-person likeness or text.
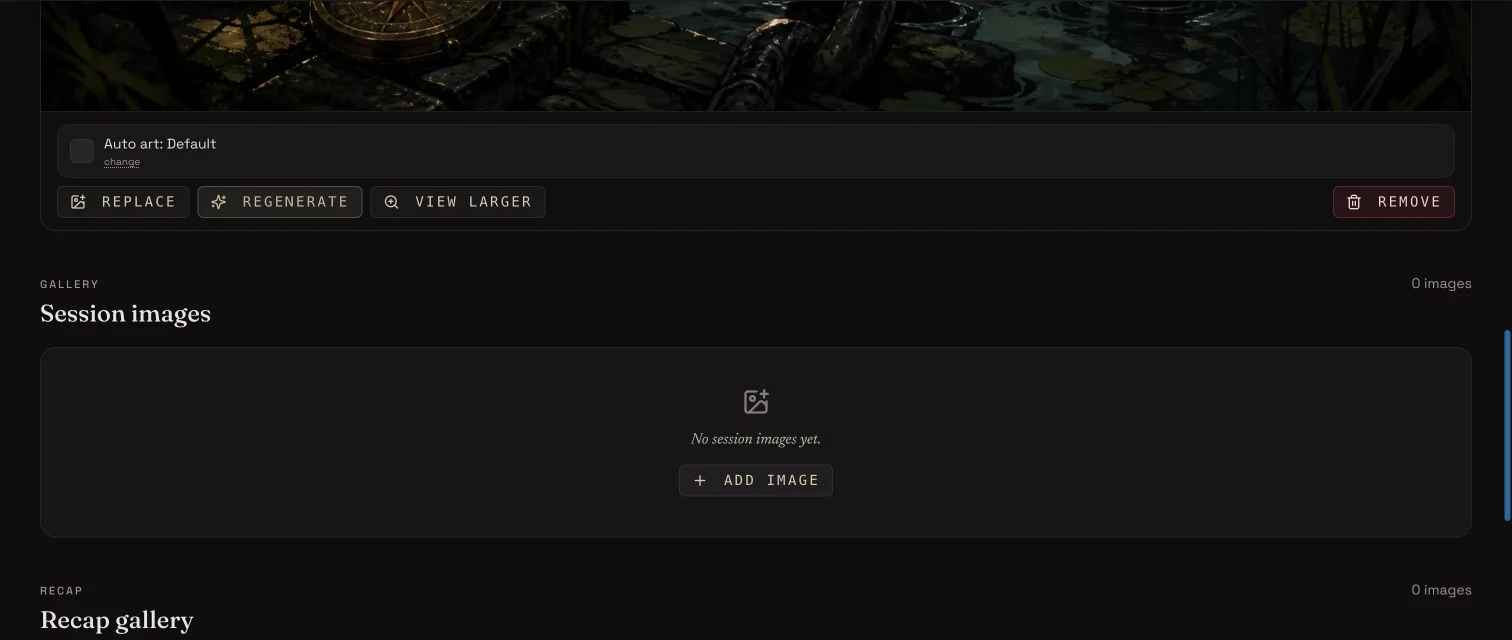
Replace, regenerate, preview and remove act on the cover. Session images are managed separately below it.
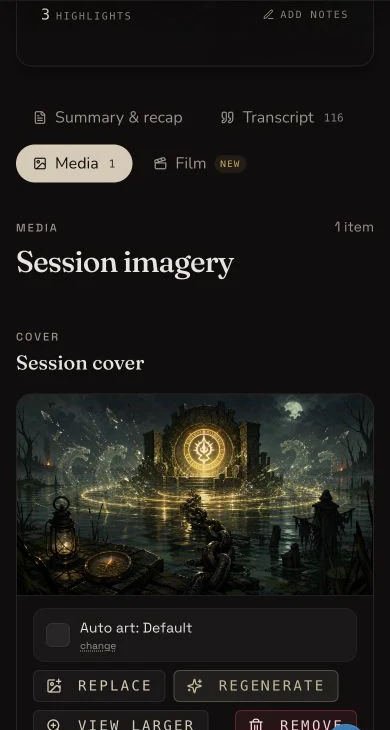
The current cover and its main actions remain visible on a narrow screen.
Replace or create cover art
2. Choose an owned upload or Gallery image
Use Replace to choose an owned upload or a permitted image from your Gallery or library. Review the selected image and use Set Cover where that picker mounts it. Source ownership is required even when the session stays private.
3. Review style and cost before AI generation
Regenerate opens the AI cover flow. Choose a mounted style when offered, read the prompt and check the displayed Gold charge immediately before submission. The retained tutorial did not submit this control and spent no additional Gold.
4. Preview, download and set deliberately
Preview the full image before setting it as the cover. Download a local copy when you need an external backup, then verify the file opens. Selecting or downloading an image does not by itself change the active cover.
Manage supporting art
5. Add session and subject images separately
Add image manages the session gallery beneath the cover. Where a cast, monster or location block mounts subject-art controls, choose artwork for that subject separately. A subject image does not automatically become the session cover.
6. Remove only after checking the fallback
Remove detaches the current cover. Confirm that you have a local or Gallery copy and understand what the header will show afterwards. This walkthrough did not remove the retained fixture because later tutorials use the same owned cover.
Checkpoint
Check your result
- The retained owned image is visible as the active session cover on desktop and mobile.
- Replace, Regenerate, View larger and Remove are visible for the active cover.
- The empty Session images area and Add image control are visibly separate from the active cover.
- No upload, removal, AI generation, Set Cover action or post-refresh media mutation is claimed.
Troubleshooting
If something looks wrong
Troubleshooting
- Symptom
- An image is visible in Gallery but is not the session cover.
- Likely cause
- Gallery ownership, session attachment and active-cover selection are separate states.
- Next safe action
- Open the session Media tab, choose the permitted image through Replace, and review the Set Cover state before saving.
- Symptom
- The active cover is not suitable at full size.
- Likely cause
- The cropped header preview can hide composition or readability problems.
- Next safe action
- Use View larger and inspect the original before replacing or regenerating it.
- Symptom
- A subject image did not become the cover.
- Likely cause
- Cover, session-gallery and per-subject artwork use separate controls.
- Next safe action
- Return to the Media cover control and set the intended cover deliberately.
Limitations
- No paid image was generated in this walkthrough, so it does not claim an AI result or charge.
- Style choice appears only where the selected media flow mounts it.
- Removing a cover does not prove that the underlying Gallery item was deleted.
- Gallery public visibility, Session Note publication and campaign publication are three separate choices.