The Storm-Key of Vael's Tower
The Storm-Key of Vael's Tower
Read aloud
A prospector has found a stair beneath the ruins of an old mage tower north of Phandalin, and something inside has begun sending blue lights into the night. Sister Garaele believes the tower may hold magic that could help you face Cryovain. The entrance will not stay clear for long.
Run the session
Cheat sheet
Objectives
- 1Find a safe route into the buried mage tower.
- 2Cross the Sentinel Gallery and survive its traps.
- 3Secure the storm-key from the Warlock's Vault.
- 4Lay Edda's spirit to rest and strengthen the vault's containment.Optional
The clock
After the party first enters the tower, the blue lights flare every hour. On the third flare, a group of monsters begins gathering at the entrance and the tower's unstable stair starts to collapse. Advance the clock after major delays, loud fights, or a short rest; the party can still escape, but returning to the surface becomes more difficult.
Scenes
- 0:00The Blue Light in the Hill
- 0:30The Apprentice's Sequence
- 1:15The Sentinel Gallery
- 2:15Edda's Last Lesson
- 2:50The Storm-Key's Keeper
Cast
- Sister GaraeleQuestgiver and ally
- Toblen's prospector, Halia VossWitness
- Edda MarrAlly and wildcard
- Vael Turog's RemnantAntagonist
The hook
Set the scene
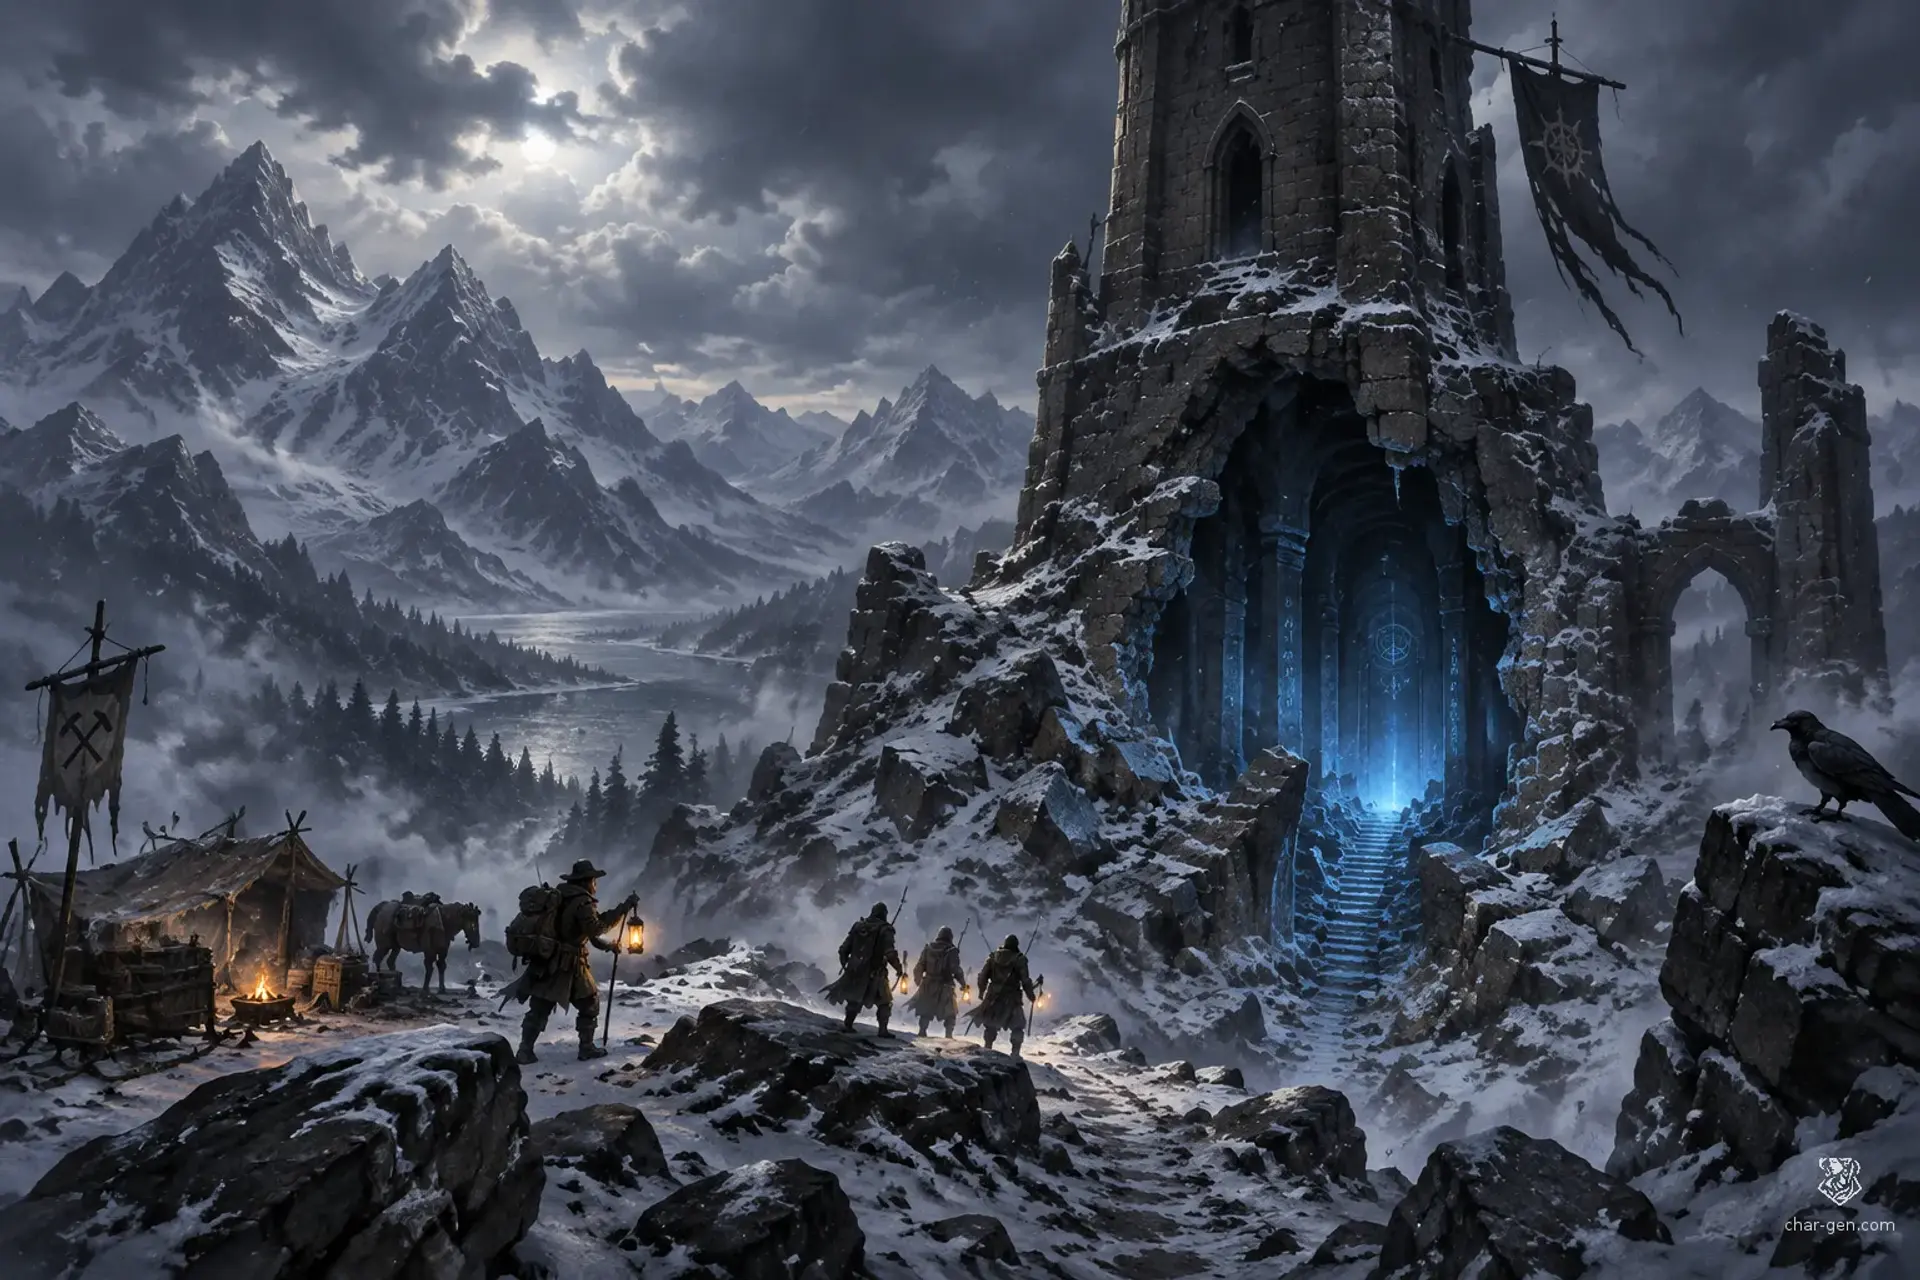
At Sister Garaele's request, the party meets prospector Halia Voss at a small camp near the mage tower. The ruin is a broken stone cylinder on a rocky rise, with a fresh gap in its base and blue light flickering below. Halia can point out the entrance and warn that something followed her from the dark. The party can ask questions, inspect the site, and choose whether to enter openly or search for another way in.
How Sister Garaele asks
Sister Garaele asks the characters to meet her at the Stonehill Inn or the Shrine of Luck.
She explains that Phandalin needs any advantage against Cryovain, offers a rough map based on a prospector's account, and promises a reward for recovered magic that can be used against the dragon.
Rumours
Scenes
about 4 hours0:00
30 min
socialThe table is here
1. The Blue Light in the Hill
A prospector's camp beside the rubble-strewn hill north of Phandalin.
The party meets Halia, studies the ruin, and chooses how to enter. Checks to read tracks, inspect the masonry, or question Halia can reveal that clawed creatures use the opening at dusk.
NextOnce the characters find the exposed stair or another opening, descend into the tower's first buried chamber.
0:30
45 min
exploration
2. The Apprentice's Sequence
A narrow entry chamber with a sealed stair, carved plaques, and a pressure-slab trap beneath dusty tiles.
Give the players a compact dungeon puzzle: three stone plaques show a sun, a hand, and a storm. The correct sequence, learned from scratches or Edda's hint, is sun, hand, storm. Wrong attempts trigger a custom pressure-slab trap that drops debris and makes noise; a careful search or suitable tools can disable it.
NextOpening the sealed stair leads to the Sentinel Gallery.
1:15
60 min
combat
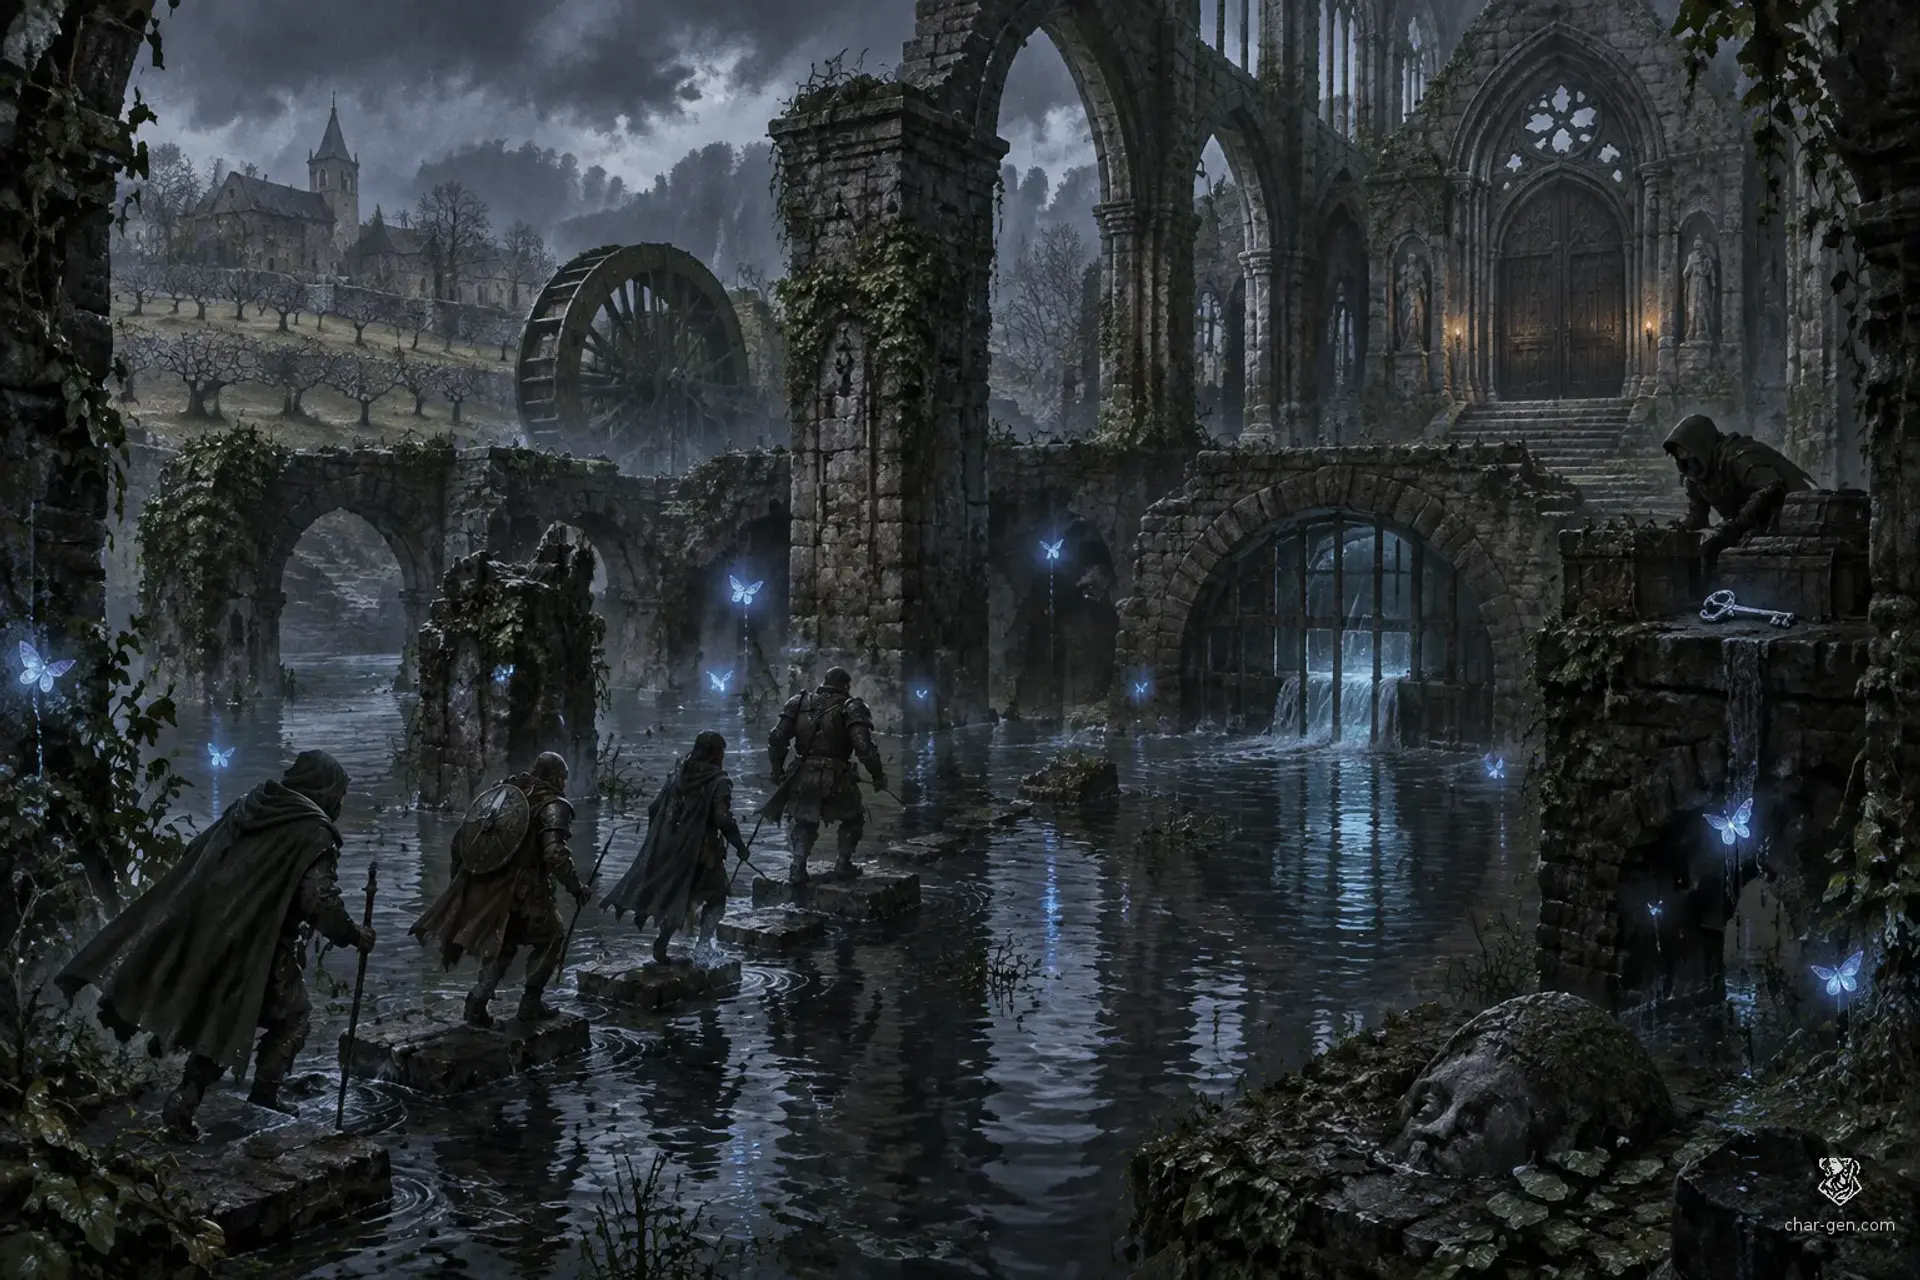
3. The Sentinel Gallery
A vaulted gallery split by floor cracks, broken pillars, and a rune dais.
The party must cross the cracked hall while the animated guardians try to herd them toward fissures. Characters can fight, use cover, disable the dais, or find a ledge route.
The Sentinel GalleryNextThe western arch leads to a quiet apprentice's room; the eastern door opens toward the vault.
2:15
35 min
social
4. Edda's Last Lesson
A cramped apprentice's chamber, still furnished with a desk, cracked mirror, and a silver seal on a shelf.
Edda Marr appears as a faint spirit or speaks through a preserved recording crystal. She can explain the vault's ward logic, ask the party to return her seal, and warn that the voice in the vault is not Vael as he once was. The party may persuade her to help, investigate her room, or move on.
NextA successful exchange or a forced entry leads to the Warlock's Vault.
2:50
75 min
combat
5. The Storm-Key's Keeper
A circular vault with a warded coffer, rune vents, and a raised platform bearing Vael's broken crest.
The remnant tries to bargain before the fight, claiming the storm-key can destroy Cryovain. During the confrontation, the party can use the rune vents, fight the foes, disrupt the ward, or seal the remnant with Edda's seal.
The Warlock's VaultNextWith the coffer opened and the vault stabilized or abandoned, the party can return to Phandalin or explore one optional side passage before leaving.
Behind it
What people believe
A ruined mage tower north of Phandalin may contain magical objects that could aid the fight against Cryovain and other powerful creatures.
The site is now plagued by monsters, unstable masonry, and dangerous old defenses. Sister Garaele asks the party to explore the tower, recover its most promising relic, and return before the entrance is lost.
Background
A century ago, the battle-mage Vael Turog raised a narrow tower on a stony rise north of Phandalin.
During a war against a dragon-worshipping host, he sealed weapons, charms, and a map to hidden caches inside. Vael later turned to forbidden magic and was destroyed by his own apprentices. His tower collapsed, but its buried lower levels remain intact. Local miners report strange lights and creatures gathering around the ruin.
The stakes
If the party fails, Phandalin loses a rare chance to acquire magic that could help against Cryovain, while the remnant may escape and become a future threat.
If the party succeeds, they gain a useful but limited tool and the knowledge that the tower holds further caches.
Encounters
2The Sentinel Gallery
Combat
A vaulted hall with broken pillars, a cracked stone floor, and narrow ledges above shallow fissures. Pillars provide cover, while a central rune dais is the apparent exit trigger.
Foes
Animated armor
Flying swords
ComplicationThe animated guardians attempt to push intruders onto the cracked central tiles. A creature that falls into a fissure takes damage appropriate to the party's level and must climb out.
ScalingFor a lower-level or smaller party, use one animated armor and one flying sword. For a larger or higher-level party, add one flying sword or a second animated armor. These are D&D 5E creature names; tune hit points and numbers to suit the table.
The Warlock's Vault
Combat
A circular vault with a raised, rune-inscribed platform, four rune vents, and a narrow entrance. The storm-key rests inside a warded glass coffer.
Foes
Vael Turog's Remnant
Skeletons
ComplicationAt the start of each round, a random rune vent releases a short cone of force or cold. The vent's glow gives warning before it fires; characters can use the pillars for cover or disable the vent mechanism.
ScalingFor levels 3 to 4, use the remnant as a custom, fragile magical foe with a small number of damaging spells and two skeletons. For level 5 or a strong party, add two skeletons or give the remnant one additional use of a defensive spell. Do not use a full warlock stat block without adjusting it for the party.
Cast
4Sister Garaele
QuestgiverQuestgiver and ally
WantsWants the party to recover useful magic before Cryovain's attacks make the journey too dangerous.
“Cryovain keeps taking more from us. If those old wards can help you stand against him, bring them back before the snow buries the trail.”
Toblen's prospector, Halia Voss
Witness
WantsA local prospector wants to prove the tower is worth the risk, but is frightened by what followed them out.
“I found a stair beneath the rubble. I also found claw marks on the stones. I am not going back down there alone.”
Edda Marr
Ally and wildcard
WantsAn apprentice's lingering spirit wants Vael's warlock remnant contained, but fears that destroying the tower will release it.
“The tower remembers its master. Speak his name, and it will open. Speak it carelessly, and it will answer.”
Vael Turog's Remnant
Antagonist
WantsThe remnant of Vael Turog seeks to escape the tower by possessing a living bearer and reclaiming its stored magic.
“Give me the storm-key. The dragon is a beast, but I can make a kingdom tremble.”
How it ends
Rewards
Items
Storm-key, custom wondrous item: while carried, its bearer has advantage on one saving throw against cold damage or a cold-related effect, once per long rest. This is a custom feature, not a standard D&D 5E item.
Choose or roll one recovered minor magic item suitable for the party's level, such as a potion of healing, a spell scroll, or a defensive charm. Use standard D&D 5E item rules for the chosen item.
Vael's map fragment, a story item marking a possible second cache.
On a win
The party secures the storm-key and returns to Phandalin with at least one additional usable relic or a reliable lead to one.
If they contained Vael's remnant and honored Edda's request, the tower's lights go dark and the recovered magic is safe to study. The storm-key can be presented as a custom wondrous item that helps its bearer endure or redirect cold energy, providing a practical but limited advantage against Cryovain without making the dragon fight automatic.
What it leaves open
If it fails
- The party cannot reach the lower tower after exhausting its resources or becoming trapped.
- The expedition must retreat and the tower's entrance collapses. A later return requires a new route, a labor crew, or help from a local guide.
- The party leaves the remnant undefeated or bargains with it without securing its containment.
- Vael's remnant escapes in a stolen trinket or a willing host. It becomes a recurring threat, but does not immediately gain the storm-key.
- The party triggers the vault's collapse while retrieving the prize.
- The party recovers the storm-key but loses another cache to the collapse. The quest succeeds at a cost, and the lost items may be found in a future adventure.
Complications (d6)
- 1A loose stone shelf collapses behind the party, blocking the route back until they spend several minutes clearing it or find another exit.
- 2A burst of frost magic coats the floor in slick ice. Each creature crossing the affected area must move carefully or risk falling prone.
- 3A wandering skeleton patrol enters from a side passage, drawn by noise or bright light.
- 4The tower's runes flare and extinguish all nonmagical light in the room for one minute.
- 5A trapped cache releases choking dust. Creatures in the room must retreat or cough loudly enough to alert nearby foes.
- 6The remnant whispers a false warning in a familiar voice, trying to lure one character toward a trapped doorway.
Media
0 imagesNo images yet.
Turn The Storm-Key of Vael's Tower into a sheet
A high-res, share-ready sheet you can post or print.