Choose the Fate of the Gild-Way Grid
Choose the Fate of the Gild-Way Grid
Run the talk
Starts Neutral
Base DC 15
Success The party carries out its chosen immediate response without the chamber collapsing
Failure The chamber buckles before the party completes its plan
Party 6 players, level 14
System D&D 2024
Cheat sheet
Decide how to handle the unstable Nexus, and set the future of the Gild-Way grid in motion.
Success
Failure
- Clock
- 4 / 3
- successes / failures
- Base DC
- 15
- Starts
- Neutral
Read aloud
Say this
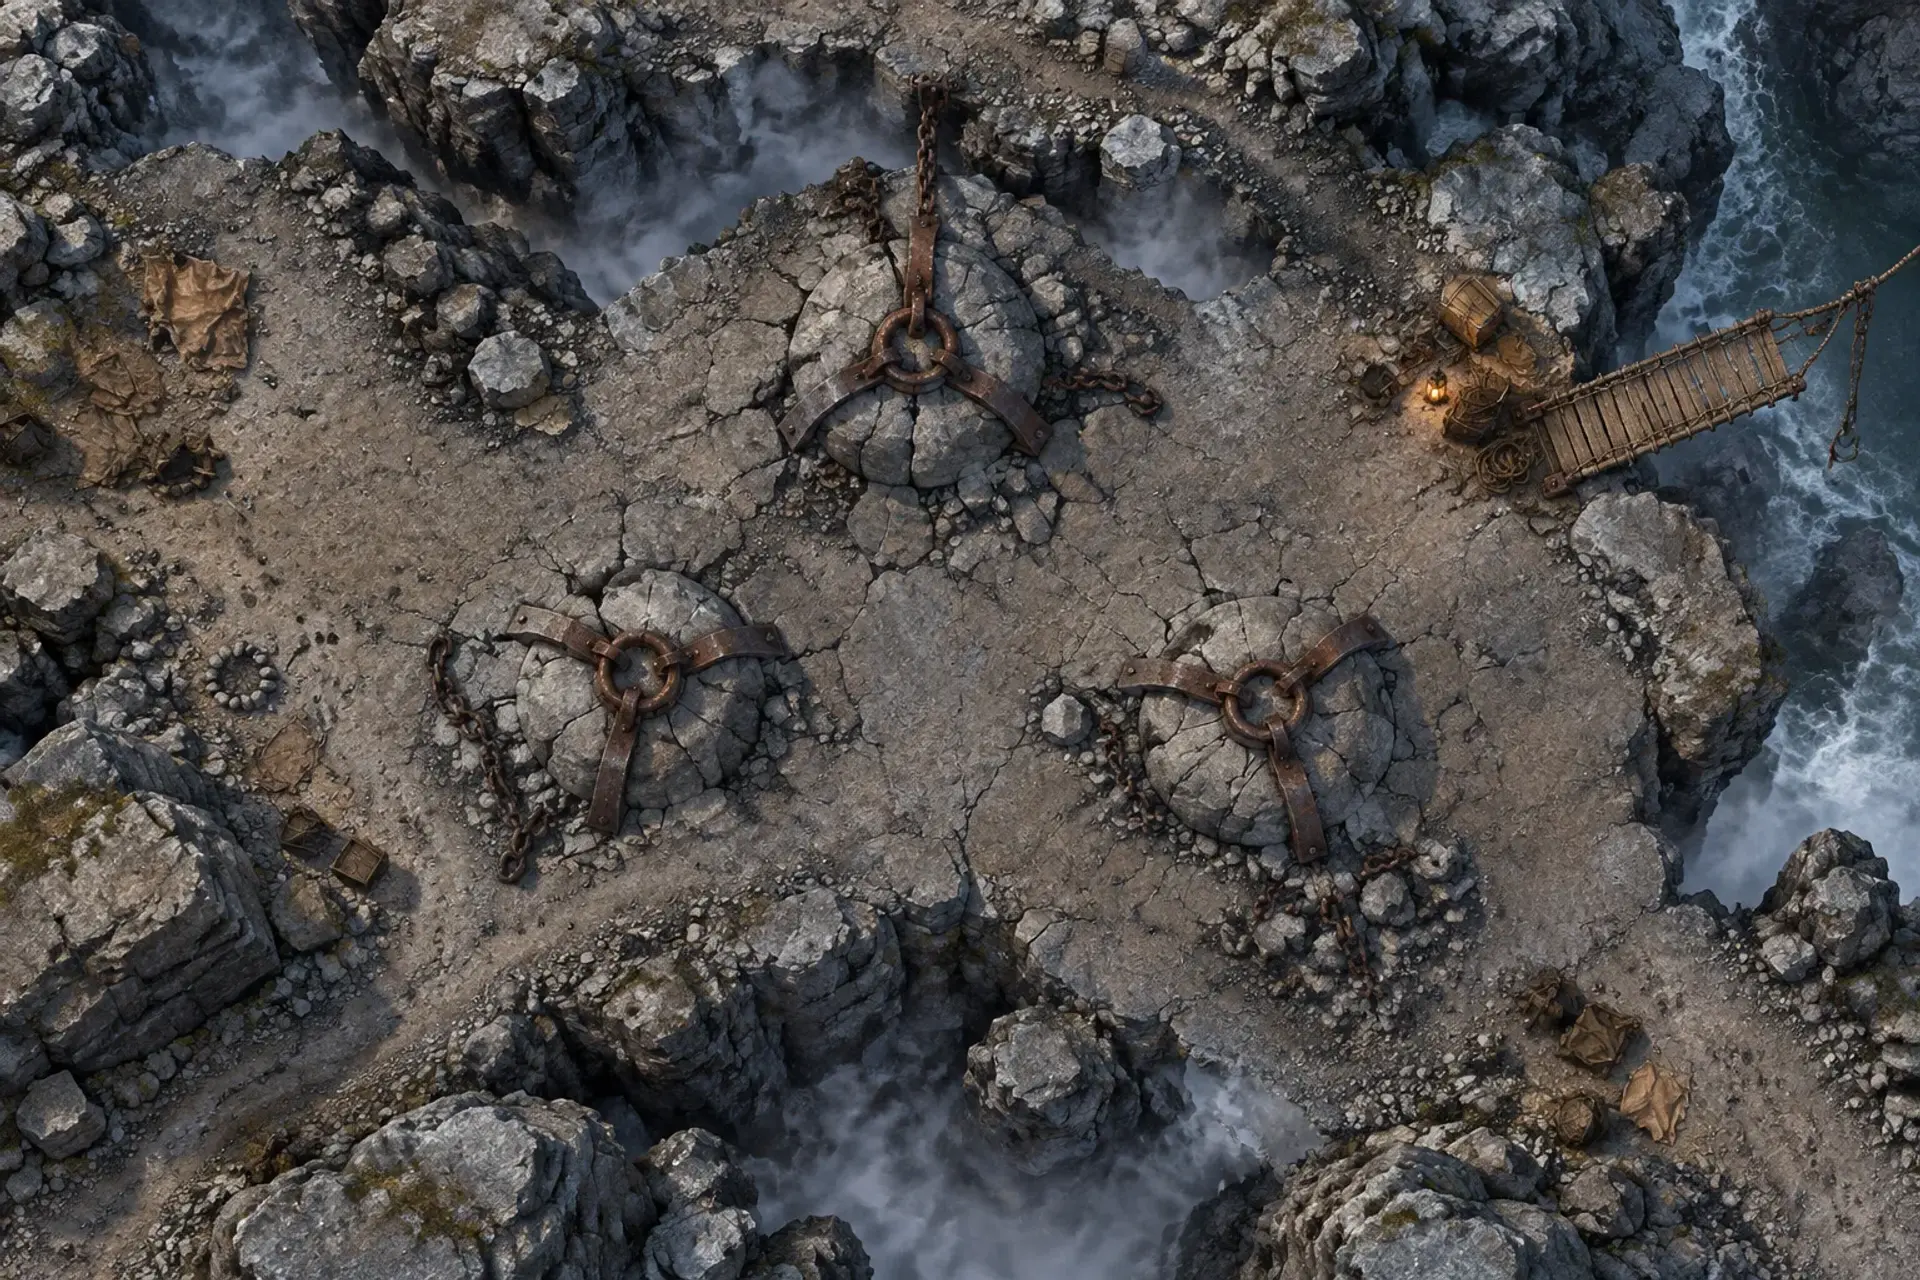
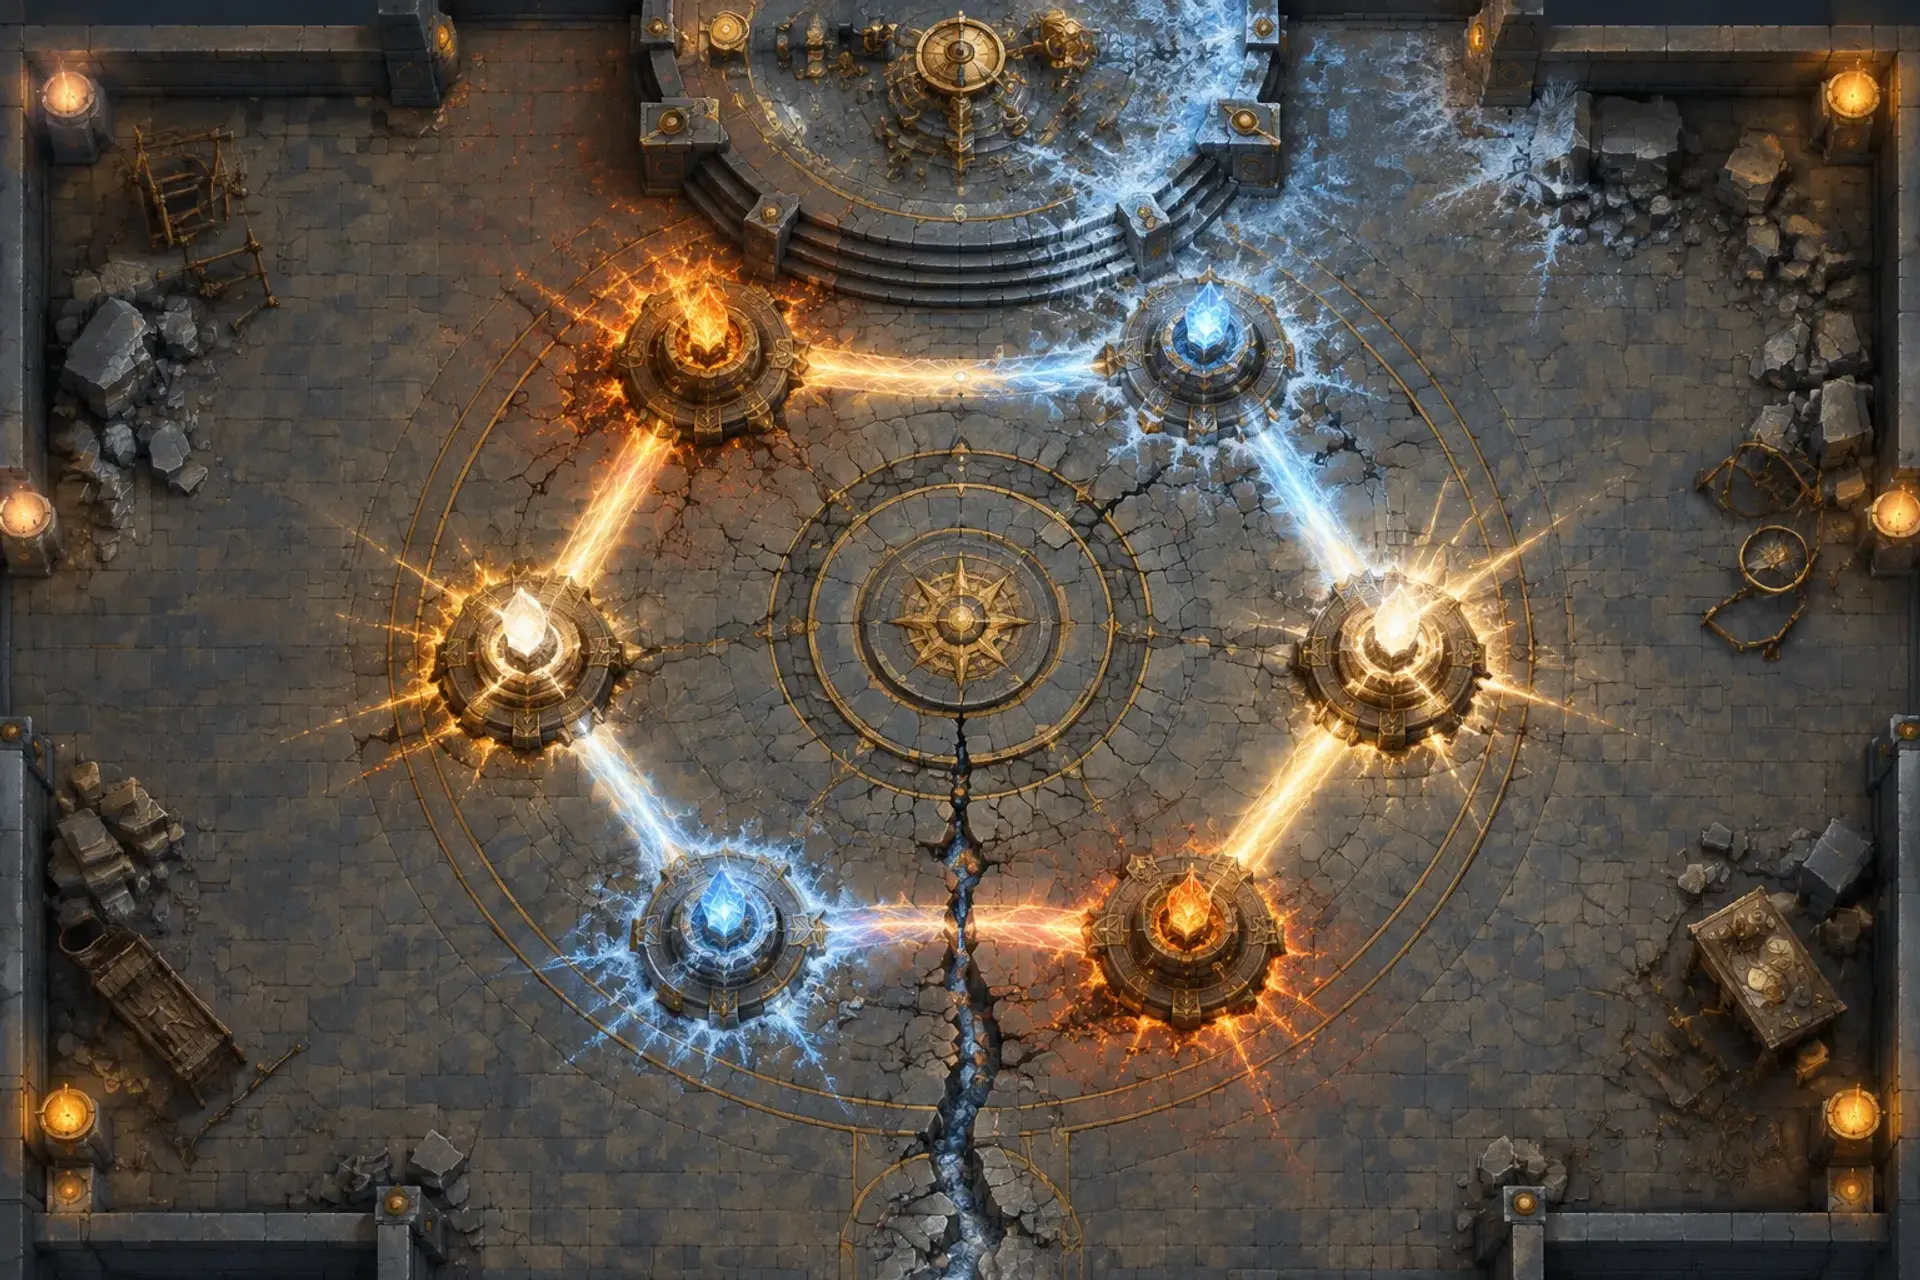
Brace as the six altar channels flare, flooding the chamber with heat, cold, and white-gold light. The stone floor bows beneath you; brass markers on the dais rattle while a deep pressure climbs through the soles of your boots. Cindreth Valeorean grips the control rail and calls, “Choose what we save before this room chooses for us.”
Who says what
They wantCindreth wants the party to choose a course before the chamber collapses. She favors containment over a reckless attempt to restore the whole grid, and wants the decision to leave room for the realms to agree on what comes next.
LeverageThe party’s prior choices and alliances can provide skilled help, supplies, or political backing. Ask which ally they call on and what that ally can realistically contribute.
Cindreth
On a strong practical plan, Cindreth steadies the control rail and says, “Good. Tell me which channel you take first.”
On a plan that risks the party for a fast repair, she asks who will be left to manage the consequences if they fail.
If the party argues over the decision, she points to the shuddering floor and asks each speaker to name one cost they will accept.
If the party chooses retreat, she helps clear the exit seam and promises to return with help, not to pretend the danger has passed.
Maneuvers
What the party can use
What happens
20–30 minutes; longer if the group prepares for the optional Avatar fight.- ·
At the start of the second round of discussion
The floor flexes and a wave of heat rolls through the altar ring. The next speaker must raise their voice to be heard.
- ·
When the group reaches its first failure
A channel flashes cold blue; frost crawls across the dais and the controls lock until someone redirects a channel or takes a minute to warm them.
- ·
When the group reaches its final allowed failure
The six channels flare together. If the party has not chosen stabilization, containment, or retreat, the chamber begins to buckle and the Avatar’s presence becomes unmistakable.
The battlefield
Zones
- 1
Altar ring30 ft
Six channels meet in a ring of carved altars; the air tastes of hot metal and frost.
- 2
Control dais25 ft
A raised stone dais holds the Gild-Way controls; each pulse makes its brass markers chatter.
- 3
Exit seam25 ft
A narrow, cracked path leads from the chamber toward the safe passage; loose stone grinds underfoot.
What the party can use
Treasure
Media
0 imagesNo images yet.
Turn Choose the Fate of the Gild-Way Grid into a sheet
A high-res, share-ready sheet you can post or print.