The Dusk Wing and the Heartlamp
The Dusk Wing and the Heartlamp
Read aloud
A woman's cry for help rides the wind through the Great Library's catacombs, though no one can find its source. At the end of a forgotten passage, an old mirror shows the woman standing among you, her lips moving in time with the distant plea. She nods, and the mirror gives way like a door.
Run the session
Cheat sheet
Objectives
- 1Answer the call and enter the Gloaming.
- 2Discover the danger and win the trust of the refugees.
- 3Restore the Heartlamp before the Dusk Wing consumes it.
- 4Discover a way to end the Dusk Wing's suffering.Optional
The clock
After each major scene beyond Gloamhold, the Heartlamp dims further. The GM can show this with three visible stages: distant landmarks lose their glow, the castle's colored windows go dark, then the beacon itself begins to flicker. If the party spends substantial extra time or takes a long rest, advance one stage.
Scenes
- 0:00The Mirror That Answers
- 0:45A Refuge Beneath Dim Windows
- 1:45The Gallery of Unlit Portraits
- 2:45The Archive of Reflected Names
- 4:00The Ossuary Below the Chapel
- 5:00The Last Light of Gloamhold
Cast
- Seren ValeQuestgiver and keeper of the Heartlamp
- Brother CaldusAlly and caretaker of the castle refuge
- The Dusk WingAntagonist
- NimWitness and young refugee
The hook
Set the scene
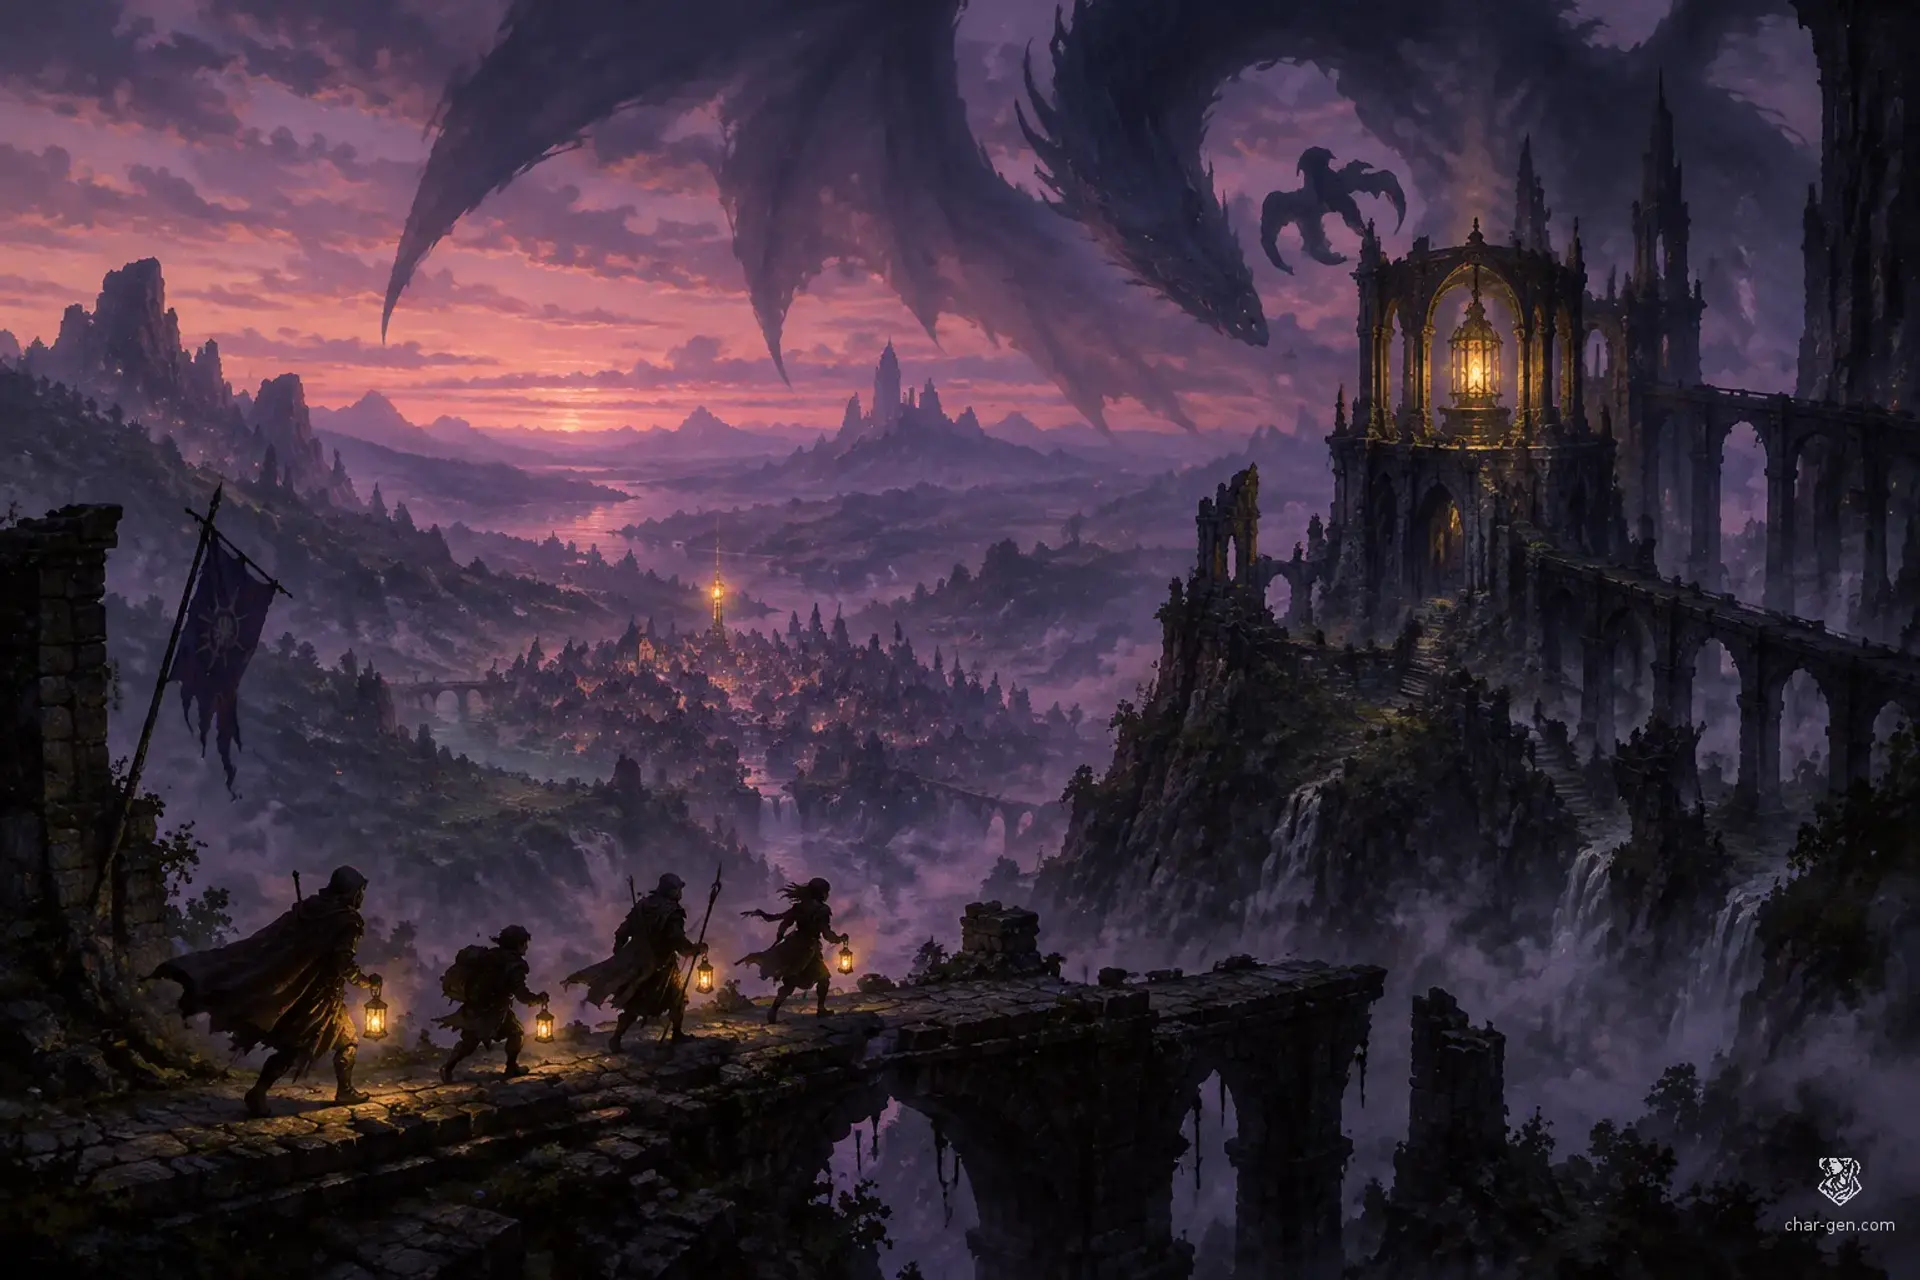
Read aloud: A woman's cry for help rides the wind through the Great Library's catacombs, though no one can find its source. At the end of a forgotten passage, an old mirror shows the woman standing among you, her lips moving in time with the distant plea. She nods, and the mirror gives way like a door. Beyond it waits a world beneath a dim pink sky, its forests and towers glowing in shades of purple, blue, and red. The woman steps out before you and says, "Thank you for coming. The Dusk Wing is eating our light." Invite each player to describe their character's reaction as they cross.
How Seren Vale asks
The party hears a woman's plea echoing through the Great Library's catacombs.
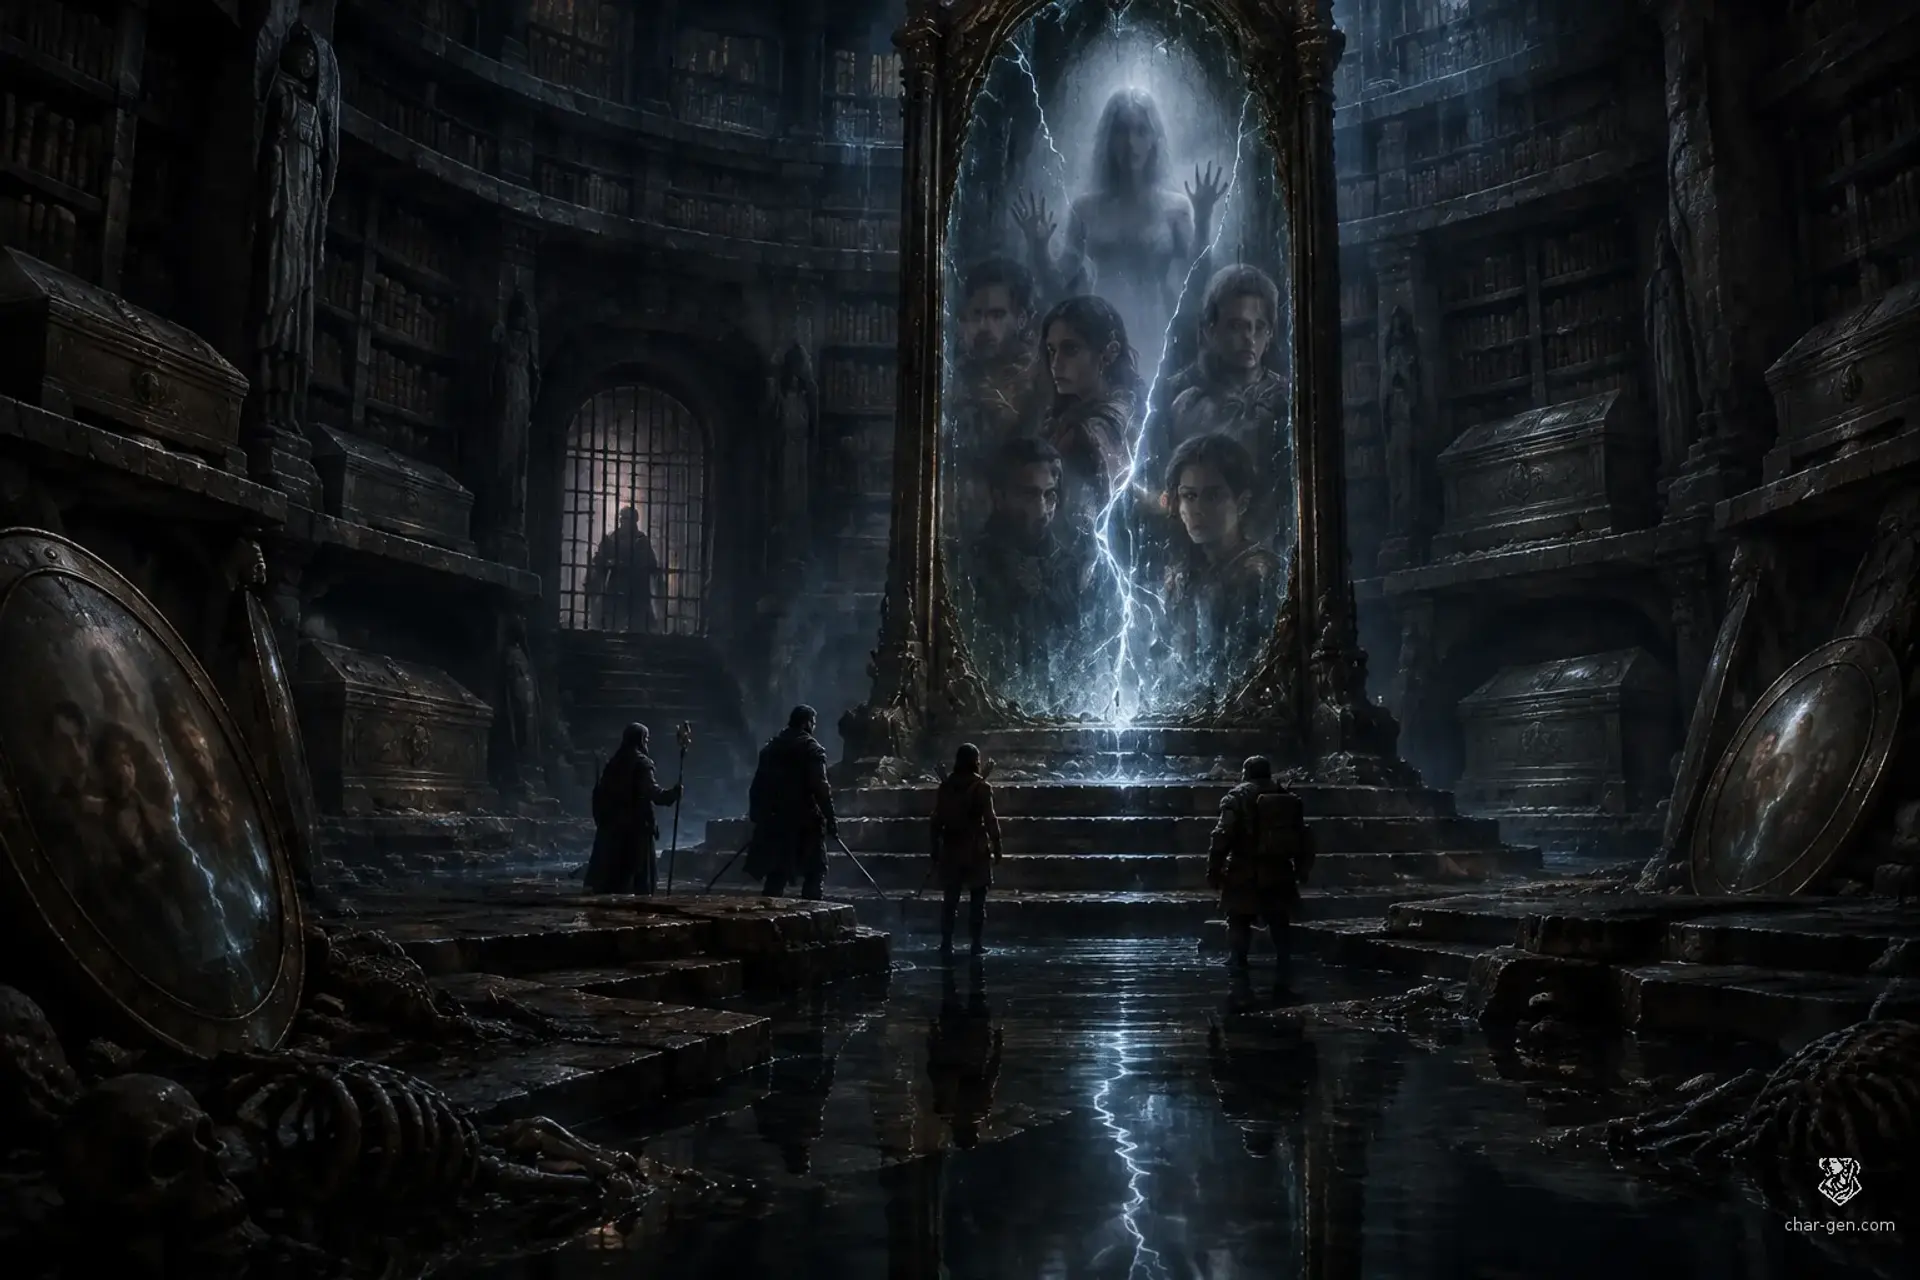
In a forgotten chamber, an antique mirror reflects the woman among them. As the adventurers approach, she appears to become each of them in turn, matching their faces and gestures before nodding in recognition. The mirror opens when they step through. On the other side, Seren thanks them and explains that the Dusk Wing is devouring the light of her world.
Rumours
Scenes
about 6.5 hours0:00
45 min
explorationThe table is here
1. The Mirror That Answers
The Great Library's sealed catacombs, an old mirror chamber, then the glowing Gloaming beneath its dim pink sky.
Establish the eerie call, let each adventurer respond to the mirror, and make the crossing feel like a deliberate choice. Seren gives the party the immediate problem and asks them to reach Gloamhold.
NextSeren leads the party along an old road toward Gloamhold, where a dim beacon can be seen through the colored mist.
0:45
60 min
social
2. A Refuge Beneath Dim Windows
Gloamhold's outer bailey, fortified with painted windows, crystal lanterns, and barricades made from damaged furniture.
Meet Brother Caldus and Nim among the refugees. The party learns what the Dusk Wing has done and can earn trust by offering practical aid, listening, or promising to protect the settlement.
NextCaldus reveals a route into the castle's old portrait gallery, which leads toward the sealed Heartlamp stairs.
1:45
60 min
combat
3. The Gallery of Unlit Portraits
A long castle gallery lined with dark portraits, colored lamps, and broken plinths.
Choose how to pass the portrait gallery. The party can fight the Gloam Stalkers, lure them away, use the gallery's lamps, or move quietly through the hazards.
The Gallery of Unlit PortraitsNextBeyond the gallery, a stairwell descends to a mirror-lined archive where the castle's old records can be searched.
2:45
75 min
skill
4. The Archive of Reflected Names
A dusty archive of mirrored cabinets and illuminated manuscripts beneath the castle chapel.
Search the archive for a safe route and evidence about the Heartlamp. Nim can identify a symbol from a warning she heard in the castle, while records reveal a way to adjust the beacon's shutters.
NextThe archive's maps point to the Heartlamp chamber beneath the chapel crypt, but the only approach passes through a flooded ossuary.
4:00
60 min
exploration
5. The Ossuary Below the Chapel
A flooded catacomb passage beneath the chapel, with red crystal growths and old stone coffins that glow faintly underwater.
Cross the ossuary and reach the Heartlamp. Use this scene to let the characters prepare, inspect the beacon, and decide whether to pursue a battle plan or attempt to communicate with the Dusk Wing.
NextThe Heartlamp's shutters begin to turn by themselves as the Dusk Wing descends into the chamber.
5:00
90 min
combat
6. The Last Light of Gloamhold
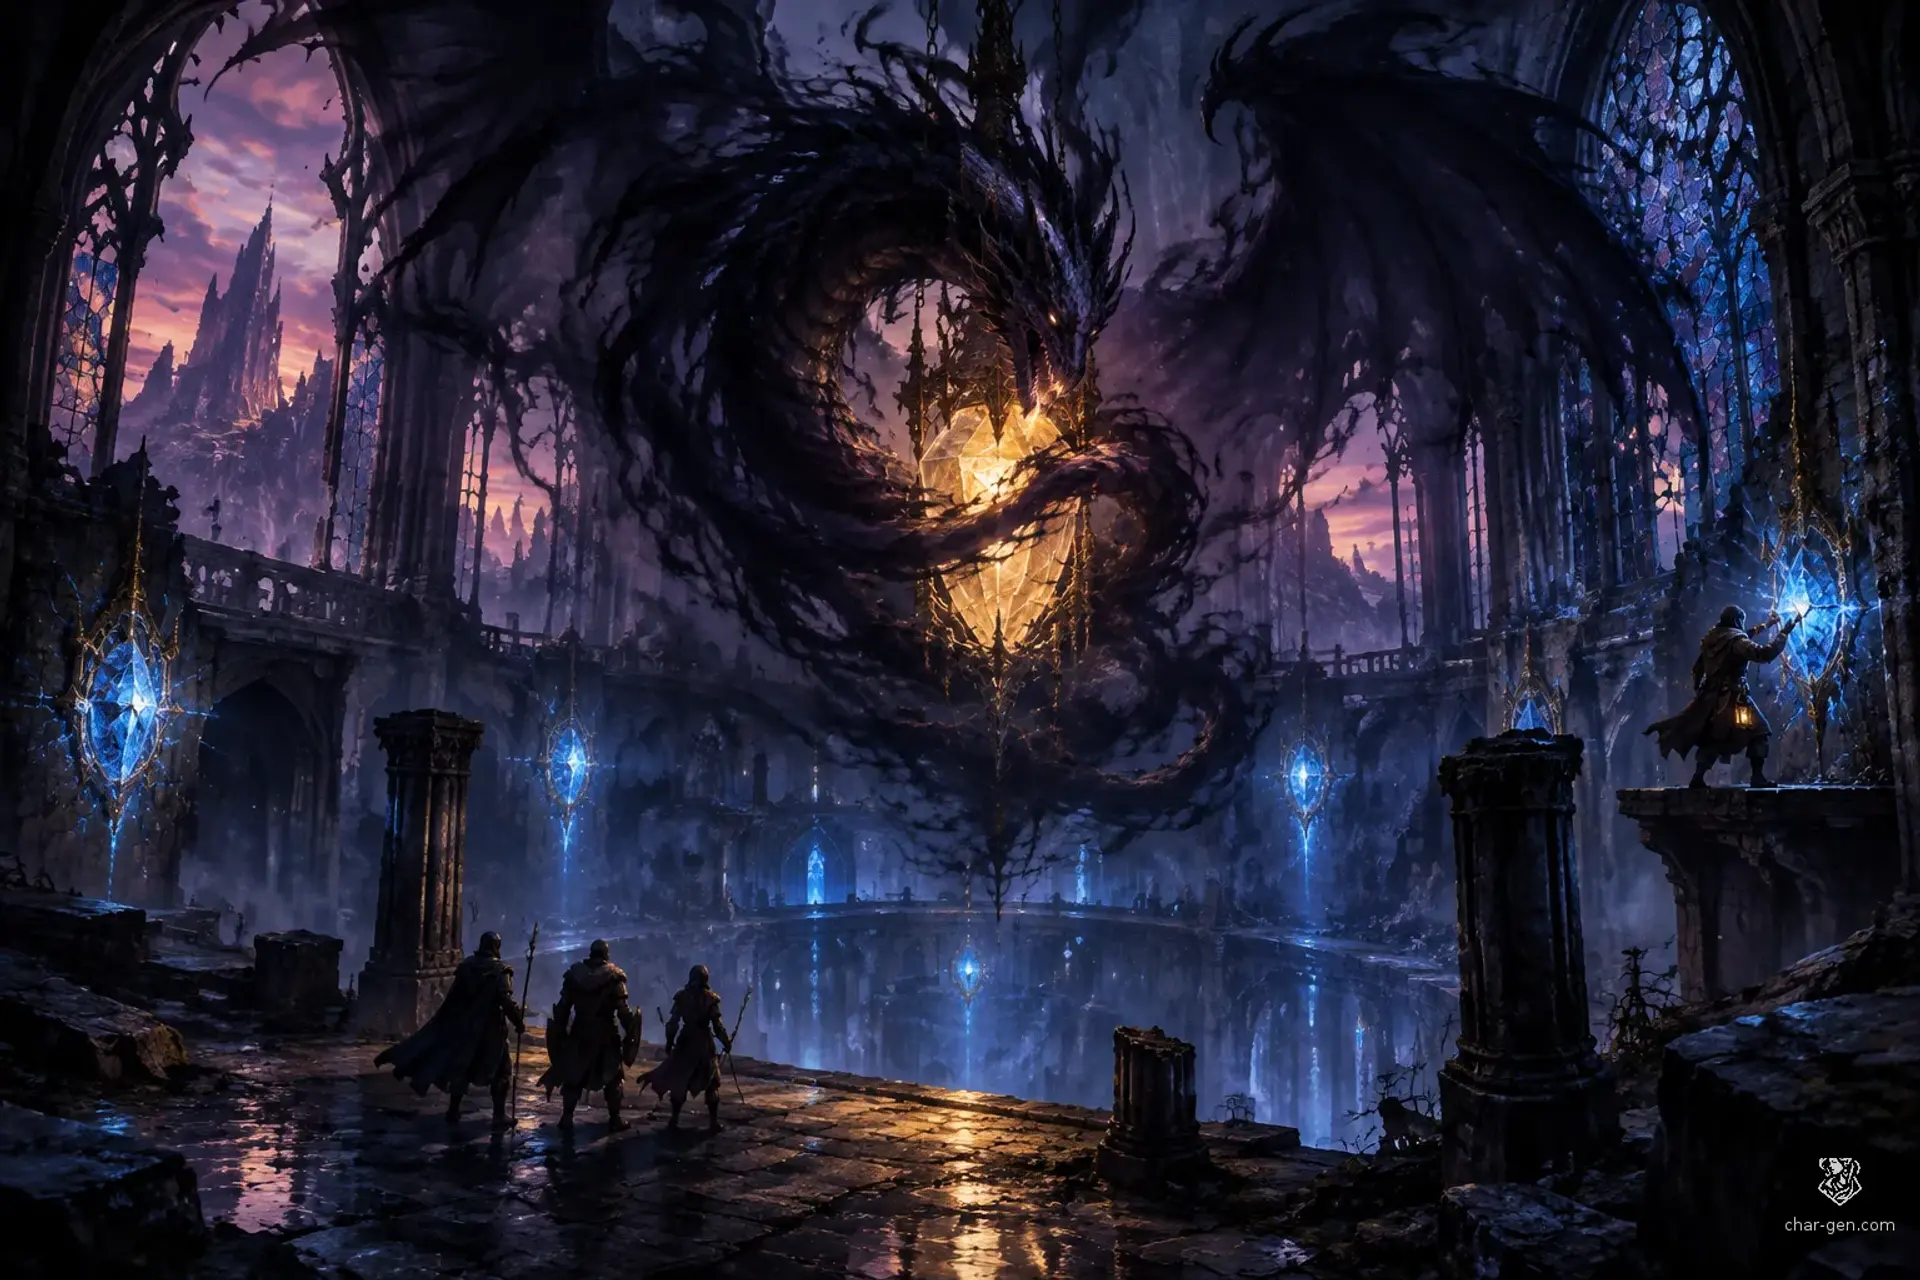
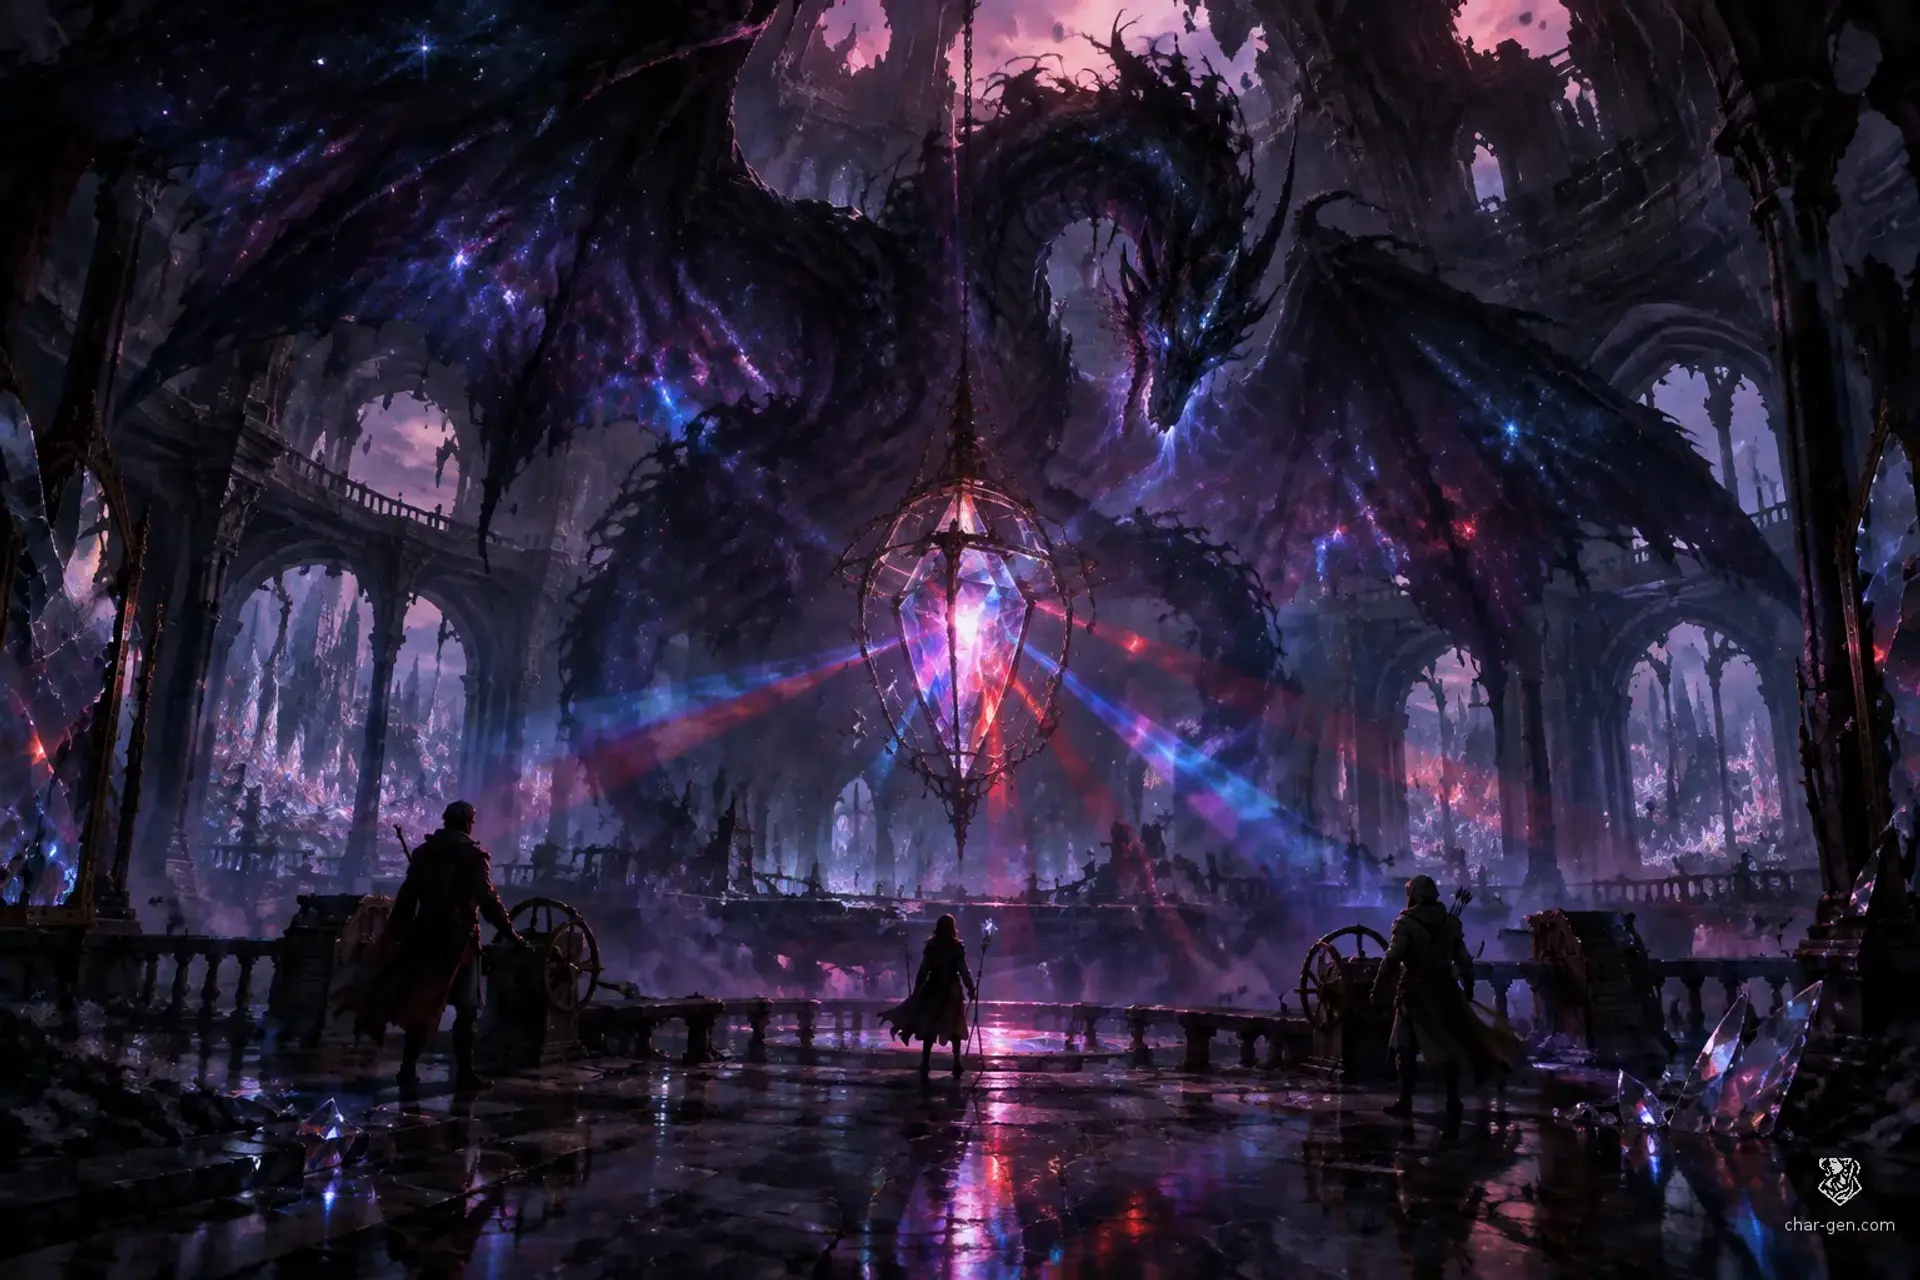
A circular chamber beneath the castle, lit by the struggling Heartlamp and cut through by its rotating colored beams.
Confront the Dusk Wing and restore, alter, or abandon the Heartlamp. The final choice determines the Gloaming's immediate future and whether the creature's hunger ends in death, escape, or transformation.
The Heartlamp ChamberNextAfter the choice is made, Seren offers the party a place among the survivors and asks what they will do about the unstable mirror-gate.
Behind it
What people believe
A woman named Seren Vale calls for aid from a strange world beyond a mirror in the Great Library's catacombs.
Beneath a dim pink sky, the land glows in vivid shades of purple, blue, and red, but its light is fading. The refugees of Gloamhold say a shadow-dragon called the Dusk Wing is hunting the Heartlamp, the beacon that keeps their home bright. Reach the castle, protect its people, and decide how to face the creature before the last light goes out.
Background
The Gloaming is a world caught beneath a dim pink sky, where crystal forests and old stone cities glow in shades of purple, blue, and red.
Its people once tended the Heartlamp, a vast beacon that fed light through the land. When the Dusk Wing began consuming that light, the beacon's keepers hid its remaining flame behind a mirror-gate linked to the catacombs beneath the Great Library. The gate has started calling for help across worlds.
The stakes
If the Dusk Wing consumes the Heartlamp, Gloamhold and the surrounding settlements will be plunged into an enduring darkness.
The refugees may survive, but their home and the Gloaming's remaining safe routes will be lost.
Encounters
2The Gallery of Unlit Portraits
combat
A narrow portrait gallery with broken glass, waist-high plinths, and colored lamps. The plinths provide cover, and broken glass makes a short section hazardous to cross quickly.
Foes
2 Gloam Stalkers, custom minor shadow creatures
Optional: 1 Gloam Stalker
ComplicationWhen the alarm chime sounds, the corridor's colored lamps go dark one by one. Each round, one section of the battlefield becomes dim or dark until a character restores a lamp or breaks the chime.
ScalingFor a level 3 party, use 2 Gloam Stalkers. For levels 4-5, use 3. A Gloam Stalker can use a suitably reskinned low-challenge shadow creature, or the GM can give it modest hit points, one melee attack, and a once-per-scene ability to hide in dim light.
The Heartlamp Chamber
combat
A circular chamber beneath a gothic castle, with a suspended crystal beacon, three shutter controls, broken balconies, and pools of magical darkness. The Heartlamp can be restored by activating at least two of the three controls during the encounter.
Foes
The Dusk Wing, custom shadow-dragon boss
Optional: 1 Gloam Stalker
ComplicationThe Heartlamp's rotating beams reveal hidden creatures, but anyone standing in a beam is also visible to the Dusk Wing. A character can spend an action to turn a shutter and redirect a beam.
ScalingFor level 3 characters, the Dusk Wing begins weakened: it has limited endurance, cannot use a damaging breath attack, and withdraws if reduced to a third of its hit points. For levels 4-5, it can use a modest area shadow blast once, telegraphed by a round of gathering darkness. Treat it as a custom boss rather than an official D&D creature. Give the party environmental ways to weaken it by restoring the Heartlamp.
Cast
4Seren Vale
QuestgiverQuestgiver and keeper of the Heartlamp
WantsBring outside help to the Gloaming and save her people, while concealing that opening the mirror again may strand her there.
“You heard me. Then the gate chose well, or at least chose quickly. Please, there is not much light left to lose.”
Brother Caldus
Ally and caretaker of the castle refuge
WantsProtect the surviving residents of Gloamhold and keep them from surrendering to the Dusk Wing.
“The castle has a hundred doors and every one of them remembers a different truth.”
The Dusk Wing
Antagonist, a custom shadow-dragon creature
WantsStop the Heartlamp from burning him, even if consuming every light in the Gloaming is the only way he knows how.
“I do not want your little beacon. I want the ache of its light to end.”
Nim
Witness and young refugee
WantsWarn the party about what the castle's mirrors can reveal, while hoping they will help her escape the catacombs.
“I saw the mirror open before Seren did. It showed me a room full of candles, and every candle had a face.”
How it ends
Rewards
Items
A lantern of colored glass, a custom wondrous item that sheds dim light in a chosen color and can reveal hidden writing in the Gloaming once per day.
A small Heartlamp prism, a custom keepsake that glows faintly when a nearby mirror-gate is active.
On a win
With the Heartlamp restored or otherwise secured, the Gloaming's colored lights return across the horizon.
The refugees can remain in Gloamhold, and Seren honors the party as its protectors. If the party learned the Dusk Wing's history, they can choose whether to destroy it, drive it away, or attempt a difficult reconciliation that changes how the Heartlamp works.
What it leaves open
If it fails
- The party fails to persuade or protect the Gloamhold survivors.
- The refugees evacuate to the outer ruins, making the final approach harder but keeping them alive. They can still provide a route to the castle.
- The party loses the final battle or cannot complete the Heartlamp's restoration.
- The Heartlamp is restored only briefly. The Gloaming's lights survive for a few days, and the Dusk Wing escapes to hunt another source of light.
- The party leaves the mirror-gate unattended while the castle's magical defenses are active.
- The mirror-gate closes with the characters still in the Gloaming. Seren promises to search for another way home, creating a continuing campaign situation rather than ending the adventure.
- The party abandons the Heartlamp chamber without securing or destroying the beacon.
- The Dusk Wing consumes the Heartlamp's remaining light. The party and survivors must flee into the crystal wilds, where the adventure becomes a rescue and recovery campaign.
Complications (d6)
- 1A gust through the castle extinguishes every mundane flame in the current area. Until the party finds another light source, distant sounds seem to come from the wrong direction.
- 2A mirror shows a character standing alone in the Heartlamp chamber. The image points toward a side passage that adds 20 minutes of travel but avoids the next patrol.
- 3A frightened refugee mistakes the party for servants of the Dusk Wing and loudly alerts nearby shadow creatures.
- 4A crystal bridge dims and becomes slick. The group must cross carefully or lose a useful carried item into a glowing ravine.
- 5The Dusk Wing consumes a nearby light source, leaving a brief wave of supernatural darkness. A character who keeps hold of a light source can prevent it from being taken.
- 6A castle bell rings once by itself. The next locked door opens, but the sound draws one extra foe into the next encounter.
Media
0 imagesNo images yet.
Turn The Dusk Wing and the Heartlamp into a sheet
A high-res, share-ready sheet you can post or print.