The Stolen Command
The Stolen Command
Read aloud
At dawn, three watch patrols arrive at the Meridian with orders that send them to three different gates, each bearing the marshal’s seal. Marshal Tessa Venn lays a brass command token on the table and asks you to find the missing original before Veyr’s defenders turn on one another. She wants a strategist who can discover who is moving the pieces, and why.
Run the session
Cheat sheet
Objectives
- 1Find the source of the false orders.
- 2Reach the old watchtower and resolve the confrontation with Orla.
- 3Prevent a disastrous signal from reaching the city’s defenders.
- 4Decide what Veyr should learn about its own command system.Optional
The clock
Each major delay gives the false dispatches more time to move patrols. After three substantial delays, the watch begins a dangerous redeployment toward the wrong gate. If the party reaches the Array after that point, they must stabilize the signal while dealing with the consequences of scattered and exhausted defenders.
Scenes
- 0:00Orders That Cannot All Be True
- 0:35The Dispatch Gallery
- 1:15Reflections in the Yard
- 2:05Under the Watchtower
- 2:50The Board Beneath the City
Cast
- Marshal Tessa VennQuestgiver and commander of the Meridian
- Ilyan MarrAlly and quartermaster
- Captain Orla SennAntagonist and former Meridian tactician
- Pell RuskWitness and junior courier
The hook
Set the scene
The party arrives at the Meridian as watch officers argue over three sealed dispatches. Marshal Tessa Venn separates the party from the crowd and explains that the original command seal is missing. Ilyan Marr points out that all three orders are internally plausible but cannot all be true. The scene establishes urgency, gives the party a chance to ask questions, and offers Pell Rusk as a nervous first witness.
How Marshal Tessa Venn asks
Marshal Tessa Venn summons the party to a private map room at the Meridian.
She asks for discretion, shows them the conflicting dispatches, and offers access to the courier records and the watchtower plans. She specifically welcomes a Strategist’s assessment, but does not require the party to follow her preferred approach.
Rumours
Scenes
about 4 hours0:00
35 min
socialThe table is here
1. Orders That Cannot All Be True
The Meridian map room, where patrol captains, clerks, and Marshal Venn have gathered around a table covered in route markers.
The party hears the competing accounts, examines the dispatches, and chooses which leads to pursue. Good questions can identify that the orders share an uncommon routing mark linked to Beacon Array maintenance.
NextA record of the routing mark points toward Pell Rusk and a late-night delivery to the canal lens yard.
0:35
40 min
exploration
2. The Dispatch Gallery
The Meridian’s dispatch gallery, including locked shelves, a bell board, and a narrow rooftop route used by fast couriers.
The party investigates the couriers’ logs and questions Pell. He admits he carried a sealed packet but did not know it contained false instructions. The group can earn his trust, catch him in a lie, or follow a paper trail without him.
NextPell or the ledger trail identifies the lens yard as the next point of contact, while a partial note hints that the seal is needed to reach the old watchtower.
1:15
50 min
combat
3. Reflections in the Yard
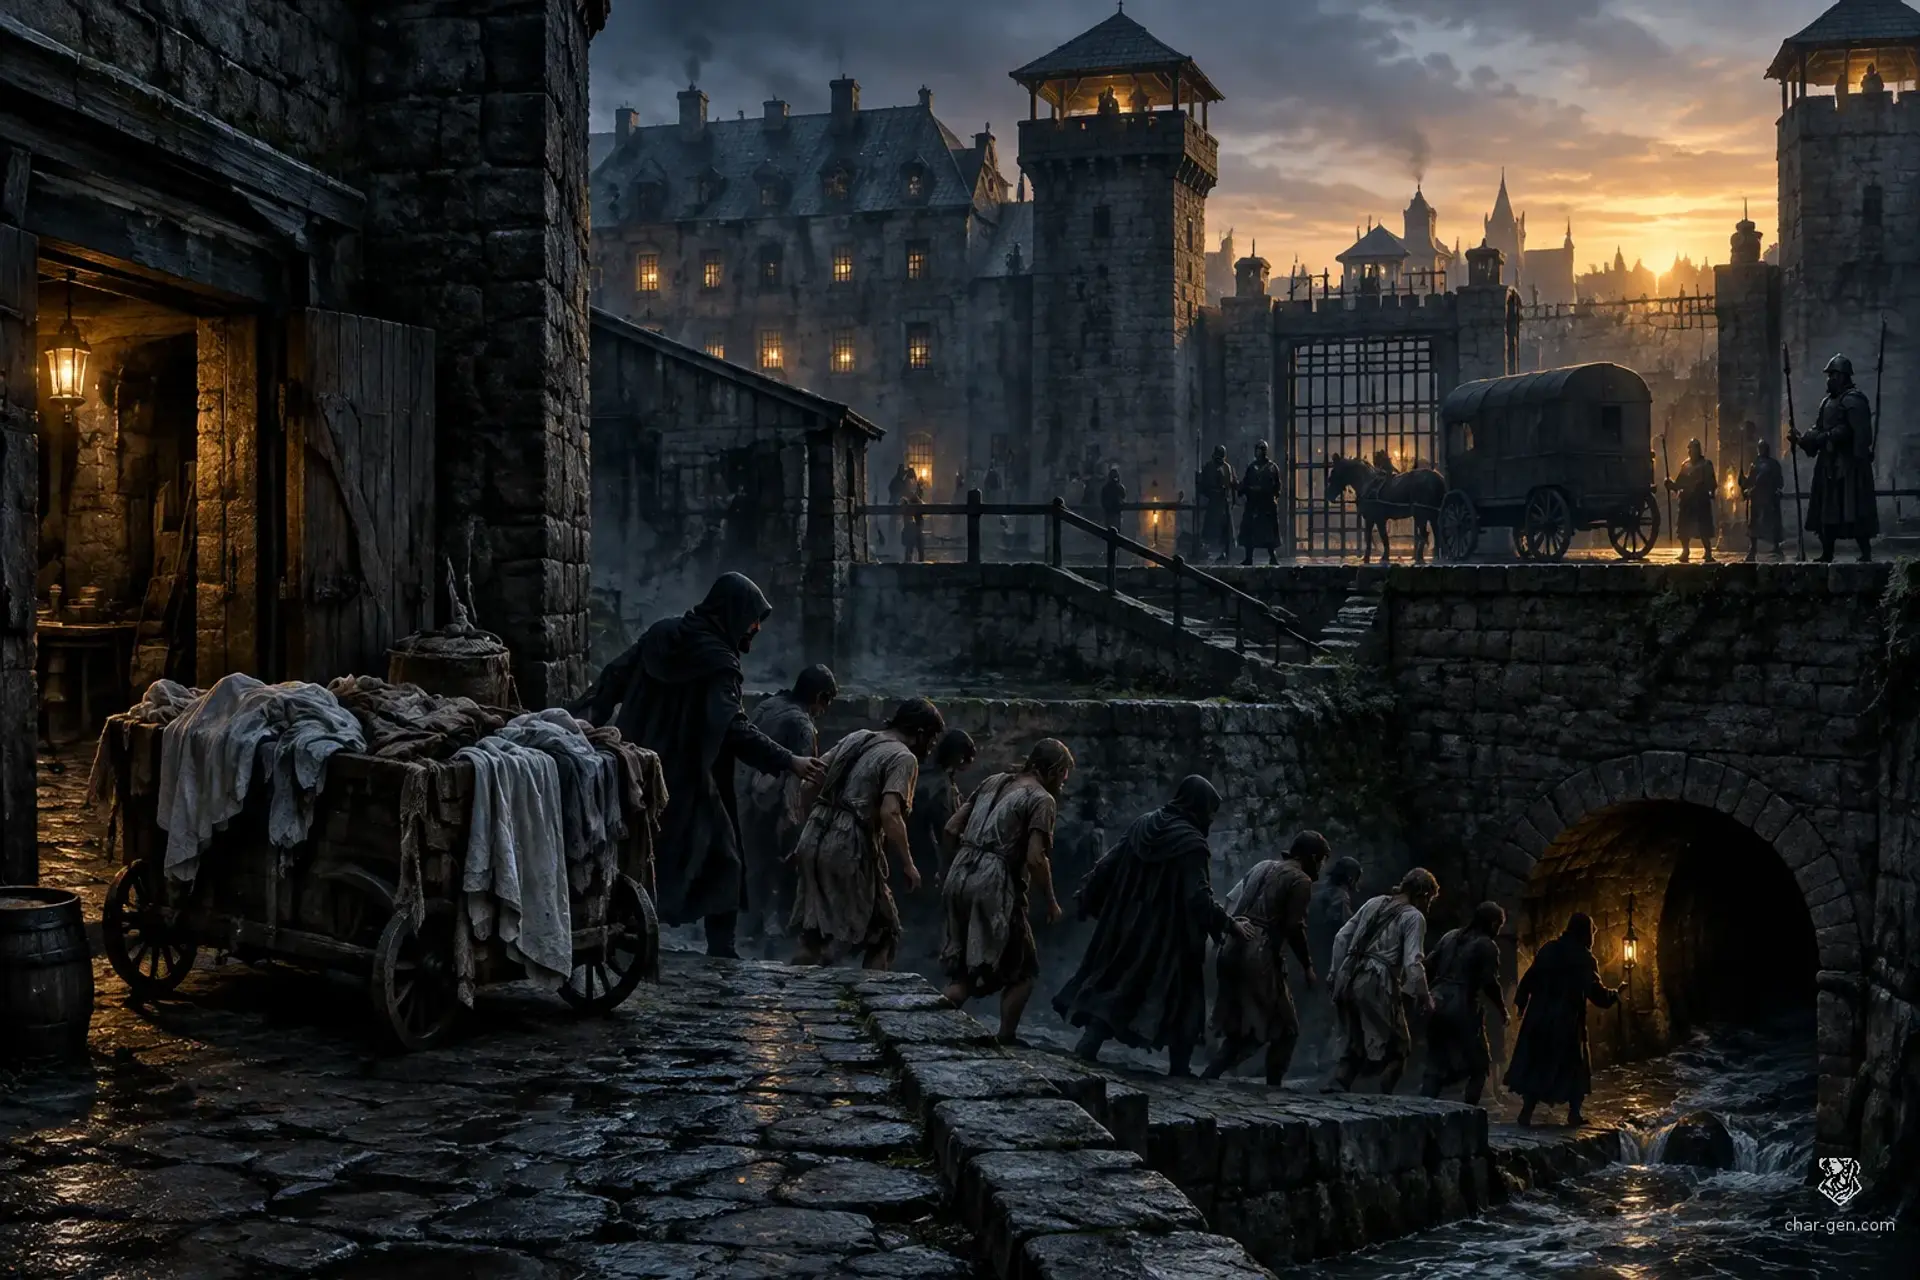
A crowded canal-side repair yard filled with mirror frames, bright shards, mooring ropes, and a narrow bridge.
The party reaches the lens yard and decides whether to investigate quietly, bargain with the workers, pursue a fleeing courier, or fight the Cutters who are removing lenses. The encounter can reveal that the thieves are supplying someone with Array components.
The Lens Yard AmbushNextA recovered route slip and a maintenance key lead beneath the old watchtower. A captured Cutter may reveal that Captain Orla is waiting there.
2:05
45 min
skill
4. Under the Watchtower
The flooded service passages below the old watchtower, where maintenance marks and signal diagrams share space with corroded ladders and narrow drains.
The party explores the approach, bypasses a sluice hazard, and studies the Array’s controls. They can prepare a plan, disable a resonator, set a signal of their own, or go directly into the chamber.
NextA stable route leads into the command chamber. A failed or noisy approach gives Orla time to activate part of the Array.
2:50
70 min
social
5. The Board Beneath the City
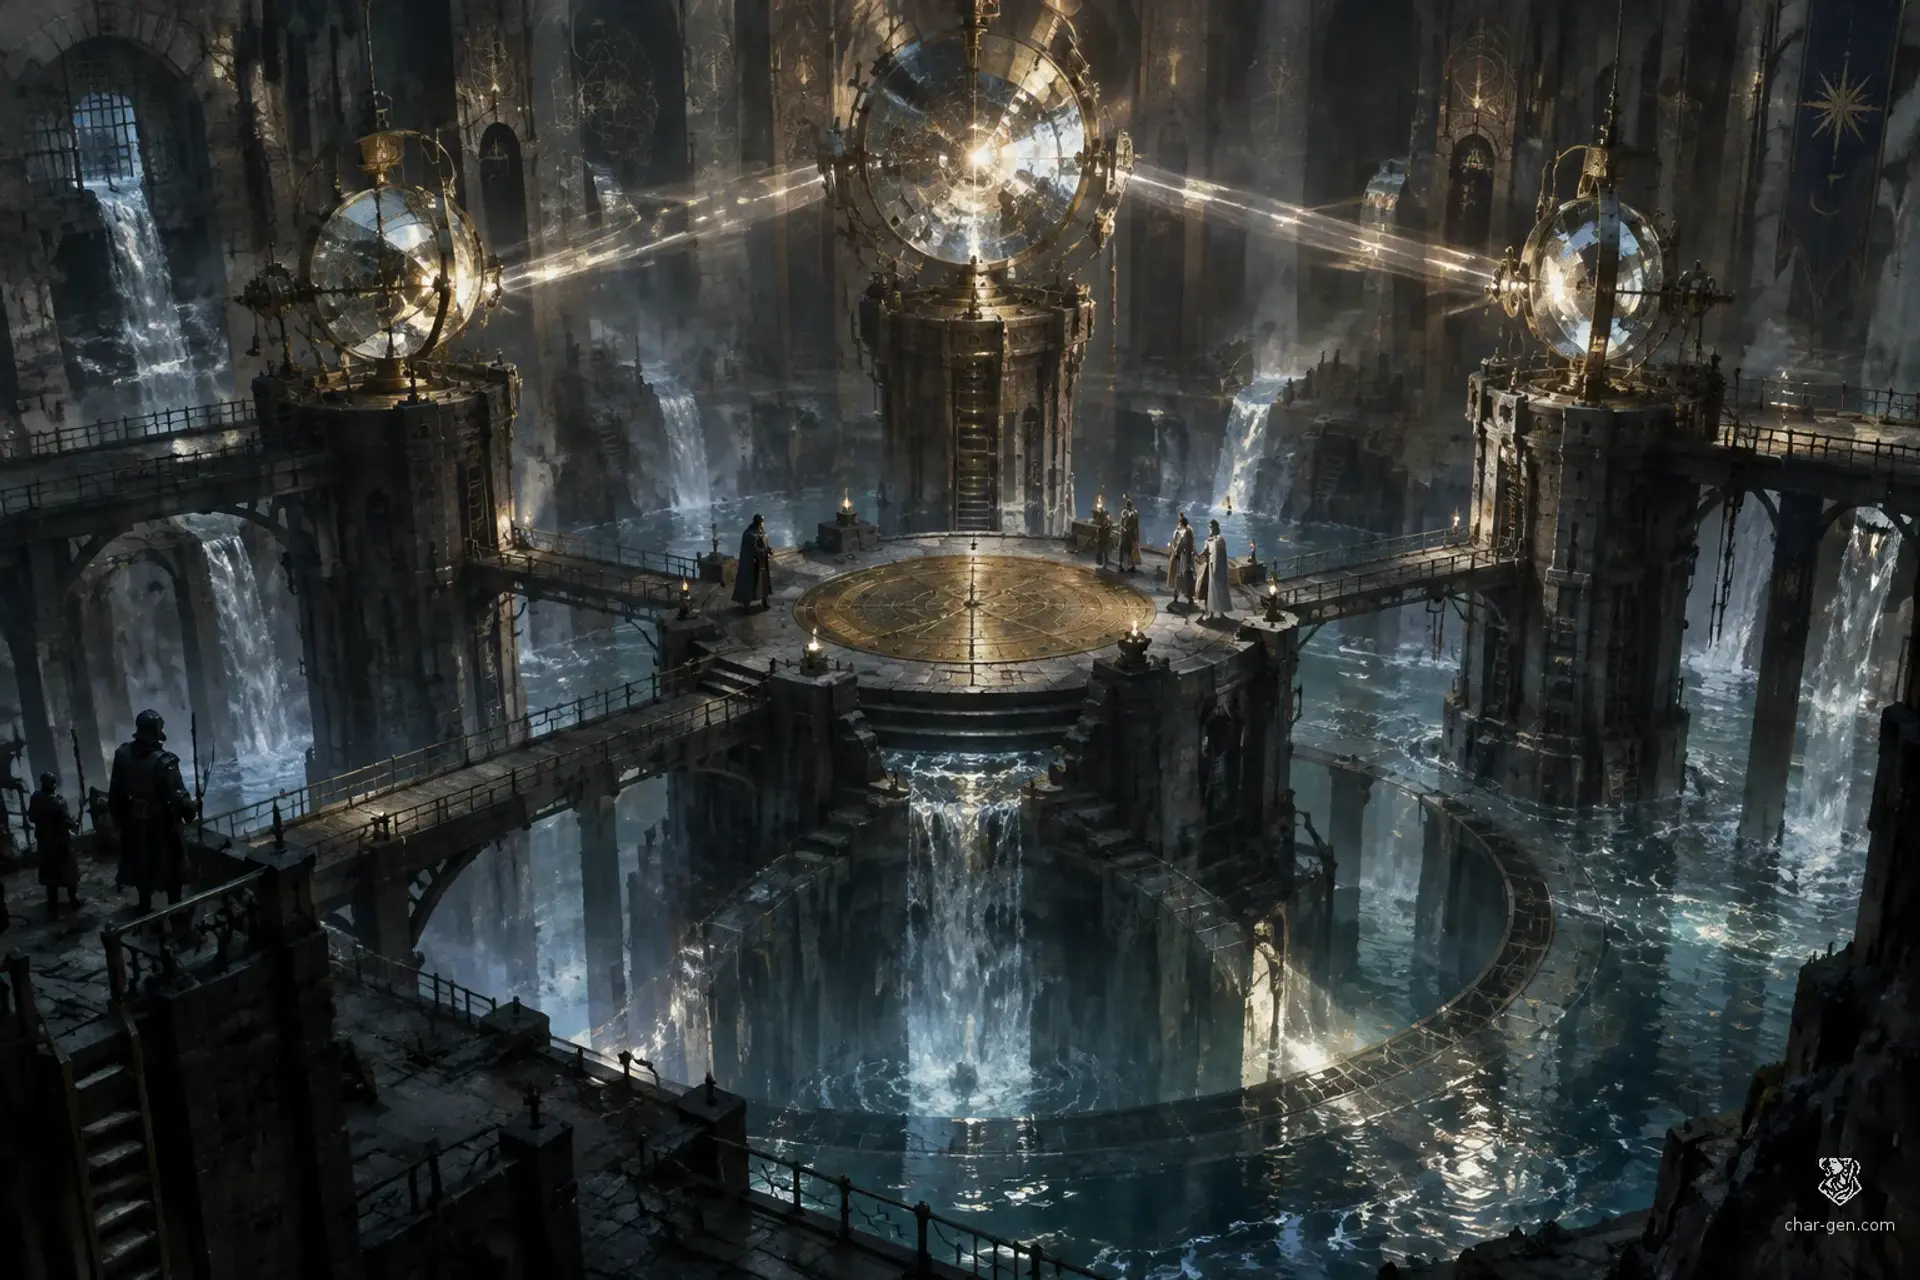
The old watchtower’s resonator chamber, where the missing seal rests beside a control dais and the Array begins to pulse.
Orla confronts the party and explains her plan. The scene may resolve through negotiation, evidence, tactical containment, or a fight. Control of the three pylons changes the chamber’s hazards and can let the party stabilize, shut down, or redirect the Array.
The Command ChamberNextAfter the Array is secured, return to the Meridian for the immediate outcome, or move directly to a council hearing if the party has recovered Orla’s evidence.
Behind it
What people believe
The Meridian’s brass command seal has disappeared, and contradictory dispatches are sending Veyr’s watch to the wrong places.
The party is asked to trace the false orders to their source, recover the seal, and prevent the Beacon Array from misdirecting the city’s defenders. The mystery leads from the war college’s records to a canal-side lens yard and the sealed command chamber beneath the old watchtower.
Background
The city-state of Veyr has survived three invasions by trusting its war college, the Meridian, to plan defenses and keep the ancient Beacon Array aligned.
The Array is a network of signal mirrors and buried resonators that can coordinate distant forces, but it depends on a brass command seal held by the current field strategist. The seal vanished during a routine exercise, and the city’s watch has begun receiving contradictory orders.
The stakes
If the party does nothing, the watch follows conflicting orders while the Beacon Array magnifies the confusion.
Patrols may abandon the threatened border settlements, leave the city gates exposed, or confront one another. Beyond immediate casualties, the crisis could destroy trust between Veyr, its Meridian, and the settlements it claims to protect.
Encounters
2The Lens Yard Ambush
Combat or chase
A cramped lens-repair yard beside a canal, with waist-high worktables, stacked mirror frames, a narrow footbridge, and reflective glass fragments.
Foes
Canal Cutters, trained thieves who use hooked poles and smoke pots
Signal Hound, a lean tracking beast trained to follow polished brass
ComplicationThe raiders are trying to escape with a case of signal lenses, not fight to the death. A fallen lens can shatter and create blinding reflections across the yard.
ScalingFor a smaller or less experienced party, use two Canal Cutters and no Signal Hound. For a larger or more capable party, add two Cutters and give the Hound a handler who can direct it from cover.
The Command Chamber
Social, skill, or combat
A circular chamber beneath the old watchtower, crossed by catwalks over a resonator pit. Three control pylons can redirect signals, expose a Warden’s weak point, or destabilize the floor.
Foes
Orla Senn, a disciplined tactician who prefers to control movement and withdraw if isolated
Array Wardens, two clockwork sentries with shielded fronts and exposed power joints
ComplicationThe Array’s resonators answer to several control points. A failed attempt to operate them triggers a loud pulse that alerts Orla and starts the final confrontation sooner.
ScalingFor a smaller party, use one Array Warden and have Orla focus on delaying rather than attacking. For a larger or more capable party, add a second pair of Wardens or let Orla activate one hazard per round. These are custom, system-agnostic encounter suggestions, not official stat blocks.
Cast
4Marshal Tessa Venn
QuestgiverQuestgiver and commander of the Meridian
WantsRecover the command seal before panic and factional blame tear the city apart.
“I need someone who can see the whole board, not just the next skirmish.”
Ilyan Marr
Ally and quartermaster
WantsProtect the watch and prove that the conflicting dispatches are deliberate, not the result of her own error.
“The routes are wrong. Someone is making the city march in circles.”
Captain Orla Senn
Antagonist and former Meridian tactician
WantsUse the Beacon Array to force Veyr’s leaders to negotiate with the border settlements, even if the city suffers first.
“A perfect plan is only perfect for the person who wrote it.”
Pell Rusk
Witness and junior courier
WantsStay alive and make amends for carrying messages without verifying them.
“I copied the orders because I thought the exercise had changed. Then people started moving for real.”
How it ends
Rewards
Items
A custom signal compass that points toward the nearest active Beacon Array component, but gives no indication of whether it is safe.
A sealed set of Meridian route charts, useful for travel through Veyr and its border roads.
On a win
The command seal is recovered or secured, and the Array no longer sends false orders.
If the party also uncovers Orla’s motive, Marshal Venn must decide whether to disclose the evidence and accept political consequences. Success may mean capturing Orla, persuading her to cooperate, or agreeing to a supervised public inquiry; the adventure does not require one specific outcome.
What it leaves open
If it fails
- The party fails to identify the false dispatches before the watch follows one of them.
- The watch is redirected away from the threatened border settlements, and the settlements lose trust in Veyr. The party can still recover the seal, but must later repair the diplomatic damage.
- The party mishandles the signal controls or allows the canal sluice to flood the resonator access.
- The Array sends a citywide false alarm. Shops close, the watch is stretched thin, and the party faces tighter security during the final approach.
- The party lets Orla leave the Command Chamber without negotiating a surrender, taking her into custody, or disabling the controls.
- Orla escapes with a copy of the Array’s control sequence. Veyr keeps its seal, but Orla can threaten the city’s command network again.
Complications (d6)
- 1A watch patrol arrives at the party’s location carrying an authentic dispatch that orders them to surrender the seal. The dispatch is genuine, but its instructions were issued under a stolen command authority.
- 2A signal mirror pivots toward the party and flashes their position to the canal guard, bringing a suspicious patrol within minutes.
- 3Pell is recognized by a courier who believes he betrayed the watch. The party must calm the confrontation or lose access to the courier network.
- 4A canal sluice opens on a timed maintenance cycle, flooding the lowest passage and separating one group from the others.
- 5Orla’s agents offer a safe route and useful intelligence in exchange for the party agreeing to hear her case before pursuing her.
- 6A Beacon Array pulse scrambles nearby signals. For the next scene, allies cannot rely on distant orders, and any plan requiring synchronized action needs a local signal or a new approach.
Media
0 imagesNo images yet.
Turn The Stolen Command into a sheet
A high-res, share-ready sheet you can post or print.