The Meridian Eye
The Meridian Eye
Read aloud
Cevri spreads a salt-stiff chart across the table and pins it down with a brass compass. "Neris's Low-Tide Observatory has surfaced just long enough for one expedition, and the Meridian Eye is still inside. Survey 8 sails at dawn, but the Crooked Ember has already put a price on the same prize."
Run the session
Cheat sheet
Objectives
- 1Reach Neris's Low-Tide Observatory through the shifting coral labyrinth.
- 2Navigate the observatory and locate the Meridian Vault.
- 3Resolve the contest over the astrolabe and return with a defensible choice.
- 4Recover evidence that explains the observatory's purpose and the strange changes in the reef.Optional
The clock
The low-tide window lasts until the end of the expedition's third major phase: arrival at the reef, entry into the observatory, and opening the Meridian Vault. After each phase, the labyrinth shifts and the water rises. On the final shift, the straightforward exit closes. The GM can advance the clock for long rests, loud delays, or failed navigation, while allowing clever preparation to pause or bypass a step.
Scenes
- 0:00A Chart That Will Not Stay Still
- 1:00The Reef That Hums
- 2:30The Keeper at the Drowned Door
- 3:45The Weight of the World
- 5:25The Star Beneath the Sea
Cast
- CevriQuestgiver and Brackenwake navigator
- Grixt KadarAntagonist and captain of Survey 8
- NerisWitness and wary ally
- BodhránWildcard and expedition guide
The hook
Set the scene
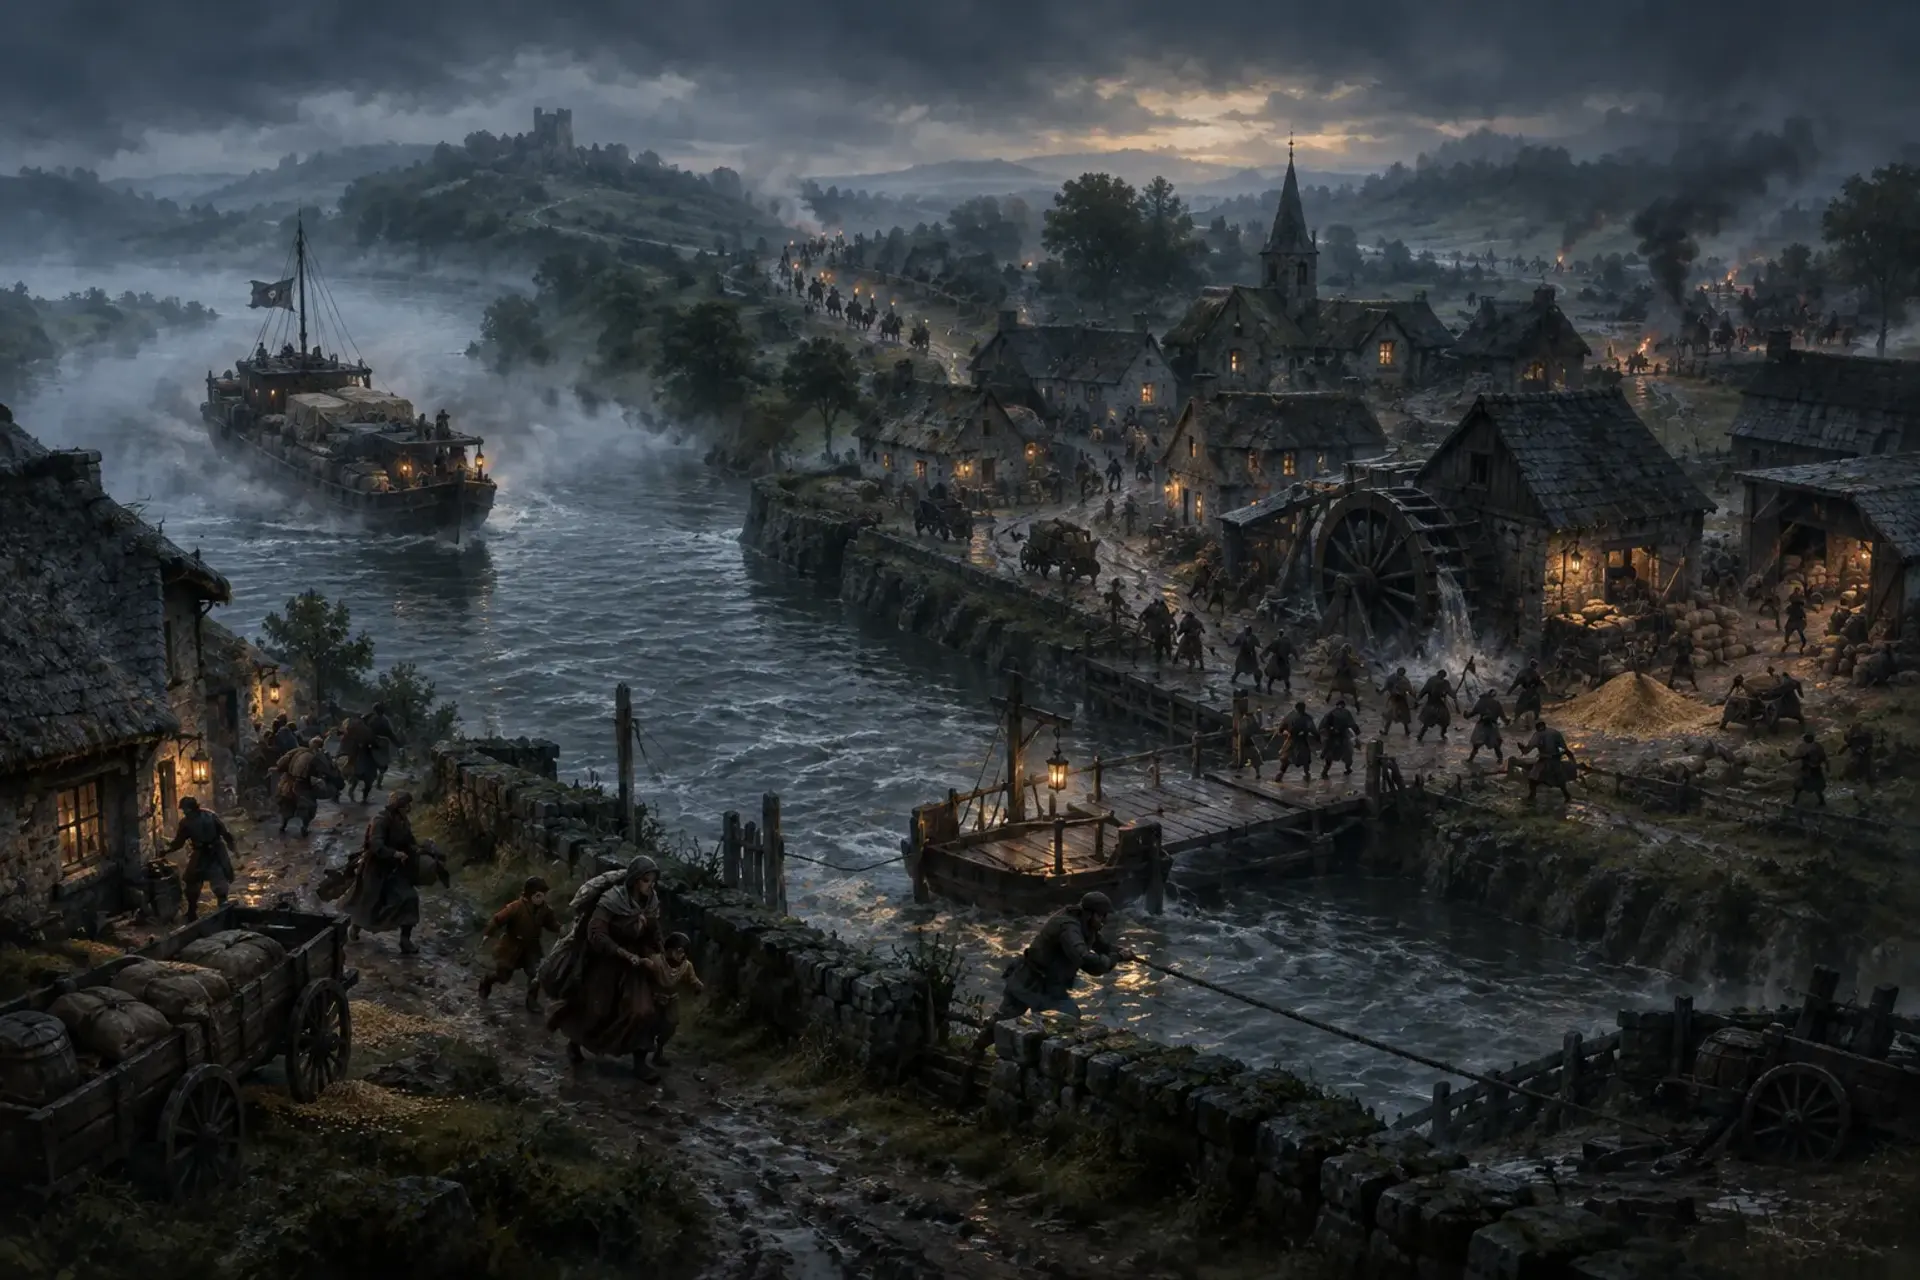
At a table in Brackenwake, Cevri lays out a chart marked with a shifting pattern of reefs. Survey 8 waits offshore, its crew watching the harbor for Crooked Ember agents. The characters must decide what to ask, what supplies to secure, and whether to trust Cevri's claim that the Meridian Eye is simply a lost navigational instrument.
How Cevri asks
Cevri approaches the party through a trusted harbor contact in Brackenwake, then offers a modest advance and a share of any legitimate salvage.
Cevri makes clear that the Crooked Ember is already moving, but initially describes the Meridian Eye only as a valuable navigational instrument.
Rumours
Scenes
about 7 hours0:00
60 min
socialThe table is here
1. A Chart That Will Not Stay Still
Brackenwake's harbor and the deck of Survey 8
Cevri recruits the party, offers passage on Survey 8, and explains the race against the Crooked Ember. The characters can question Cevri, prepare gear, and inspect the chart. A successful social approach can secure extra air supplies or a promise of salvage shares.
NextWhen the characters accept or make their own plan, Survey 8 sails toward the exposed reef.
1:00
90 min
exploration
2. The Reef That Hums
The shifting coral labyrinth at the edge of Neris's Low-Tide Observatory
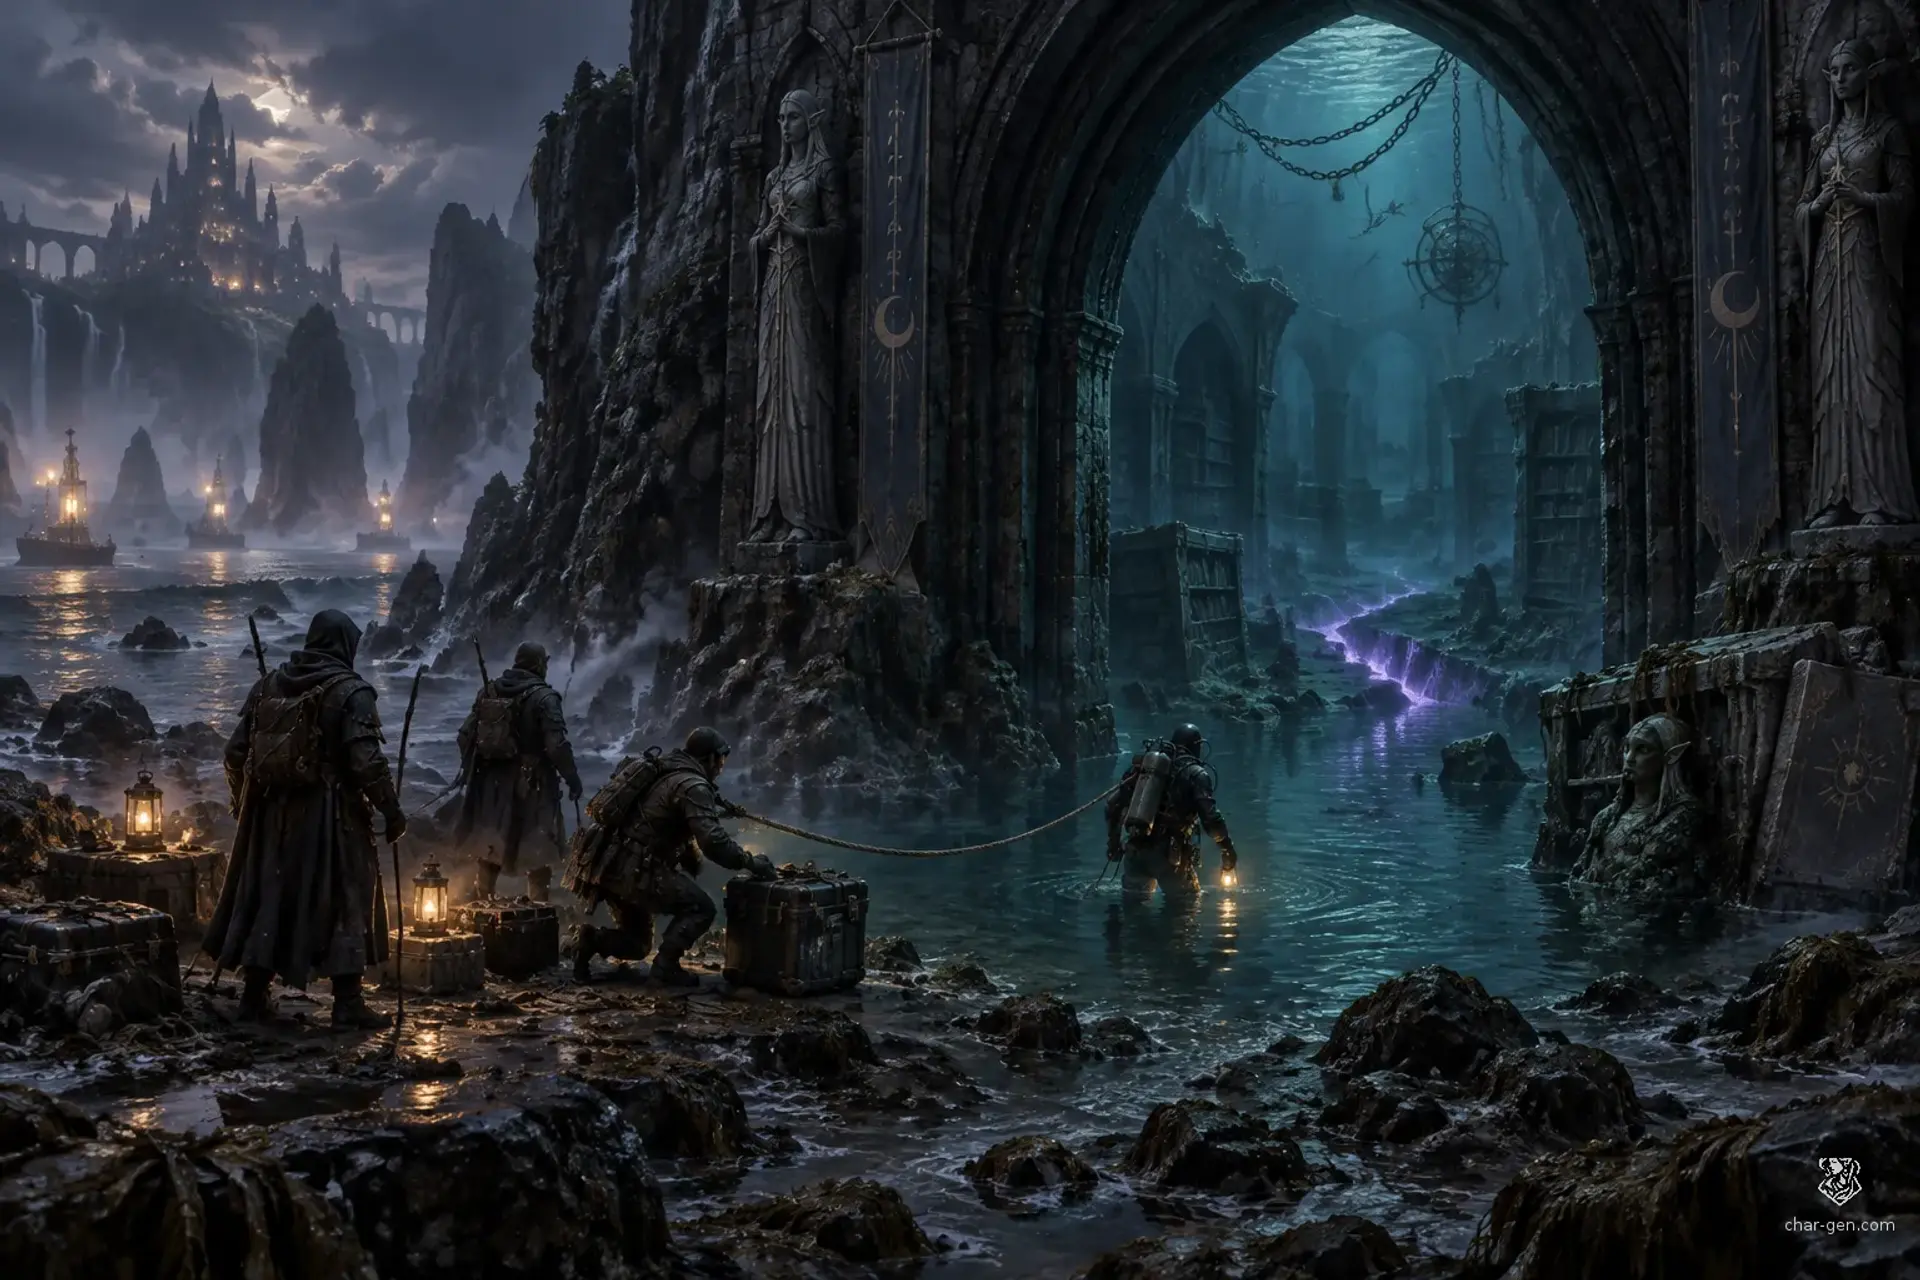
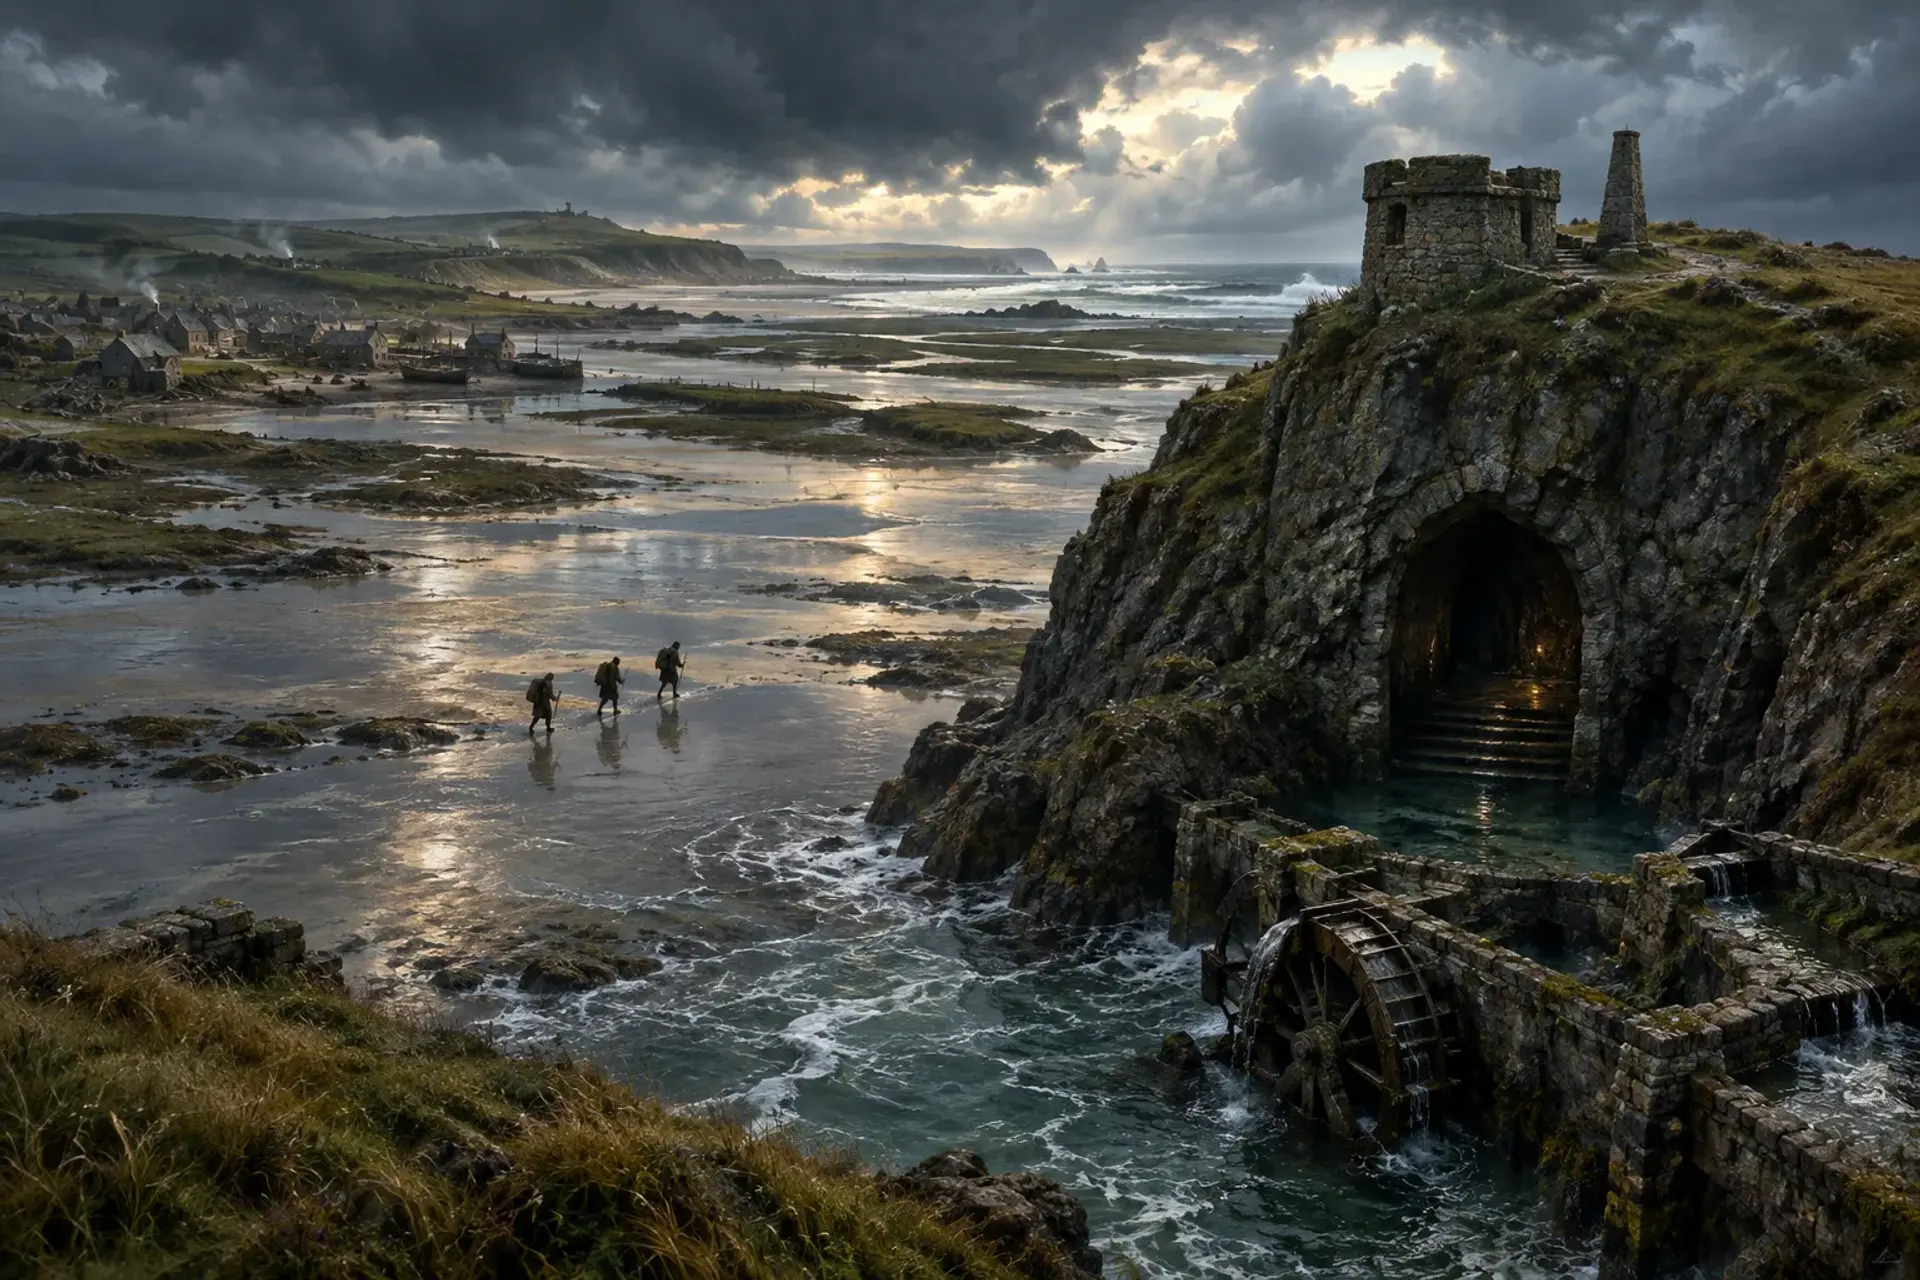
The party crosses the reef, discovers that visible coral corridors change position, and can make navigation checks, follow Bodhrán's instincts, or use the ship's lines and sounding poles. The Humming Harness hunts through the gallery if the party makes repeated noise or disturbs its feeding ground.
The Humming HarnessNextA newly opened passage leads to the observatory's outer locks, while the route back begins to close.
2:30
75 min
social
3. The Keeper at the Drowned Door
A flooded outer gallery of Neris's Low-Tide Observatory
The characters meet Neris and learn that the observatory's mechanisms respond to weighted balances and reflected starlight. Neris will answer questions but tests whether the party intends to remove the Meridian Eye. The characters can negotiate, investigate the records, or proceed without Neris's help.
NextNeris's account or the party's own investigation points to the central counterweight chamber.
3:45
100 min
exploration
4. The Weight of the World
The central counterweight chamber of the observatory
The party must solve the Weight of the World mechanism while managing rising water, unstable platforms, and optional drowned sentries. A wrong or rushed solution creates a dangerous surge but need not make the puzzle impossible.
The Weight of the WorldNextThe balanced mechanism opens the route to the Meridian Vault; a failed attempt still reveals a costly alternate entrance.
5:25
90 min
combat
5. The Star Beneath the Sea
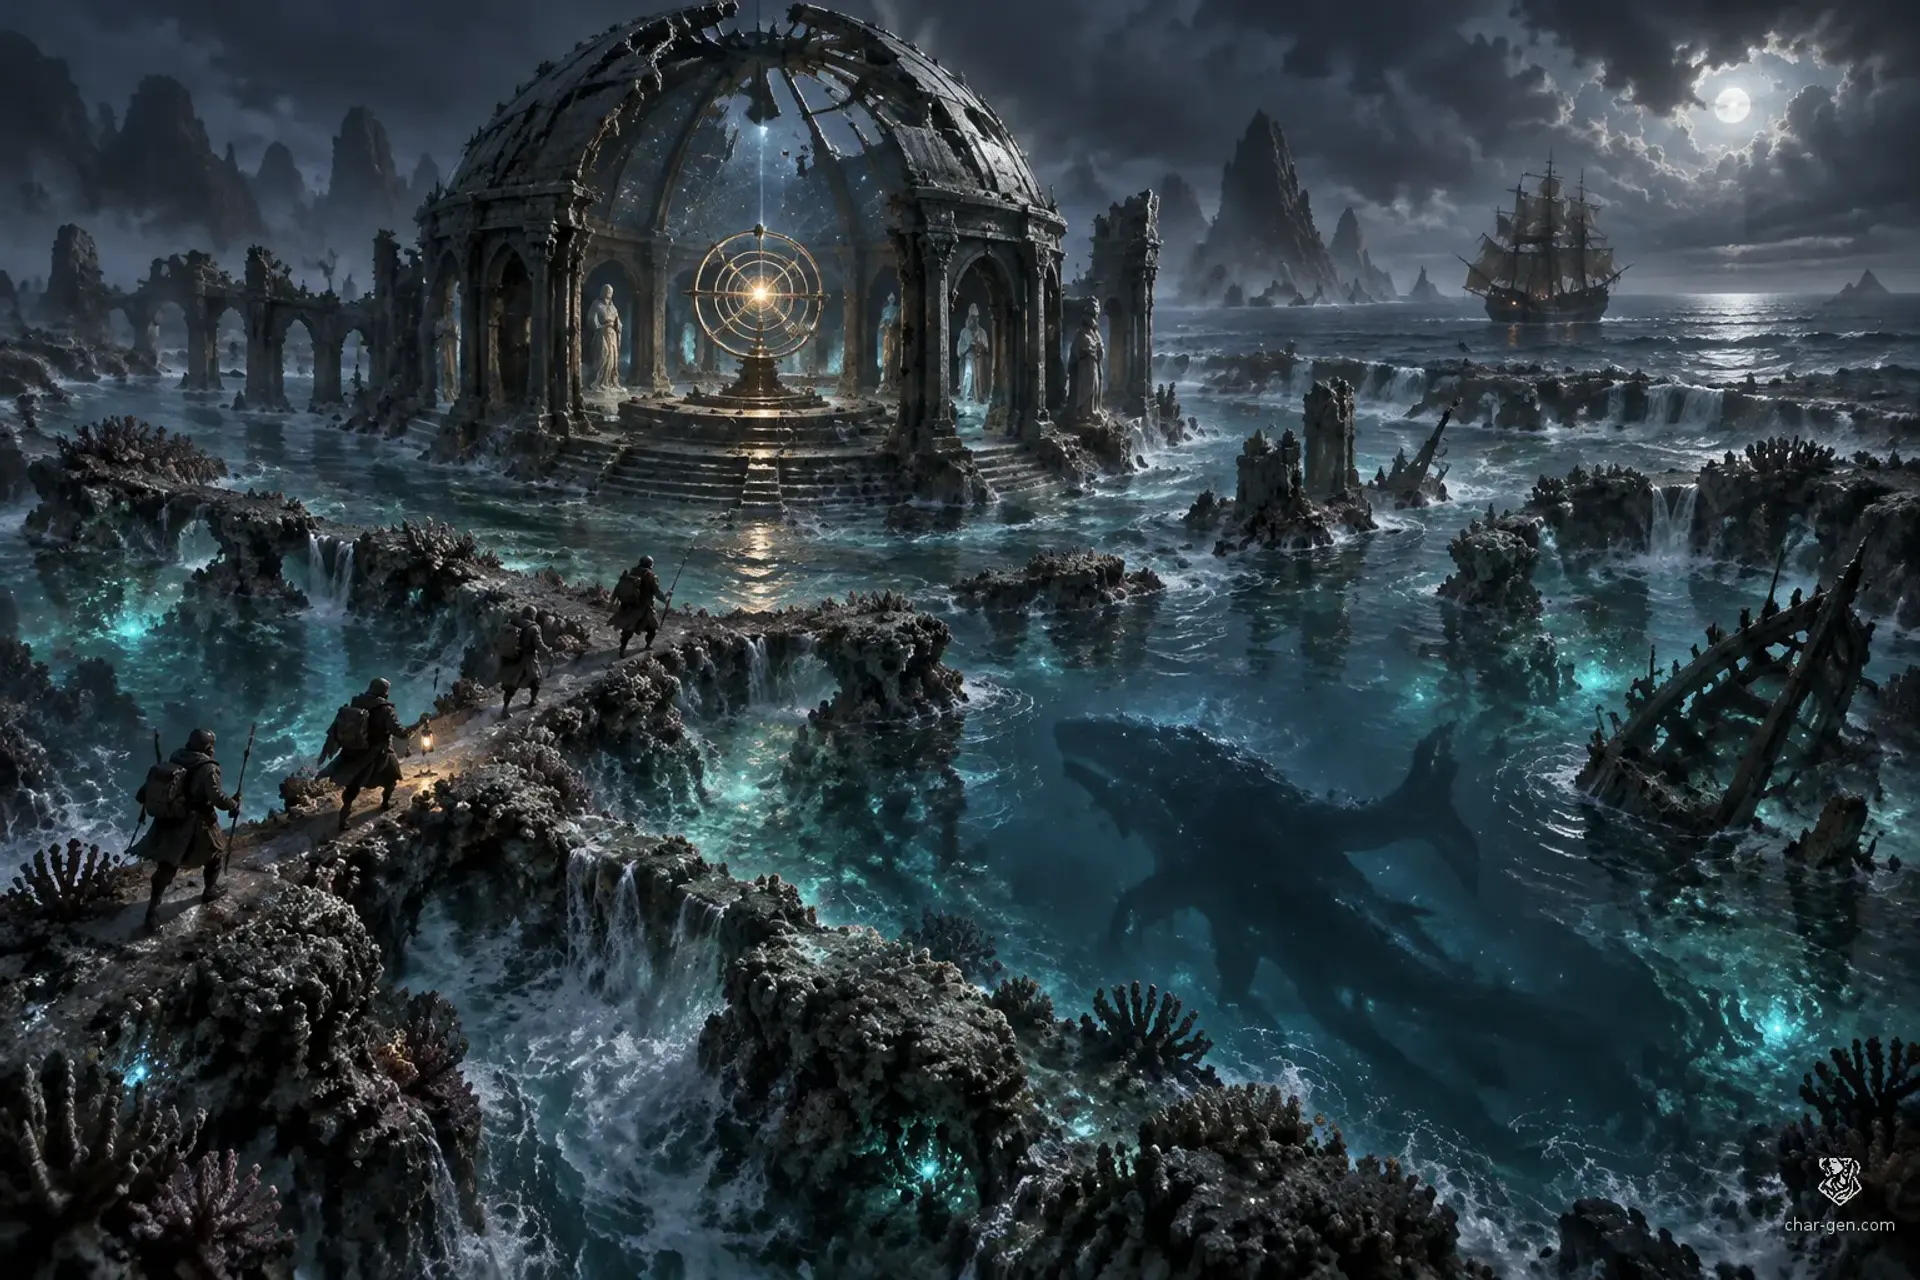
The cracked-dome Meridian Vault, with the open sea visible overhead
Grixt and the Crooked Ember boarders arrive as the party reaches the astrolabe. They offer a bargain, threaten to seize it, or attack. The characters decide whether to trust Neris, remove the device, or use its readings to alter the observatory's mechanism.
Claim at the Meridian VaultNextThe party's decision determines whether the return journey is a retreat through a collapsing maze, a negotiated departure, or a pursuit by the Crooked Ember.
Behind it
What people believe
A rare low tide has exposed a route to Neris's Low-Tide Observatory, lost beneath the coral labyrinth of the Saltwind Reach.
Cevri has hired an expedition aboard Survey 8 to recover the Meridian Eye, an astrolabe said to chart safe passages through the reefs. The Crooked Ember is pursuing the same prize, and the route will close when the tide turns.
Background
Neris's Low-Tide Observatory was built to chart a star that appears only in reflections beneath the sea.
Its brass astrolabe, called the Meridian Eye, once predicted safe passages through the Saltwind Reach. After the observatory sank, its coral labyrinth began shifting with the tides, and ships that follow its false lights vanish or return crewless. The Crooked Ember wants the instrument as leverage over the sea lanes, while Brackenwake's navigators fear what its return might awaken.
The stakes
If the party fails, the Crooked Ember may gain control of the Saltwind Reach's safest passages, while ships continue vanishing near the reef.
If the party removes the Meridian Eye without understanding its role, the observatory's ancient restraint may weaken. A careful recovery could protect Brackenwake and reveal what is stirring below the coral.
Encounters
3The Humming Harness
Combat
A narrow coral gallery filled with branching vents, tight turns, and patches of sharp coral. A creature pushed or pulled into sharp coral risks damage, and the vents carry sound to distant chambers.
Foes
Humming Harness
Two reef scavengers, using suitable low-level beast statistics
ComplicationThe Humming Harness is a custom aberrant reef predator: a coral-and-bone creature that emits a directional vibration, disrupting speech and drawing creatures toward its reach. Treat its statistics as a suitable level-appropriate aberration or monstrosity, or build it as a custom creature. When reduced below half its hit points, the vibration makes loose coral collapse in a nearby lane.
ScalingFor a level 3 party, use only the Humming Harness and make its collapse a warning before damage. For levels 4 to 5, add the scavengers and allow the creature to use its pull effect more often. For a badly depleted party, let the scavengers flee when the Harness is injured.
The Weight of the World
Exploration
A drowned observatory chamber with a suspended central platform, counterweighted arms, flooded floor channels, and a visible route to the inner vault. The mechanism is a custom puzzle, not an official D&D feature.
Foes
No required foes; optional two drowned sentries using suitable undead statistics
ComplicationA surge sends loose stones and coral fragments tumbling through the chamber. Anyone working the mechanism must choose between holding the correct counterweight in place or protecting a nearby ally.
ScalingFor levels 3 to 4, use the puzzle and hazard without sentries. For level 5, add two sentries or increase the hazard's area. Let clever use of tools, magic, or the environment bypass a direct combat solution.
Claim at the Meridian Vault
Combat
The vault is a circular chamber open to the sea through a cracked dome. Coral ridges provide cover, a central plinth holds the Meridian Eye, and a narrow escape passage periodically seals as the maze shifts.
Foes
Grixt Kadar
Three Crooked Ember boarders using suitable bandit or thug statistics
ComplicationGrixt's crew attempts to seize the astrolabe during the confrontation. If the characters parley, the fight can become a tense contest of leverage; if combat begins, the shifting passage can separate combatants.
ScalingFor level 3, use Grixt and two boarders, with Grixt surrendering when outmatched. For levels 4 to 5, use all listed foes and add one boarder if the party has strong allies. Reduce numbers if the party arrives injured or low on resources.
Cast
4Cevri
QuestgiverQuestgiver and Brackenwake navigator
WantsCevri wants the astrolabe recovered before the Crooked Ember uses it to monopolize the Saltwind Reach. Cevri knows more about its former owner than they initially admit.
“Bring me the Meridian Eye intact, and I will pay. Bring me a story instead, and I will still listen.”
Grixt Kadar
Antagonist and captain of Survey 8
WantsCaptain Grixt Kadar wants the Meridian Eye for the Crooked Ember, but privately hopes to sell it to the highest bidder and escape the faction's debts.
“A chart is a promise made by someone who has not yet drowned.”
Neris
Witness and wary ally
WantsNeris, the observatory's surviving keeper, wants the astrolabe left in place because its removal may release the thing it was built to measure.
“The water sings in measures. If you hear the fourth note, stop moving.”
Bodhrán
Wildcard and expedition guide
WantsBodhrán, a Flecks salvage diver, seeks a cure for the strange growth in his lungs and believes the observatory's records describe one.
“I can carry the weight. I cannot promise I will carry it where you want.”
How it ends
Rewards
Items
The Meridian Eye, a unique story item whose magical properties are uncertain until examined. It is not assumed to be an official D&D magic item.
A sealed packet of Neris's field notes describing tides, star positions, and the observatory's counterweight mechanism.
Optional salvage: a pearl-inlaid brass lens worth 100 gp if sold, or useful as a component for a later custom crafting project.
On a win
The characters return with the Meridian Eye, credible evidence of the observatory's purpose, or both.
Their choice about the instrument determines whether Brackenwake gains a new navigational advantage, the Crooked Ember gains leverage, or the reef's old restraint is strengthened. A success can still carry a cost: a damaged ship, a lost ally, or an altered route through the Saltwind Reach.
What it leaves open
If it fails
- The party fails to secure a safe ship or delays until the changing tide makes the planned return route impassable.
- Survey 8 is lost or driven off, leaving the party without a reliable return route. They must find another vessel, bargain with Brackenwake, or survive a hazardous overland route along the reef.
- The characters lose the final confrontation or abandon the astrolabe to Grixt.
- The Meridian Eye is taken by the Crooked Ember. The faction begins controlling passage through the Saltwind Reach, and Brackenwake loses access to several trade routes.
- The characters treat Neris as an enemy, fail to protect them, or refuse to hear their account.
- Neris is killed or driven away, leaving the party without the keeper's warning about the astrolabe. Removing it triggers a dangerous surge and leaves the party to discover the truth through consequences.
- The party withdraws without the Meridian Eye or cannot complete the vault mechanism.
- The characters escape with their lives but leave the astrolabe in the labyrinth. The reef's false lights continue to lure ships, and the Crooked Ember may return with a larger expedition.
Complications (d6)
- 1A sudden undertow pulls one character 30 feet toward a coral slit. A creature can resist with a Strength check against a table-set DC or be dragged into the adjacent hazard area.
- 2A school of pale fish swarms the party's lights. Until dispersed, they obscure sight beyond 10 feet and attract nearby predators.
- 3The labyrinth shifts: the route behind the party closes, and a new passage opens toward a dangerous chamber. The party must reorient using a successful navigation or Investigation check.
- 4A character hears a crewmate's voice calling from a sealed coral niche. Opening it releases a cloud of choking spores; the voice is a recorded echo, not a living person.
- 5Survey 8's anchor line snaps against the reef. The ship begins drifting toward a jagged shelf unless someone reaches the deck and secures a replacement line.
- 6The astrolabe gives a single bright pulse. Every creature nearby must make a Wisdom saving throw against a GM-set DC or see a false route as the only safe path for the next minute.
Media
0 imagesNo images yet.
Turn The Meridian Eye into a sheet
A high-res, share-ready sheet you can post or print.