Below the Amber Ruin
Below the Amber Ruin
Read aloud
Vasha Krezk spreads a charcoal rubbing across the table: a line of tiny coffins marked below a sketch of the ruined Amber Temple. “An old guide swore the Golden Sarcophagi lie beneath the collapsed halls, somewhere below a shaft no one has safely mapped. Find them, prove what remains, and bring back no more than you can carry.”
Run the session
Cheat sheet
Objectives
- 1Find a traversable entrance to the lower chambers.
- 2Investigate the ruins and locate the sarcophagi.
- 3Document the discovery and return safely.
- 4Discover the lower sanctum's safeguard.Optional
The clock
A rival scavenging party is following the party's trail. After each major delay, increase signs of their approach: fresh chalk marks, a distant clatter, then evidence that they have reached the lower chambers. If they arrive first, they may trigger the guardian or force a tense negotiation.
Scenes
- 0:00The Contract and the Warning
- 0:35The Last Safe Floor
- 1:30The Long Descent
- 2:30Three Marks in the Dust
- 3:20The Gold That Holds
Cast
- Vasha KrezkQuestgiver and antiquarian
- Pavel OrdanAlly and former temple guide
- Sister MeretAntagonist or wary guardian
- Domas VennWitness and stranded scavenger
The hook
Set the scene
At Vasha's temporary field station, rain ticks against a patched canvas roof while the charcoal rubbing curls at its corners. Pavel checks the climbing gear twice. Sister Meret, who has been waiting near the fire, warns that the lower temple should be left undisturbed. Before the party sets out, Domas arrives with a cracked amber chip and a plea for someone to guide him out of the ruins.
How Vasha Krezk asks
Vasha offers a modest advance for supplies and a larger payment for reliable proof of the coffers' location.
She emphasizes that the party is being hired to search and document, not to haul heavy objects out of the mountain.
Rumours
Scenes
about 4.5 hours0:00
35 min
socialThe table is here
1. The Contract and the Warning
Vasha's rain-battered field station outside the shattered temple approach.
Vasha assigns the search, shows the rubbing, and sets the proof-and-return terms. The party meets Pavel, Sister Meret, and Domas, whose accounts conflict. Establish what gear the group brought and whether Domas is traveling with them.
NextPavel leads the party to a break in the upper wall, where the surviving route runs along a fractured gallery above the descent shaft.
0:35
55 min
exploration
2. The Last Safe Floor
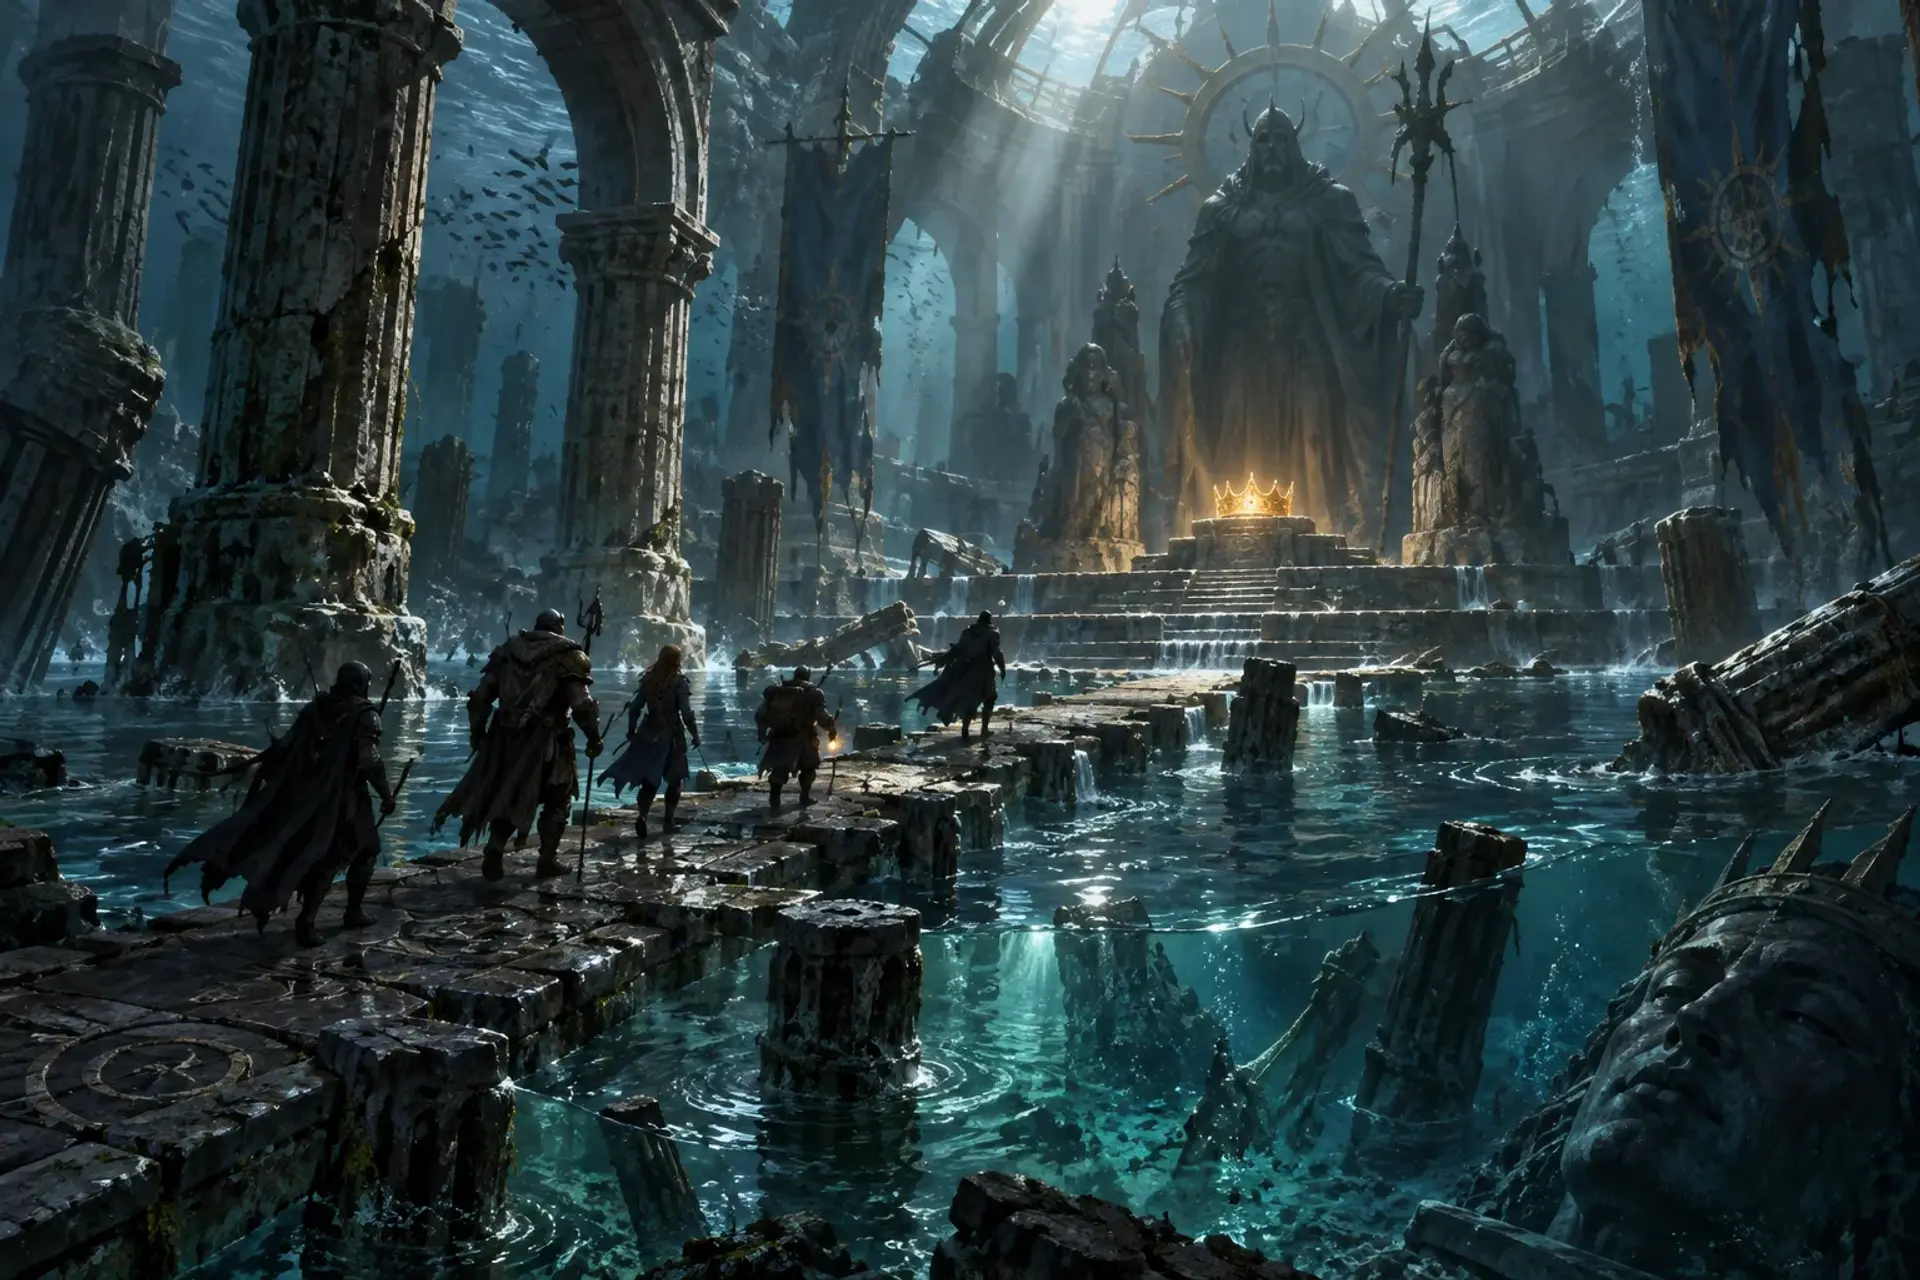
The ruined upper halls and the exposed rim of a seemingly bottomless shaft.
The party crosses the broken gallery and searches for the shaft's soundest anchor points. Evidence includes old rope fibers, fresh chalk marks, and a half-hidden stair symbol that may distinguish the true route from a collapsed passage.
The Broken GalleryNextOnce the party secures lines or finds the narrow stair, the real descent begins. Each character must decide what to keep accessible and what to leave above.
1:30
60 min
skill
3. The Long Descent
A steep stone shaft descending through the mountain into darkness, with worn anchor holes and occasional shelves of rubble.
The climb is long enough to become its own test of planning and endurance. Run it as a sequence of checks, choices, and resource decisions rather than a single roll. The party may need to re-anchor, rest on a ledge, or adapt when the shaft narrows.
NextA draft carrying the smell of cold ash leads toward a landing where the walls bear inscriptions and fresh scavenger marks.
2:30
50 min
investigation
4. Three Marks in the Dust
A low landing, branching corridors, and a mural fractured by an old collapse.
Compare the rubbing to the lower-wall inscriptions, question Domas or Sister Meret, and inspect the signs of recent passage. Present enough evidence to let careful characters identify the correct chamber without requiring a single mandatory check.
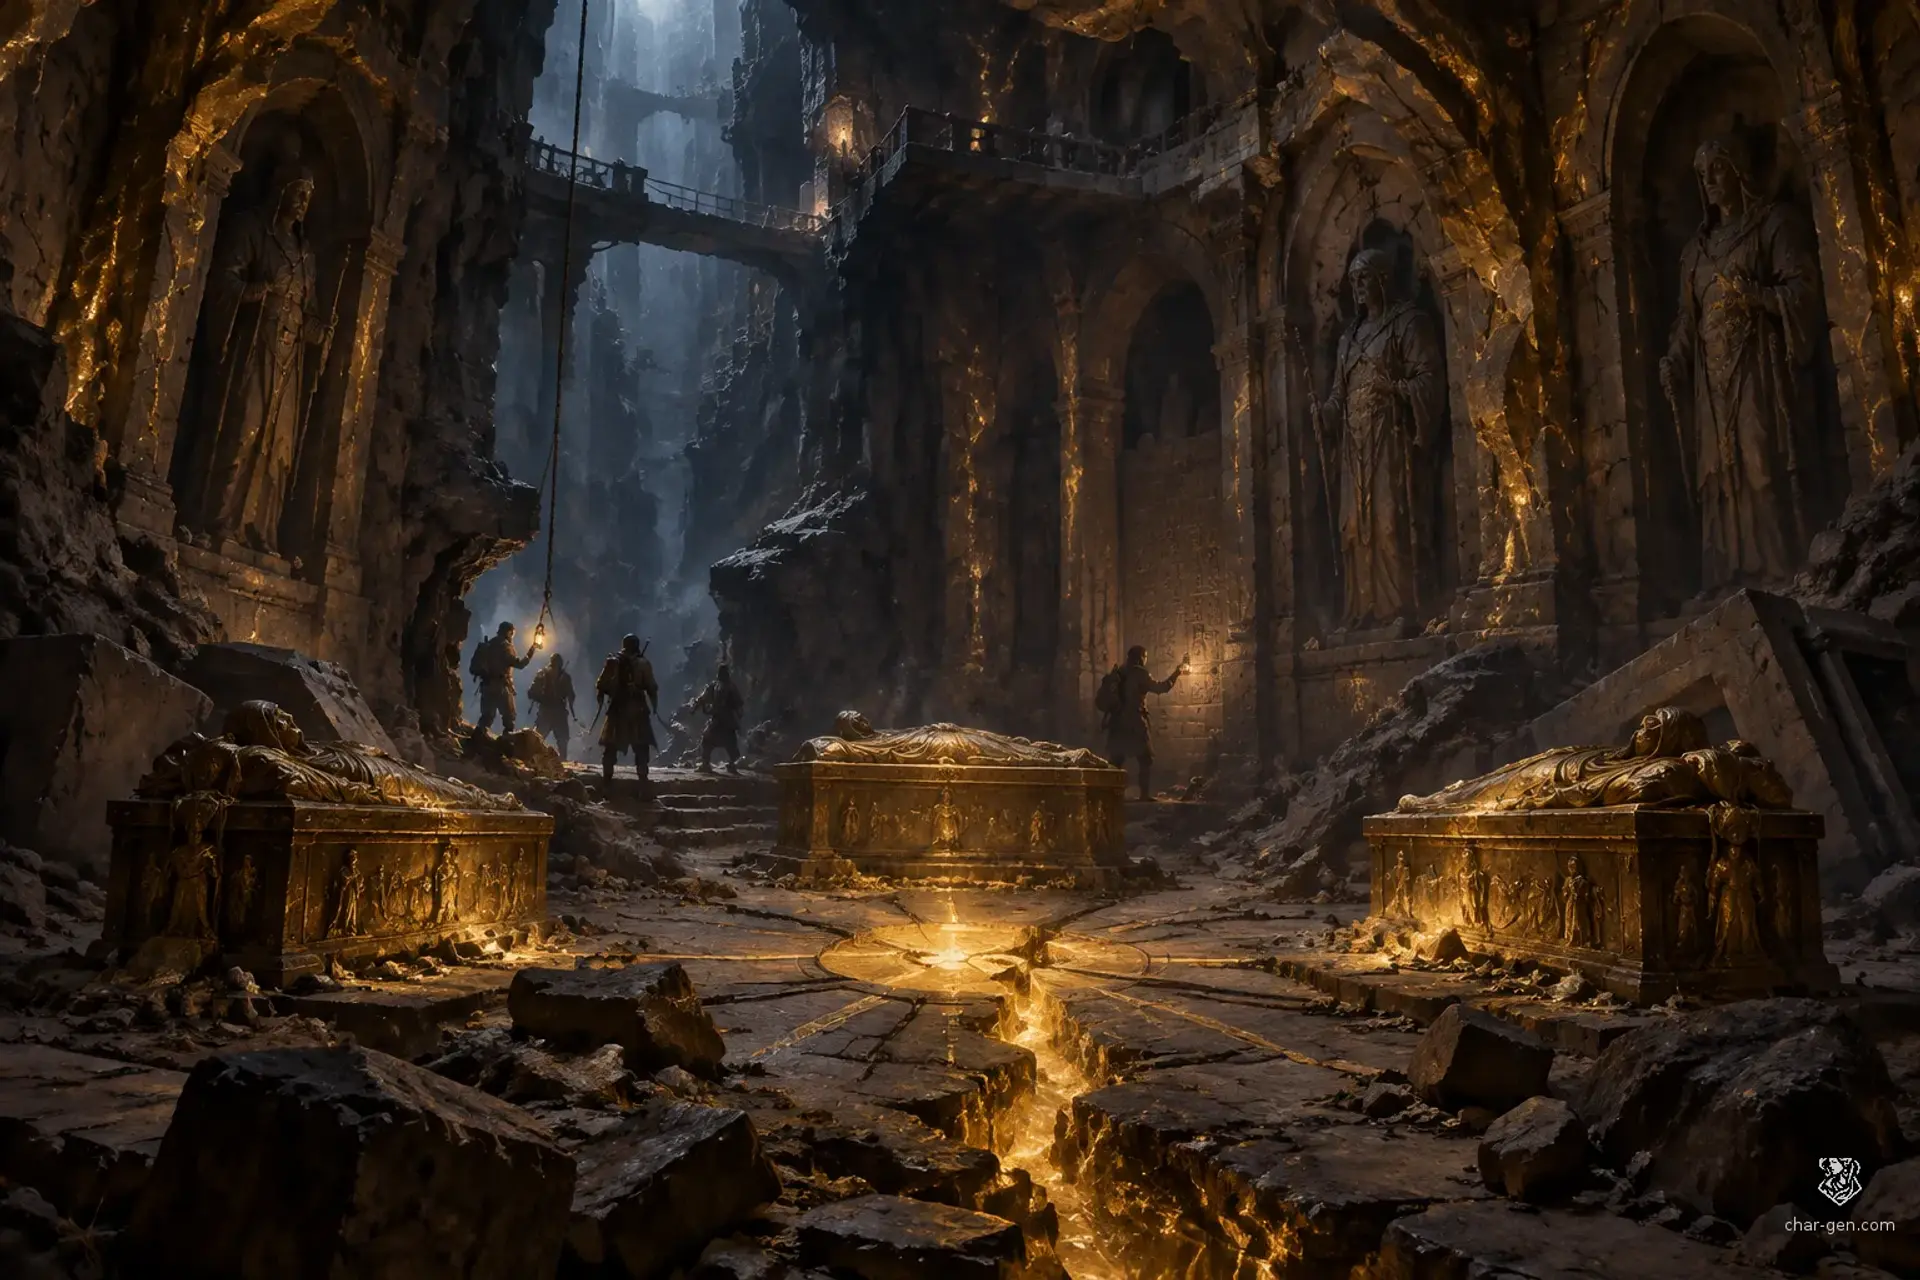
NextThe clues point through a narrow breach to a vaulted chamber where three gilded coffers sit around a central amber seam.
3:20
65 min
exploration
5. The Gold That Holds
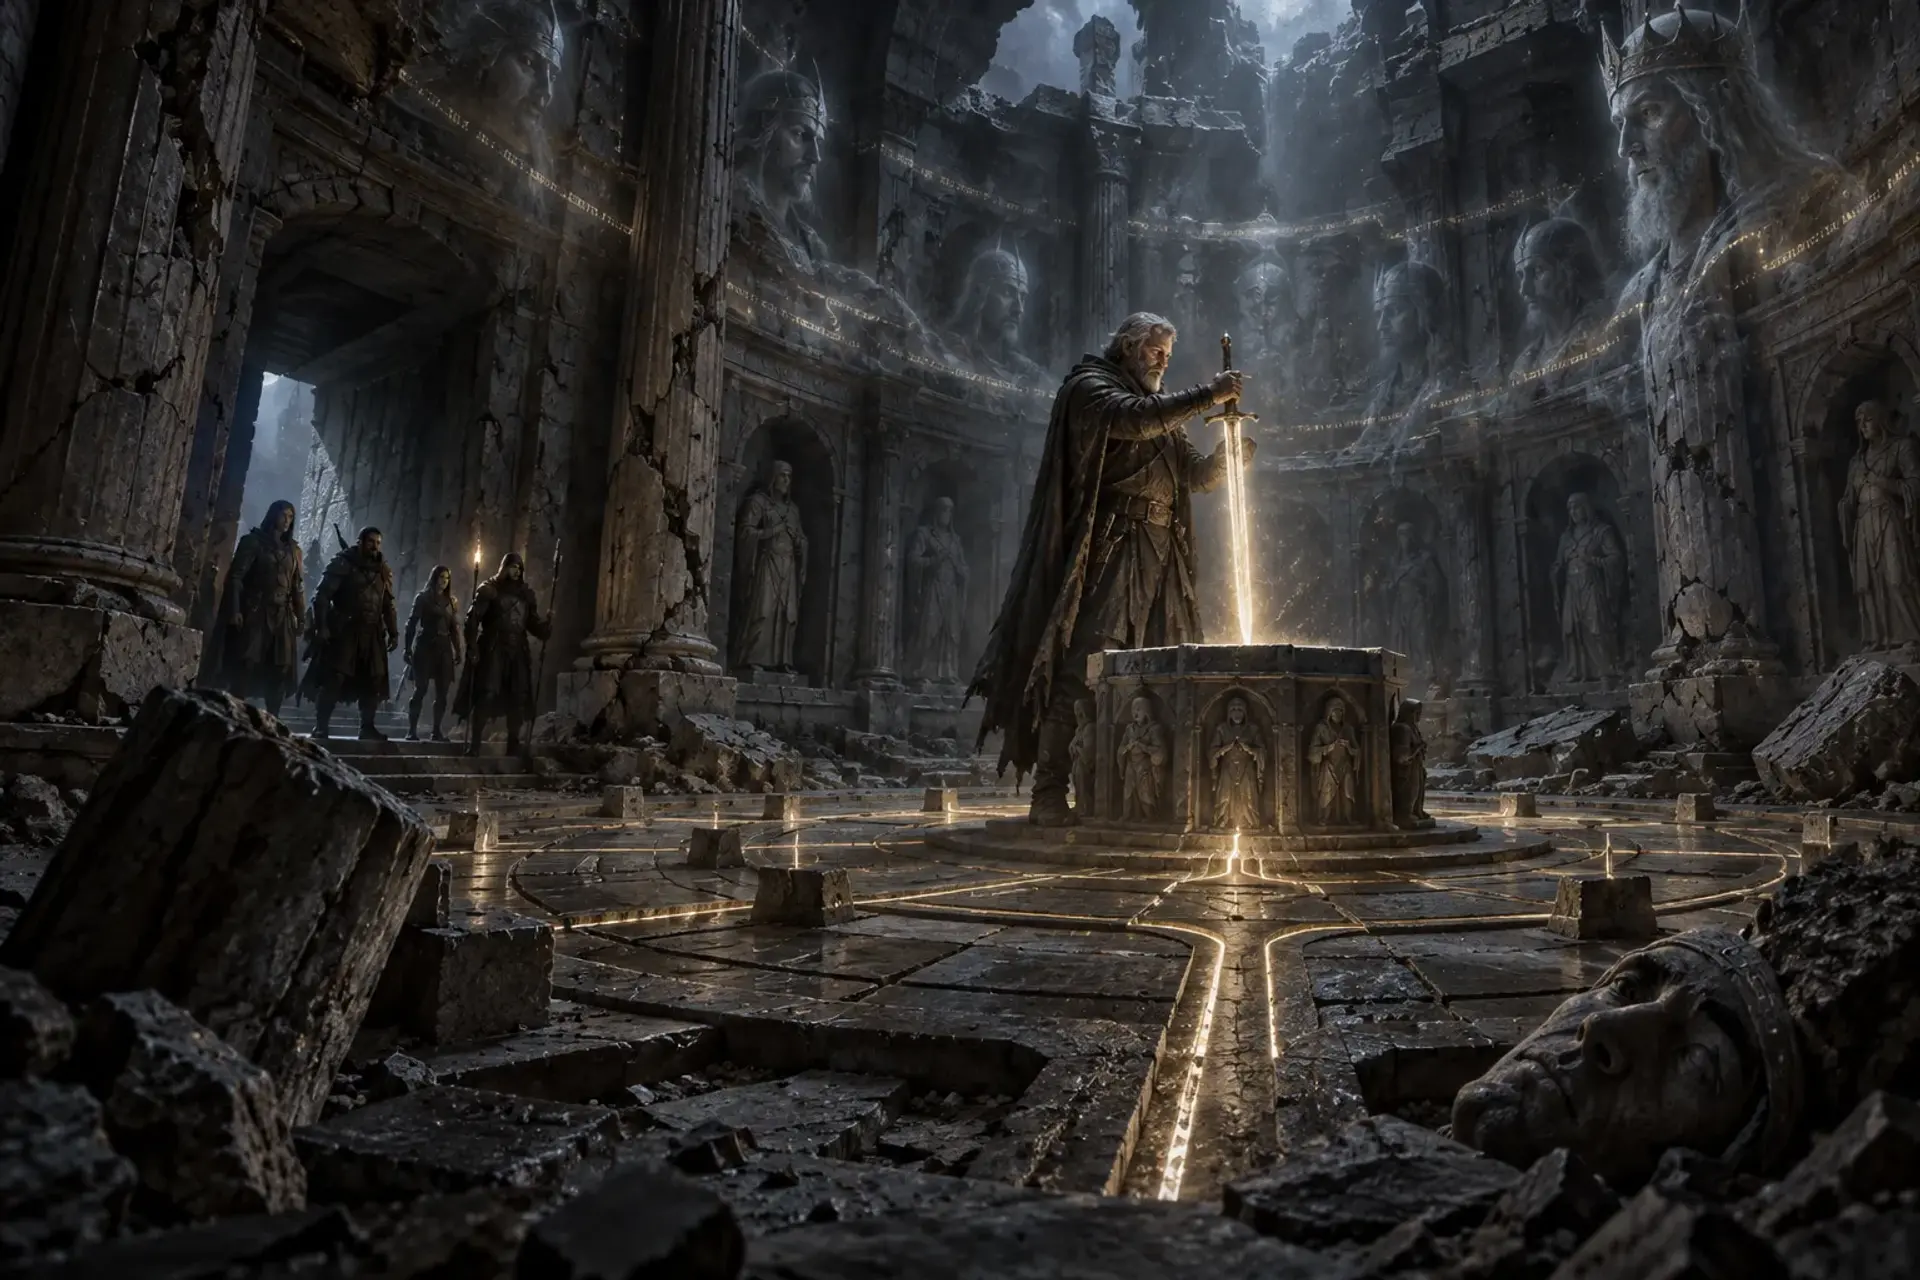
The lower sanctum, where the floor is cracked and the gilded coffers rest beneath a web of amber veins.
The party locates the Golden Sarcophagi and must decide whether to document, open, remove, or protect them. Use the encounter if the party disturbs the seal or is discovered by the chamber's guardian; allow careful inspection or negotiation as alternatives to a fight.
The Lower SanctumNextThe party must choose a route back up, carry its records and rescued witnesses, and decide what to tell Vasha about the seal.
Behind it
What people believe
A search party seeks the Golden Sarcophagi rumored to lie in the lowest chambers of the ruined Amber Temple.
The route descends through unstable galleries and a long, difficult shaft, where old inscriptions, scattered evidence, and surviving witnesses may help reveal the coffers' location. The expedition must document its discovery and return through the ruins, deciding how much risk to take and whom to trust.
Background
The Amber Temple's upper halls have collapsed, leaving fractured galleries, exposed vaults, and a shaft descending into chambers omitted from surviving maps.
The Golden Sarcophagi are said to be a group of gilded funerary coffers once kept in the temple's lowest sanctum. Their location is disputed, and no reliable account says whether they contain remains, relics, or merely ceremonial offerings. The party is hired to locate them and return with proof, not to disturb anything they cannot safely identify.
The stakes
If the party misidentifies the chamber, another expedition may claim the discovery or destroy vital evidence.
If it opens the coffers without understanding their arrangement, it may awaken the guardian and destabilize the lower sanctum. The long climb also makes retreat costly, so every decision about rope, supplies, witnesses, and proof matters.
Encounters
2The Broken Gallery
Combat or bypass
A shattered gallery spans part of the descent shaft. Narrow shelves, hanging stone ribs, and loose rubble divide the floor. Characters can secure lines to sturdy pillars, cross a broken bridge, or descend along the wall.
Foes
Amber-scarred guardian (custom animated construct)
Cliff-hunting scavengers (use suitable low-threat beasts or humanoids for the party)
ComplicationThe ledge is narrow and fractured. Noise or a missed foothold can dislodge loose stone, changing the route and endangering anyone below. The party can bypass or distract the guardians rather than fight.
ScalingFor a smaller or less capable party, use only one guardian and make the scavengers flee when it falls. For a larger or better-equipped party, add a second guardian or have the scavengers harry the party from cover. Tune creature statistics to the table; these names are encounter roles, not official creature entries.
The Lower Sanctum
Combat, negotiation, or evasion
A low vaulted chamber surrounds three gilded coffers. The floor is cut by cracks and shallow pits; amber veins in the walls cast dim, uneven light. A narrow alcove contains the safest place to examine inscriptions.
Foes
The Gilded Warden (custom guardian construct)
Amber husks (custom fragile sentries)
ComplicationOpening a sarcophagus or striking the central amber seam wakes the guardian and causes the chamber's stone floor to shift. Each round, a marked section becomes unsafe, forcing characters to move or find stable ground.
ScalingFor an easier encounter, use the Warden alone and let it stop once the party shows the matching temple seal or withdraws from the coffers. For a harder encounter, add two amber husks or increase the number of shifting floor sections. Use custom statistics appropriate to a level 5 party rather than treating these as canonical D&D 5E monsters.
Cast
4Vasha Krezk
QuestgiverQuestgiver and antiquarian
WantsShe wants reliable evidence of the sarcophagi's location and condition before a rival expedition claims the discovery.
“Bring me a rubbing, a clear description, or one intact piece of the gilding. Please do not bring me a curse.”
Pavel Ordan
Ally and former temple guide
WantsHe wants to guide the party safely through the ruined upper temple and prove that his earlier expedition was not a failure.
“The old stones have a way of making every sound seem like it came from behind you.”
Sister Meret
Antagonist or wary guardian
WantsShe wants to keep the lower sanctum sealed, believing that disturbing the sarcophagi will worsen the temple's unstable magic.
“You came all this way to open a coffin? Some doors are better left as doors.”
Domas Venn
Witness and stranded scavenger
WantsHe wants to trade his fragmentary knowledge for safe passage out of the mountain.
“I saw gold below, yes. But it was moving, and the thing carrying it had no feet.”
How it ends
Rewards
Items
A sealed field kit containing climbing spikes, chalk, spare cord, and waterproof paper.
A silvered lens in a leather case, a custom tool that helps read shallow engravings in low light but grants no automatic mechanical bonus.
One small golden flake from a fallen exterior carving, offered as a keepsake only if the party can take it without damaging a sarcophagus.
On a win
The party returns with convincing evidence of the Golden Sarcophagi and a clear account of the route, while keeping the expedition's survivors and records intact.
Vasha pays the promised reward. If the party also learns the seal's purpose and leaves the shells undisturbed, it earns Sister Meret's trust and prevents the lower sanctum from becoming an immediate threat.
What it leaves open
If it fails
- The party abandons the search or cannot establish a safe route back from the lower chambers.
- The party returns without locating the coffers or without evidence. Vasha pays only the agreed travel stipend, and a rival expedition gains the lead.
- The party triggers the chamber hazard repeatedly or destroys the inscriptions before recording them.
- If the party damages or opens a coffer recklessly, the Lower Sanctum becomes more unstable. The coffers may remain in place, but returning to retrieve proof becomes more dangerous.
- The party fails to negotiate safe passage or rescue a stranded witness during the descent.
- If the party leaves Sister Meret or Domas behind, their account of the expedition may be distorted by fear, anger, or opportunistic bargaining.
- The party loses its lines and cannot safely ascend the shaft by the route it used to descend.
- If the party cannot climb back out, they must find a secondary route through the broken lower complex, spend scarce supplies, or seek help from someone who knows the mountain.
Complications (d6)
- 1A falling slab blocks the easiest route back to the shaft. The party must clear it, find a narrow bypass, or spend time securing another return path.
- 2A cold draft snuffs unshielded flames and carries a whisper that repeats one character's name. The whisper is a harmless echo, but its direction points toward a hazardous ledge.
- 3A rope anchor pulls free under sudden strain. Anyone relying on that line must react quickly, and the party must replace or reinforce the anchor before continuing.
- 4A pocket of amber dust bursts from a cracked seam. Until cleared or avoided, visibility is poor and fine tools, lenses, and written notes become coated.
- 5A rival scavenger signal appears on a wall: fresh chalk marks show someone has entered the lower chambers ahead of the party.
- 6A stone panel shifts, opening a short-lived route to a side vault while cutting off the party's current path. The group must choose whether to explore the opening or preserve its route forward.
Media
0 imagesNo images yet.
Turn Below the Amber Ruin into a sheet
A high-res, share-ready sheet you can post or print.