
Choose a Video Model by Input and Output
Choose a video path from the input and output you need.
Choose a video route from the material you actually have and the clip you need to review. /generate?contentType=video makes one clip. /video-studio is the separate multi-shot film workspace. The controls below were reviewed on 1 August 2026 and are model-specific prepared states, not a universal provider matrix.
Start with the source you have
1. Use the input-first decision map
Use Create when the clip begins as a written shot. This is text-to-video: the prompt carries the main direction. Add a Start Frame when an owned still should anchor the opening, and consider an End Frame only when the selected model exposes it and the destination image has a distinct job.
Use Create with a cleared still for image-to-video. The still becomes the opening anchor, while the prompt describes what moves. Use Edit when the input is an existing video and you need a narrow transformation. Use Portrait when the input is a cleared character plus an audio upload or Text-to-Speech. These are different input contracts, not interchangeable prompt styles.
Give each control one job
2. Separate the prompt from media inputs
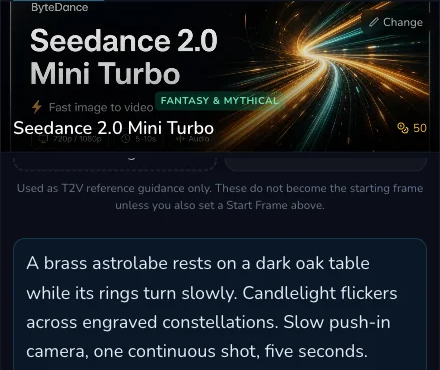
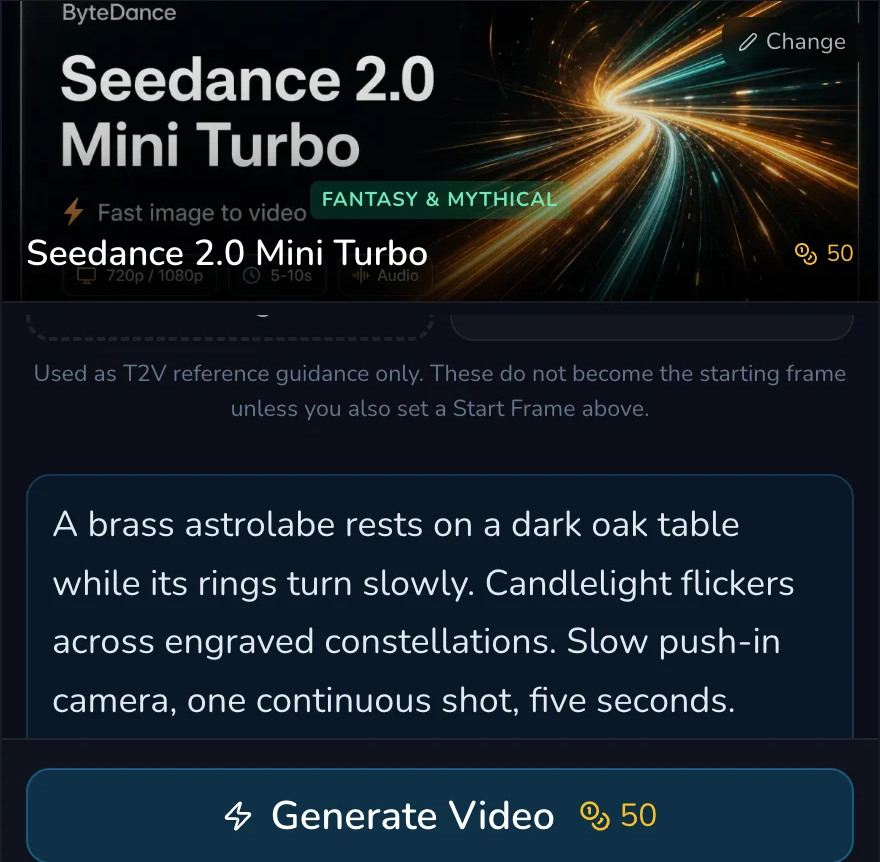
In Create, Prompt describes the shot. Start Frame provides the first visual state. An optional End Frame provides a target visual state when the selected model supports it. Reference Images (Text-to-Video) are guidance, not a replacement for a clear prompt.
In Edit, Source Video is required. Start with a narrow written instruction such as “cool the moonlight and keep the original camera movement”. The prepared state also exposed reference images, but their availability and limits belong to the selected model.
In Portrait, prepare Character and Audio. The reviewed paths exposed Upload and Text-to-Speech. Use only a character and audio material you own or have permission to use for this purpose. A clear path-specific consent check is part of choosing the mode, not an afterthought.
Check controls after selecting the model
3. Treat limits as dated and model-specific
The reviewed Create, Edit and Portrait entries were all marked model-specific. That means a visible control, allowed combination or cap can change after a model switch. Do not carry a remembered limit from one mode into another. Read the mounted labels, remove a source that has no distinct job and check the displayed estimate immediately before one deliberate request.
Checkpoint
Check your result
- You can name the source type: text, still image, existing video or character plus speech.
- The mode matches that source type before the prompt is written.
- Each mounted input has one stated role.
- Current model controls and amount were checked in the live form, not assumed from this article.
Troubleshooting
If something looks wrong
Troubleshooting
- Symptom
- A control disappeared after I changed model.
- Likely cause
- Video inputs and limits are model-specific.
- Next safe action
- Use the controls that are currently mounted or choose a model that visibly supports the needed source path.
- Symptom
- The request has too many competing images.
- Likely cause
- Several sources are trying to define the same visual decision.
- Next safe action
- Keep one opening anchor and only add guidance with a separate, named job.
- Symptom
- I have a video but chose Create.
- Likely cause
- A written prompt cannot stand in for a required source-video input.
- Next safe action
- Move to Edit, keep the instruction narrow and retain the original video for comparison.
For a new request, save the exact prompt and source role first. If a first output needs improvement, change one cause at a time only after the prior request has a clear terminal outcome. Never resubmit solely because the page is slow or a result has not appeared yet.