
AI 3D Model Generator for D&D: 5 Tools Compared in 2026
Compare five ways to use an AI 3D model generator for D&D. Check inputs, mesh controls, rigging, print prep and licence terms.
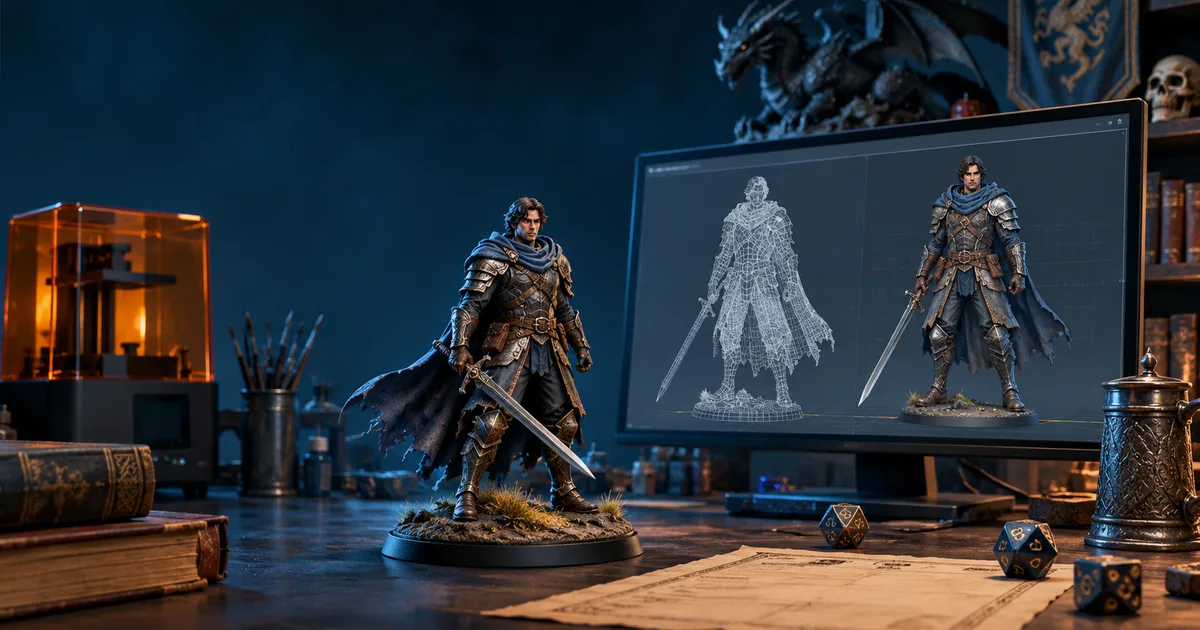
An AI 3D model generator for D&D turns character art into a model for editing, animation or printing. The result is a starting mesh. It is not automatically a printable miniature, a clean game asset or a VTT token.
I reviewed current tool pages and help documents on 4 November 2026. I did not run the same paid prompt across all five services. This is a workflow comparison, not a lab test or quality ranking. I focus on each tool's post-generation steps. Those steps decide whether a D&D asset helps or costs another evening.
Which AI 3D model generator for D&D should you try?
Choose the next step before you choose the generator. A painted figure for a campaign trailer needs a different file from a small resin miniature. An animated character needs a rig. A virtual tabletop scene usually needs a 2D token, not a 3D model.
| Tool | Strong starting point | Useful controls | Check before you commit |
|---|---|---|---|
| CharGen 3D tools | Character art or an existing model | Mesh clean-up, UVs, rigging, animation and splitting | Each post-generation step has a separate Gold price |
| Meshy | A clear image or a prompt in Meshy Agent | Standard or Smart Topology, texturing, remesh and animation | Image results start as a white base mesh before texturing |
| Tripo | An image, with a choice between detail and cleaner topology | Texturing, segmentation, UVs, rigging and animation | You still need to inspect the back and hidden surfaces |
| Rodin Gen-2.5 | Text or up to five reference images | Geometry tier, triangle or quad mesh, texture and export settings | High detail does not mean a low-poly game mesh |
| Sloyd | Text or image, plus a library of editable templates | Rigging, animation, retexturing and model editing | Guest exports have a personal-use licence |
My quick recommendation is simple. Use CharGen when the work includes more than generation and you want the image-to-model and mesh-edit steps together. Try Meshy or Tripo when you want a general image-to-3D workspace with several post-processing controls. Compare Rodin when geometry and texture settings matter. Choose Sloyd if its templates and browser editing match the asset you need.
That recommendation does not say one service makes the best model. I have not tested identical prompts in identical plans. Your reference image, chosen model mode and intended output can change the result more than a marketing sample suggests.
Decide what the D&D model must do
Write down the output before you open a generator. “A model of my fighter” is not a production requirement. “A 32 mm miniature with a stable base and a separate sword” gives you something to check. “A low-poly fighter with a Unity rig and an idle loop” gives you a different checklist.
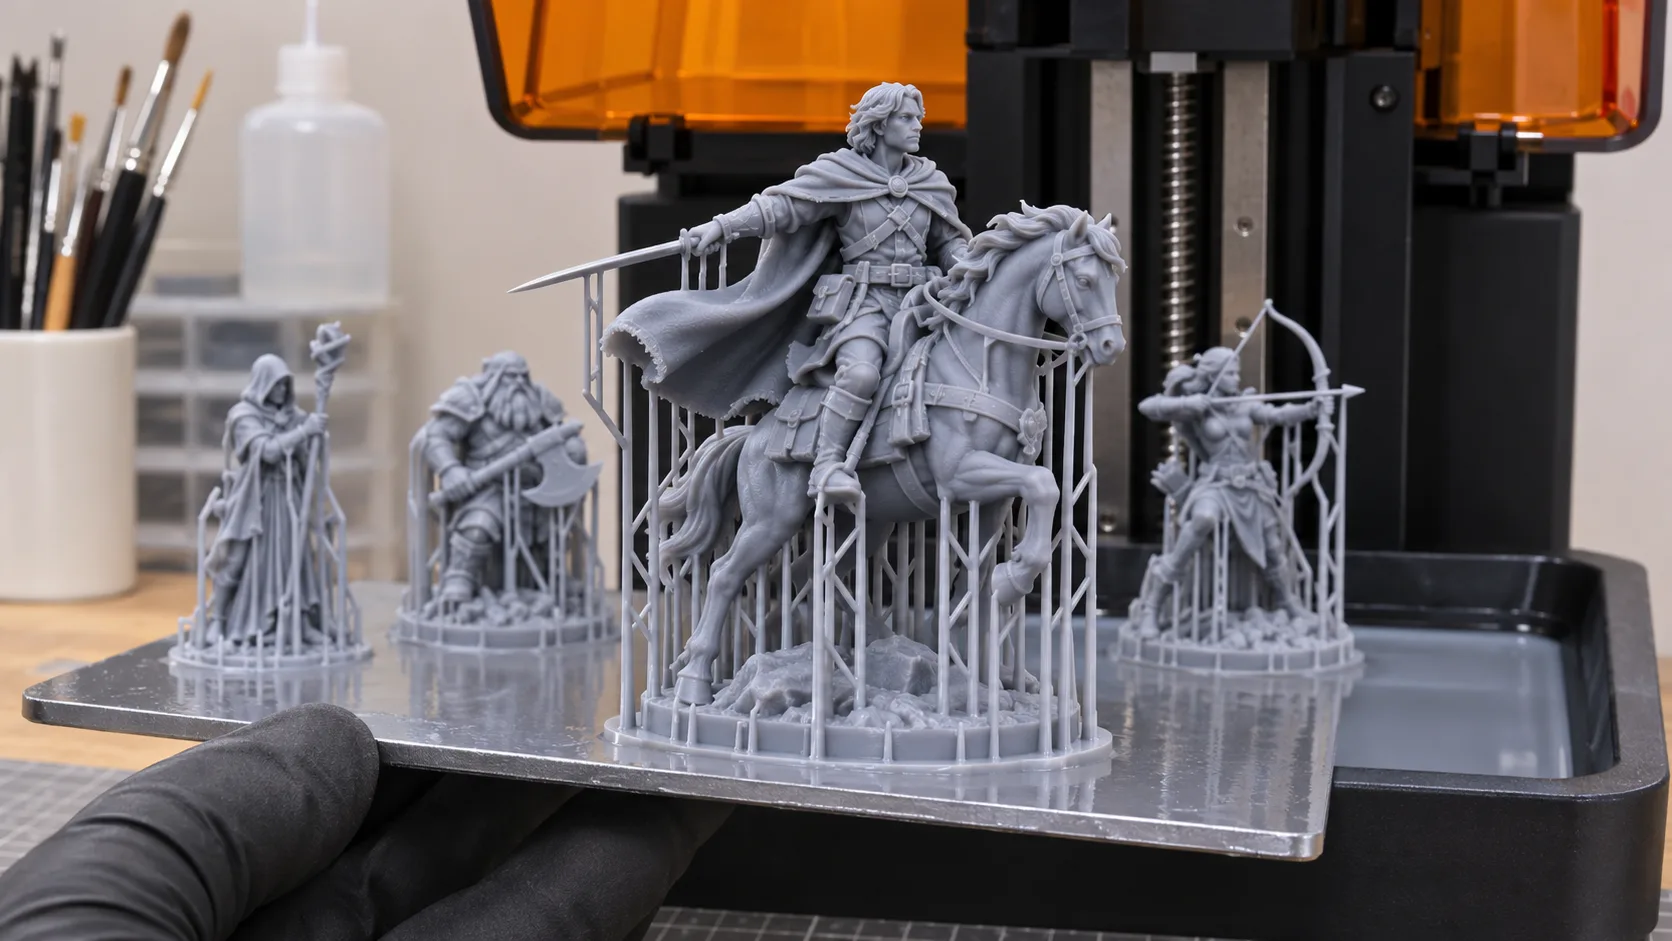
For a physical miniature, check scale, thin parts, support points and whether the mesh is watertight. A sharp sword may look good on a monitor and disappear in resin. A long cloak may trap supports. A model can also include a base that is too wide for your existing figures. Open the exported file in your slicer. Check the preview layer by layer before spending resin.
For a game character, check polygon count, topology, UVs, texture maps, skeleton and animation clips. A detailed scan-like mesh may suit a close-up render. It may be too heavy for a game scene with twelve enemies. A rig can exist but still bend badly at the shoulders or knees. Rotate the model and play every supplied animation before you export it.
For a virtual tabletop, ask whether you need a 3D model at all. Most tables use a round or square 2D token. CharGen's Token Maker turns approved character art into that format. A 3D model can work in a streamed scene or 3D VTT. Standard VTTs still need token images.
Keep one reference image for the character's appearance. It should show the full body, use a plain background and make the hands and equipment easy to see. A front view gives the generator more useful information than a portrait crop. If the service supports multiple views, add side and back views with the same outfit and proportions.
1. CharGen: generate and edit a model in one workflow
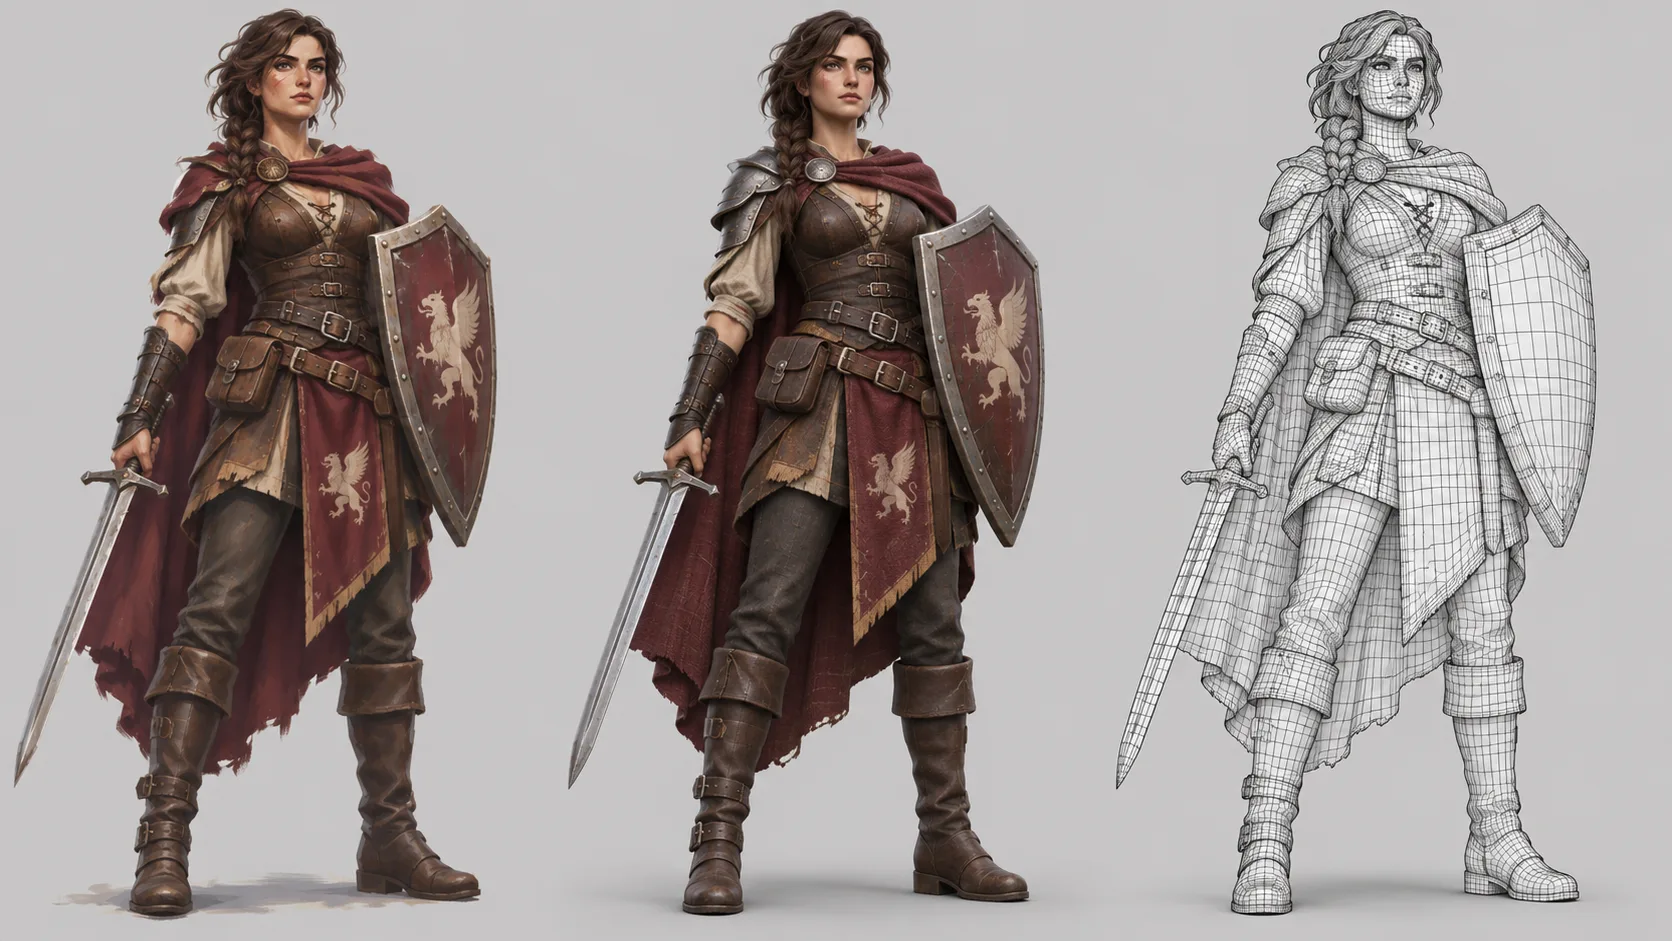
CharGen's 3D model generator starts from an image or a model you already have. Choose a model from the 3D Gallery. Or upload a GLB, glTF, FBX, OBJ or STL file up to 150 MB. This helps when your art exists or an older model needs another edit.
After generation, CharGen offers separate tools for mesh clean-up, UV unwrapping, rigging, animation and splitting. Current clean-up prices are 15 to 55 Gold. UV unwrapping costs 30. Rigging costs 35. Rig and animation cost 50 to 105. Splitting costs 55 to 125. A multi-step recipe can chain two to four actions. The page shows the step cost before you start. A failed step is refunded, and later steps stop.
The public example is useful because it shows a complete run rather than a still image. The Vex courier demo starts from one image and creates eight model parts. CharGen cleans the mesh to 10,000 quads, then adds a rig and animation. Its final model has 18,601 triangles and a 78-bone skeleton with two moves. Treat those details as one run, not a promise for every character.
That workflow suits a campaign asset that needs a few different forms. Start with portrait art. Clean the model for a game engine, then add a walk cycle. You can also split a model into pieces for printing. The steps are optional, so you can stop after a usable static mesh.
The trade-off is cost. Each action has its own Gold price. Check the estimate before a recipe starts. If you only need a single unedited model, compare the generation options and current plan terms elsewhere first. CharGen's strength is the grouped workflow around the model, not a claim that every generated mesh needs every tool.
CharGen also has a separate AI Miniature Generator. It targets a 32 mm tabletop miniature and exports STL, OBJ or GLB. The product page lists a price of 50 Gold for each model. Keep that route separate from game-asset work. A printable miniature and a rigged character have different geometry needs.
2. Meshy: choose between detail and cleaner topology
Meshy supports image-to-3D generation and text-led creation through Meshy Agent. Its help pages offer Standard high-poly or Smart Topology. Smart Topology has fewer polygons and cleaner edge flow. You can add texture, remesh a model or use auto-rigging for a posed character. Meshy's image-to-3D guide recommends a front-facing image and a plain background.
That makes Meshy worth checking when you already have character art and want to explore several visual versions. Its image workflow can also take multiple views in Meshy 7. Use different angles, consistent lighting and one centred subject per image. The documentation warns that nearly identical views add little new information. Use front, side and back views for armour, long coats or packs with important straps.
One detail matters when you compare previews. Meshy's image workflow first returns an uncoloured white base mesh. Texturing is a separate action. A smooth, white model may have useful shapes but does not show how a painted asset will read. Add texture before you judge the final appearance, then inspect the mesh itself in the viewer.
Meshy distinguishes print and game uses through its model type. Standard is the high-poly option for detailed printing, sculpting and renders. Smart Topology targets game development and real-time use. Those descriptions help you pick a starting mode. They do not certify a model for printing or prove that a rig will deform well.
Check the current free and paid plan terms before you download or use a model commercially. Meshy's licensing and download rights depend on the plan. Its plan comparison lists the current terms. Save a copy of the plan details that apply when you make an asset for paid work.
3. Tripo: compare high detail with Smart Mesh
Tripo's image workflow offers two named routes. Best Quality uses its HD Model path. Clean Topology uses Smart Mesh. Tripo says the image route can then continue to texturing, segmentation, retopology, rigging and animation. This gives you a set of editing steps without moving to a separate desktop package for every change.
I would start with Smart Mesh for a character that must move in a real-time scene. Start with the high-detail route when the model will be a close-up render or a source for more sculpting. Then compare both outputs on the same reference image. Rotate the side and back views. A front image does not tell the generator where every strap, pouch or cape fold sits behind the character.
Tripo's own image guide recommends one subject with a simple background. Its October 2026 3D guide says a single view leaves the far side to the model's inference. More views can help when armour is asymmetric. They can also show a shield or back-mounted weapon. Use consistent views, not a collage of different poses.
For animation, inspect the rig and each motion in the browser before export. A walk animation can fail in your game. Feet may slide, or the sword may clip through a thigh. For a print, export the file and check it in a slicer. The generation page cannot know your resin, nozzle, printer size or preferred support style.
4. Rodin Gen-2.5: set the output before generation
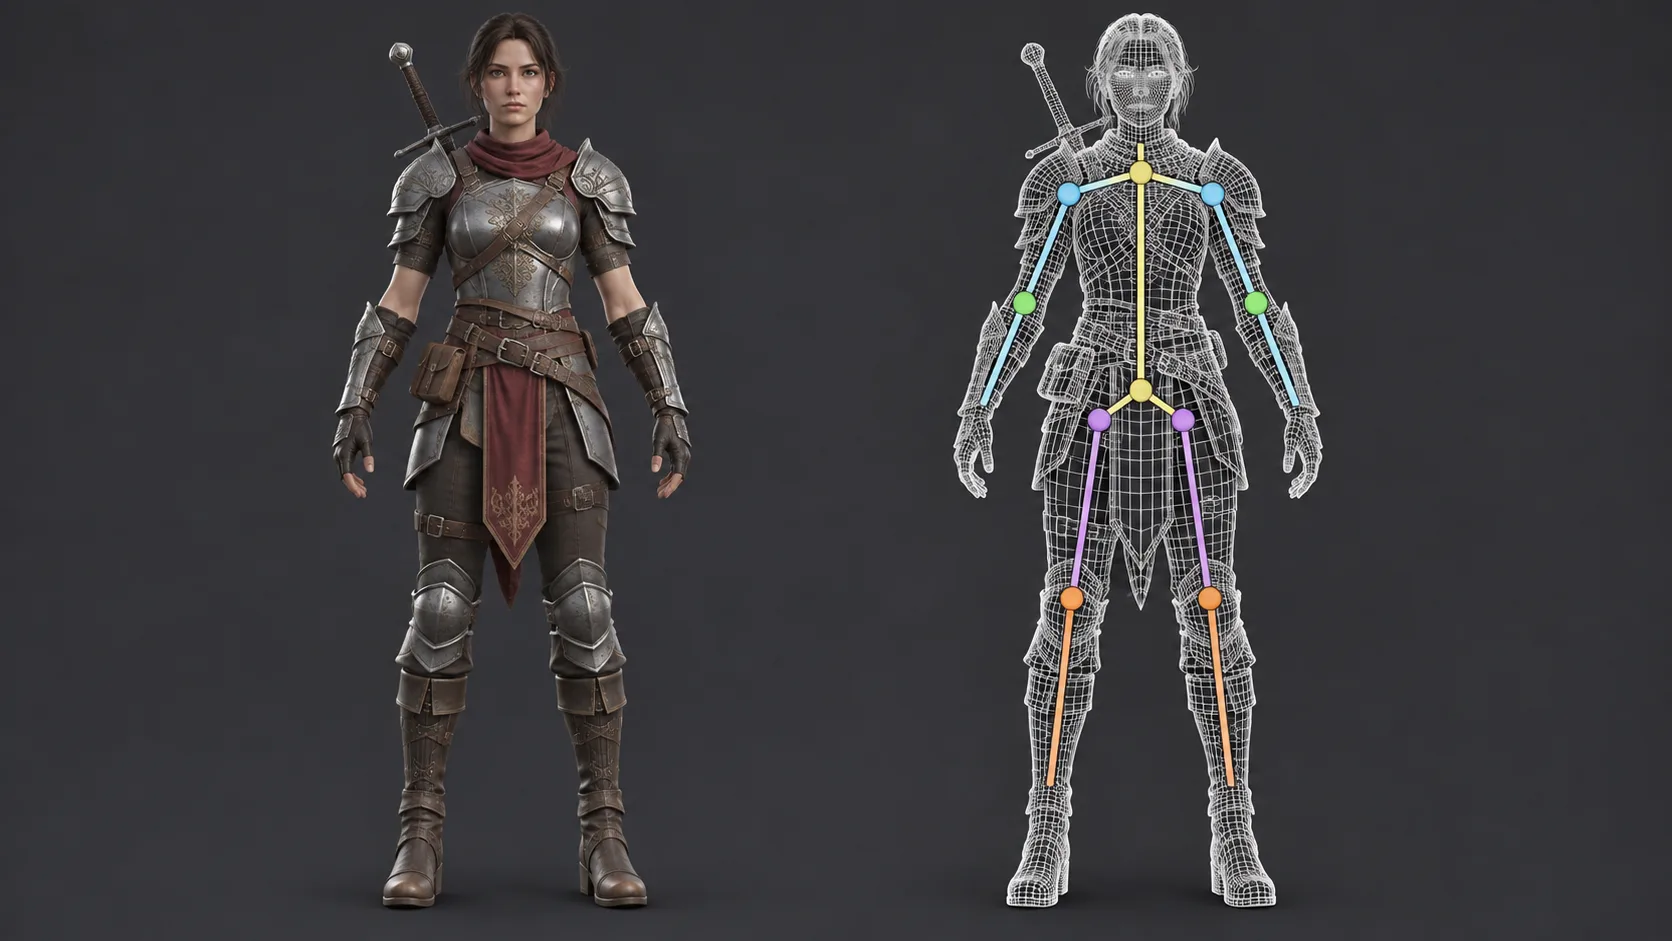
Rodin Gen-2.5 accepts text or up to five images in its documented generation endpoint. Choose a triangle or quad mesh. Set the geometry tier, texture options and export format. The API documentation lists GLB, USDZ, FBX, OBJ and STL.
That level of control helps when you know what will happen to the asset next. A D&D monster for a game scene may need a quad mesh, fewer faces and a compatible rig. A painted creature for a close render may need more detail and richer textures. The format also matters. Ask your game engine or modelling package which export it accepts before you generate several versions.
Rodin's high-detail mode can return a very dense mesh. More polygons are useful for some close-up work. They can slow down a real-time scene and make editing harder. Exporting STL also does not prove the mesh is sound for a printer. Open it in a slicer or mesh repair tool and check for holes, thin walls and disconnected parts.
The API documentation is clear about the controls, but a browser product can have different plan limits and controls. Check the current Rodin interface and pricing before you start. For production, test the export format, texture set and geometry count your team needs.
5. Sloyd: combine AI generation with editable templates
Sloyd combines text and image-to-3D generation with editable templates. Its Guest plan includes one daily AI generation, GLB and OBJ exports, and a personal-use licence. Sloyd Plus includes text and image generation, rigging and animation. Plan terms can change, so check the live page before you choose a tier.
The template library is useful when the asset is a common prop or structure. A chest, shield, sword rack or simple tavern object may need fewer prompt attempts than an unusual monster. Adjusting a template can also keep several assets visually close. That helps when you want a matching set of barrels, crates and doors for one encounter map.
For a character sculpt, inspect the result with the same care as any image-to-3D model. A template makes some design choices easy. It does not guarantee that the final hands, straps or weapon will print or animate correctly. Check the licence too. The free plan's personal-use term differs from paid commercial-use rights.
A simple test for an AI 3D model generator for D&D
Use one fictional character concept across the tools you can access. Keep the source art unchanged. Test a human scout in a patched leather coat. Give them a round shield, short spear and bedroll. Add one asymmetrical detail, such as a brass pauldron on the left shoulder. That helps you check the model from the side and back.
Save the source image and write down the settings for each run. Note whether you used text, a single image or several views. Record the model mode, mesh type, texture setting, export format, generation cost and time. Do not compare a high-detail paid output with a free low-poly preview as if they were the same test.
Rotate each result slowly. Check the face, hands, weapon grip, shield, boots and back of the coat. Zoom in on places where two objects meet. Look for holes, fused fingers, floating straps and a weapon that merges into the hand. These are common inspection points, not proof that one tool fails more often than another.
For a game engine, record the polygon count and test the rig in a neutral pose. Play each animation. Watch for sliding feet, twisted wrists and clothing that passes through the body. Open the exported model in the engine or 3D package you plan to use. A viewer preview cannot confirm that every material and bone will import correctly.
For a physical mini, set the intended height in your slicer. Check the base and thin features at the actual scale. Add supports only after you understand how the cloak, shield and weapon will print. I would not trust an STL label on its own. The final check happens in your slicer, with the printer settings you plan to use.
Check file rights before sharing or selling the model
An export button does not answer every rights question. Check the service's current terms for your plan. See if free models are public and commercial use is allowed. Confirm rights before selling prints or adding models to paid games.
Keep rights to your source image in mind too. Get permission before you upload another artist's image or make a 3D version. This includes book art, commissioned sheets and player drawings. A public gallery example does not give you permission to reuse the character. Save the source artist's permission and the AI service plan details with the project files.
For a home campaign, a personal-use plan may be enough. For a Patreon reward, published adventure, game or miniature shop, read the exact commercial licence. Check whether the licence covers the generated asset, the source image and the kind of distribution you intend. If the wording is unclear, ask the service before you publish.
Use the tool that matches your next step
I would not choose an AI 3D model generator for D&D from a single hero render. A useful asset must survive its next step. That may mean a slicer preview, a rig test, an engine import or a simple token crop.
Choose CharGen to move character art through clean-up, rigging, animation or splitting in one workspace. Choose Meshy or Tripo when you want to compare image-led generation and mesh modes. Try Rodin when its geometry and export controls match your pipeline. Use Sloyd when its editable templates fit the props and characters you need.
Keep the first test small. Use one image, one export format and one clear target. Check the result in the software where you plan to print, animate or play it. To try CharGen's image-to-model tools, open the 3D Model Generator. Check the Gold estimate before you start.
Frequently asked questions
Can an AI 3D model generator make a printable D&D miniature?
It can create a mesh, but you must check the file in a slicer. Inspect thin parts, wall thickness, supports, disconnected pieces and scale before printing.
Which AI 3D model generator works from character art?
CharGen, Meshy, Tripo, Rodin and Sloyd support image-led 3D work. Their mesh, editing, rigging and export controls differ.
Can I use an AI 3D model as a VTT token?
A 3D model is not a 2D token. Export or make a separate top-down token image for a virtual tabletop.
Does an AI-generated D&D model belong to me?
Check the current plan and licence for the service you use. Free tiers can have different public-sharing or personal-use terms from paid plans.
Do I need a reference image to make a D&D model?
No. Some tools accept text prompts. A clear image better guides a specific character's clothes, pose and silhouette.