
How to Import AI Character Art into Foundry VTT and Roll20
Import AI character art into Foundry VTT and Roll20 with the right PNG, crop, file format, grid size and token settings in this 2026 walkthrough.
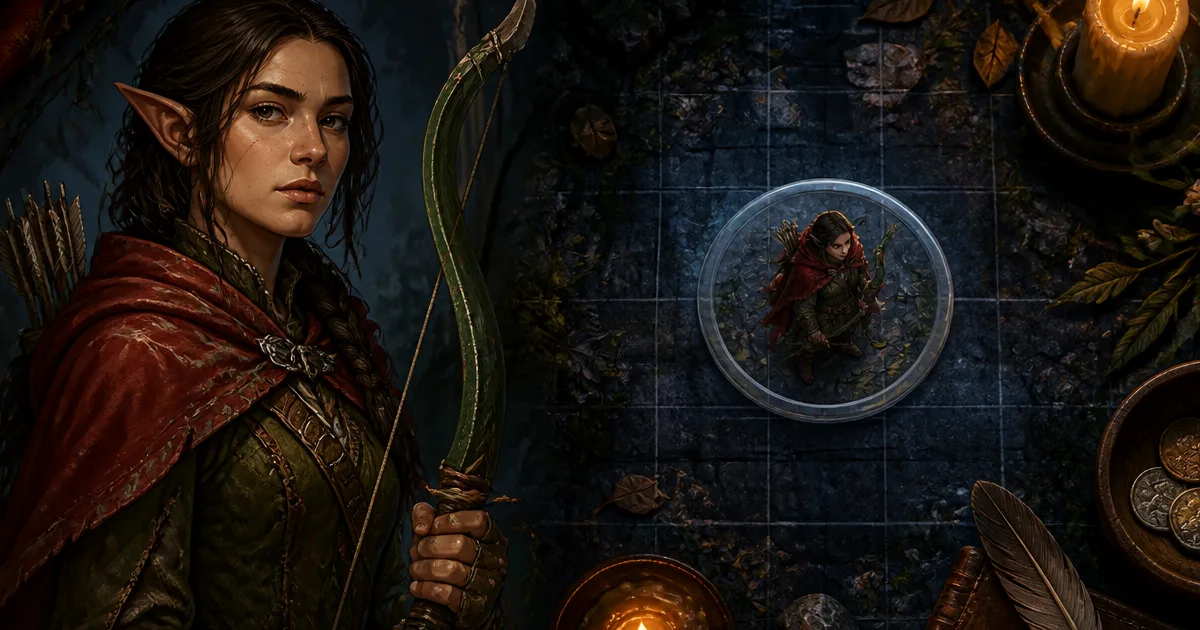
I generated a half-elf ranger with a chipped green bow, a red travel cloak and one cloudy eye. The portrait looked right. The session was not ready until the file worked in the VTT.
That last handoff causes more trouble than it should. Roll20 and Foundry accept different image formats. A portrait is not always a good token. A large file can waste storage or load slowly. A token can also land on the wrong layer, use the wrong grid size or point in the wrong direction.
This walkthrough shows how to import AI character art into Foundry VTT and Roll20 without losing the useful details. I checked the current Foundry token guide, Foundry file picker guide, Foundry media guide, and Roll20 file guidance on 12 August 2026.
Short answer: make a square transparent PNG for the shared token, keep the original portrait separately, and test one file in the VTT before you upload a full party.
Start with the right kind of image
AI image tools usually give you a portrait or a scene. VTTs need an asset that stays readable when it becomes a small object on a busy map. Those are different jobs.
| Asset | Best use | File I prepare |
|---|---|---|
| Portrait | Character sheet, handout, journal or chat image | JPG or PNG, usually portrait-shaped |
| Token | A character or creature on the map | Square PNG with transparency |
| Scene art | Splash image, handout or campaign cover | JPG for a smaller file, PNG when transparency matters |
| Foundry asset | Token, tile or actor image | PNG or WebP, stored in the User Data folder |
I keep the source portrait. I create the token as a second file. If the ranger later loses an eye or changes armour, I can make a new portrait without breaking the token already assigned to the actor.
CharGen's Token Maker is useful at this point. Upload the portrait or choose one from the Gallery, select Circle, Rounded Square, Shield or Hexagonal, adjust the frame, then download the transparent PNG. The current editor processes the portrait locally and exports a 1024 by 1024 file. You do not need an account to create or download it.
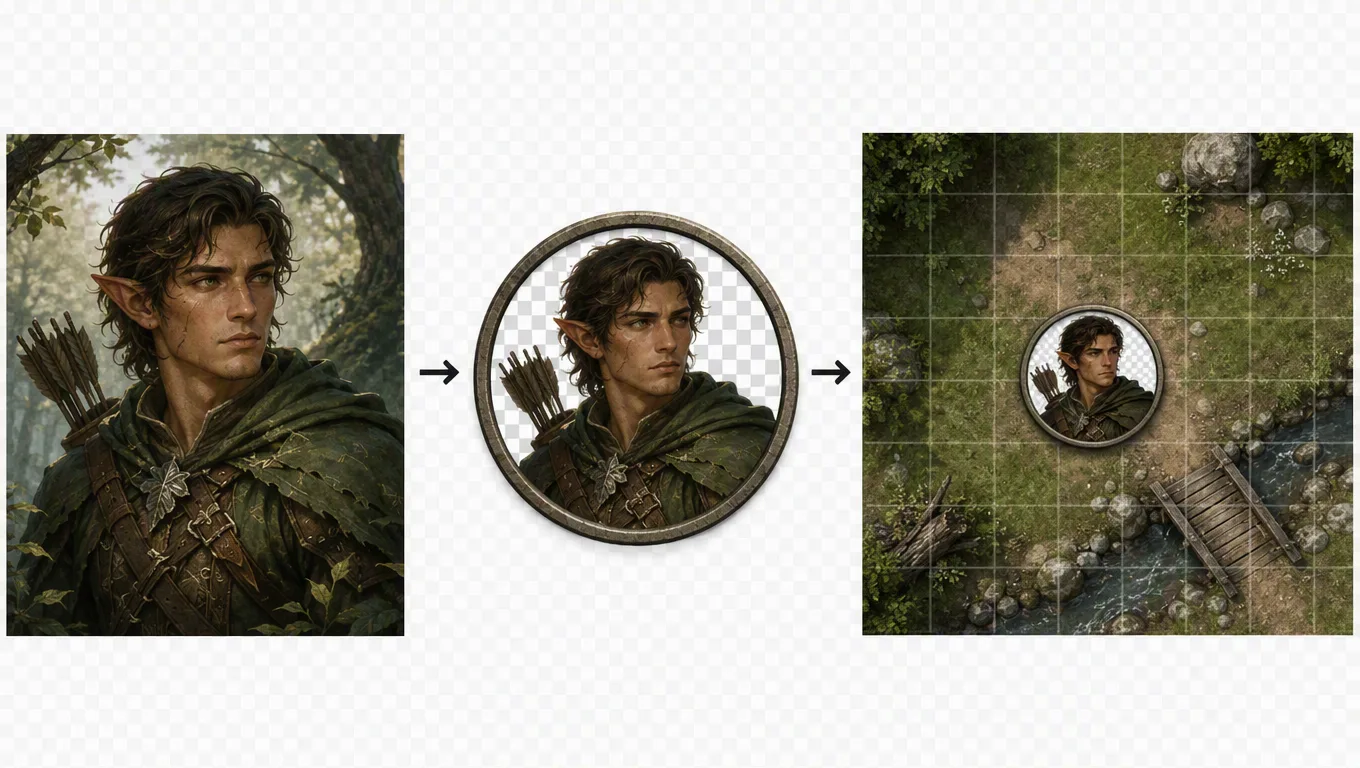
Do not upload the first full-body image as your token without checking it. A full-body image can turn into a tiny head and two indistinct boots. For most humanoid player characters, a chest-up crop gives the face and one strong prop enough space to survive map scale.
Check the file before you upload it
Run this five-point check before opening Roll20 or Foundry.
- Use a square token. Start with 1024 by 1024 or another square size. Foundry's media guide recommends roughly 200 to 400 pixels square for a medium or large token, but a larger master gives you room to crop and zoom.
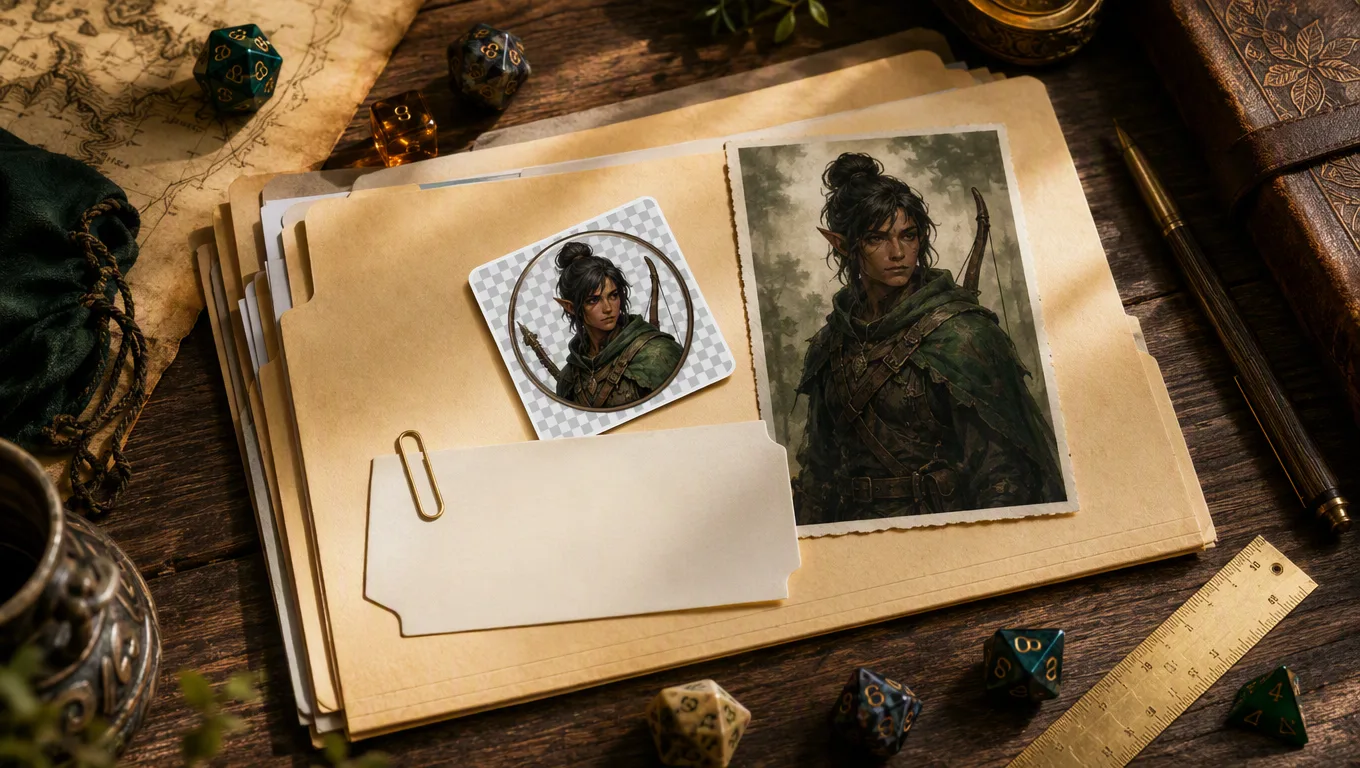
- Keep transparency where the border should be. A white or painted background turns into a square tile around the token. PNG and WebP preserve transparency. Roll20's static image guidance lists JPG, GIF and PNG, so use PNG there.
- Use a simple filename. I use
blacktide-ranger-ivril-token.png. Foundry advises avoiding spaces and special characters. The same rule saves time in Roll20's Uploaded Assets list. - Keep the portrait and token separate.
blacktide-ranger-ivril-portrait.pngis for sheets.blacktide-ranger-ivril-token.pngis for the map. Do not overwrite one with the other. - Check the file size. Roll20's current Best Practices page lists 20 MB for Free, 50 MB for Plus and 100 MB for Pro image uploads. Another Roll20 Art Library page still shows older 10 MB and 20 MB figures. Keep a normal token far below 10 MB, so the documentation difference does not matter.
How to import AI character art into Roll20
Roll20 treats an image on the Objects & Tokens layer as a token object. The upload and placement steps are short.
1. Upload the file to Your Art Library
Open your game and select the Art Library tab in the right sidebar. Use Upload under My Library, or drag the PNG onto the tabletop. Roll20 puts uploaded files in Uploaded Assets, even when you organise them in folders later.
Roll20 accepts JPG, PNG and GIF for static images. PNG is the sensible choice for a circular token because it keeps the transparent corners. A WebP file may work in other tools, but it is not listed in Roll20's current static image formats. Convert it before you start.
2. Place the image on the correct layer
Drag the uploaded image from Your Art Library onto the tabletop. Put it on Objects & Tokens, not the Map layer. Roll20 then treats it as a token object rather than part of the background.
Right-click the object and choose Advanced, then Set Dimensions when you need an exact size. If you resize with the image handles on a gridded page, Roll20 normally snaps the image to the grid. Hold Alt while resizing when you need to adjust the crop without that snap.
For a normal player character, start at one grid square by one grid square. A Large creature starts at two by two. Let the game system and the creature size decide the footprint, not the pixel width of the source file.
3. Link the token to a character when you need bars
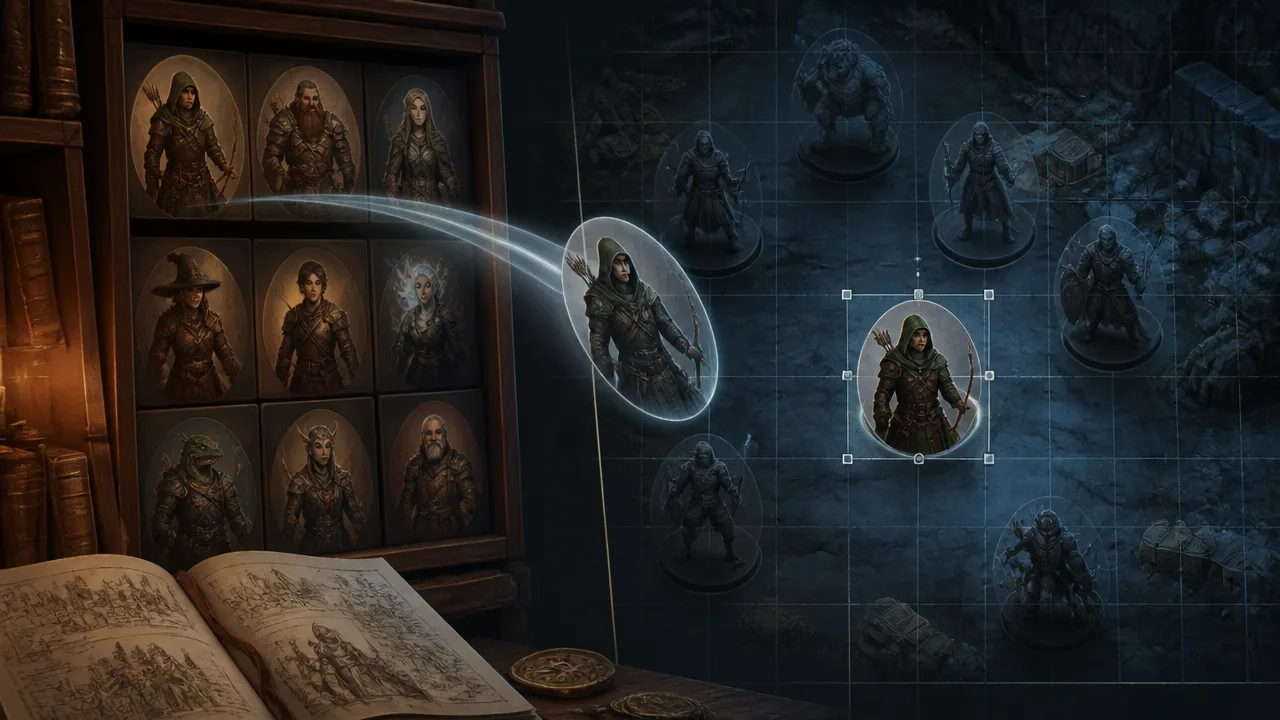
Open the token settings and use Represents Character when the token belongs to a character sheet. Set the controlled player, nameplate and bar permissions there. Roll20 can link token bars to character attributes, which keeps the map token useful during combat.
For a generic guard or a group of identical monsters, do not link every token to one shared character unless you want their bars to move together. Roll20's token guide calls out this common trap. A separate generic token with unlinked resources is safer for a group of bandits.
4. Test the token as a player
Use Player View to check the image from the player's side. Look at the face, border and status markers against the actual map tile. A token that looks clear in the Art Library can disappear on a dark map.
Make a Free VTT TokenHow to import AI character art into Foundry VTT
Foundry separates the file from the Actor. You upload the image to User Data, then choose it as the Actor's prototype token art.
1. Put the image in User Data
Open a File Picker from an image field, such as a Scene, Tile or Actor token setting. Choose a folder inside User Data and use Upload to copy the file from your computer. The current Foundry asset guide recommends an assets folder or the folder for the active world. Version 13 blocks uploads to some top-level protected folders, so a disabled Upload button usually means you need to pick or create another folder.
If you run Foundry yourself, you can also copy the file into the User Data Data folder outside the application. Hosting partners use their own upload or file-transfer process. Keep the image in a stable folder. Moving it later breaks the path saved in the Actor.
Foundry supports AVIF, JPG, JPEG, PNG, SVG and WebP. Its media guide recommends WebP for a good quality-to-size ratio. For a token that must also work in Roll20, use the PNG export from Token Maker.
2. Create or open the Actor
Open the Actors directory and create the character or creature. Open the Actor sheet, then click Prototype Token in the top bar. This is the default configuration for every new copy of that Actor.
In the token configuration, open the Appearance tab and choose the image path with the File Picker. Foundry stores the selected path in the Actor. The official token guide describes the path as a file inside $UserData/Data/ or a publicly accessible web location.
3. Set the footprint and appearance
Set Dimensions to the creature's grid footprint. A medium or smaller character normally uses one grid unit. Set Scale to 1 first. Increase it only when the art needs to extend past the grid without changing the creature's occupied space.
Foundry uses south-facing artwork as its default orientation. A front-facing portrait token usually needs no change. If your ranger faces north, use the Mirror Image option or rotate the artwork before upload. Lock rotation for portrait-style tokens if you do not want a player to turn the face by accident.
4. Place and test the token
Drag the Actor into a Scene. Right-click the placed token to open its HUD, then use the gear icon for token settings. Check the token on the actual map, not only in the Actor preview. Test vision, disposition, opacity and any status markers that your system uses.
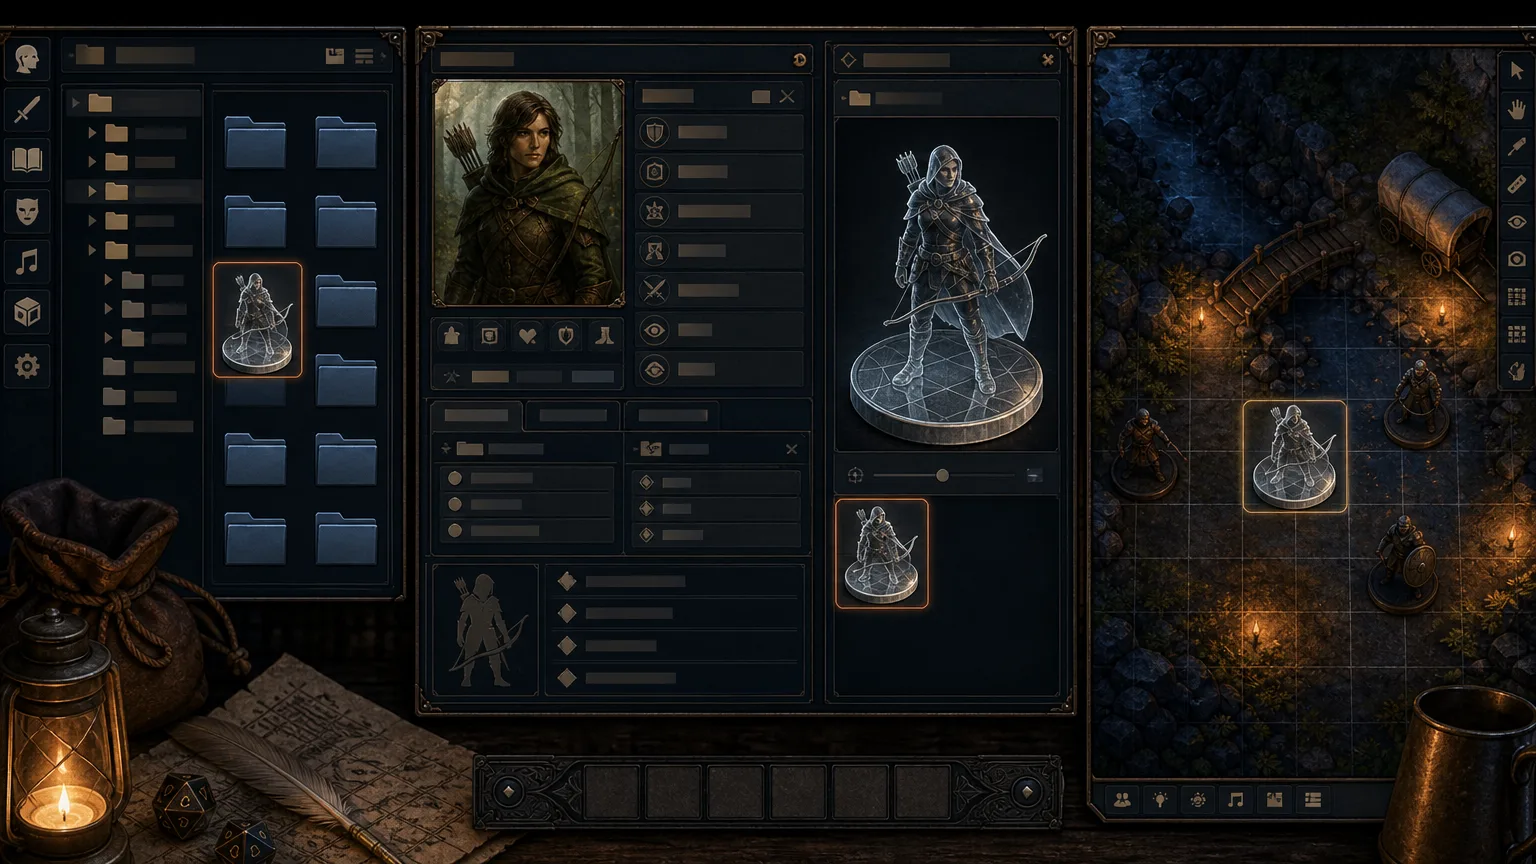
Foundry lets you change a placed token without changing the prototype. Use the prototype for defaults. Use the placed token for a scene-specific change, such as a different scale, tint, facing or vision setting.
The same character in both VTTs
I use one approved source file and one shared token file for a character that moves between platforms.
| File | Roll20 | Foundry |
|---|---|---|
blacktide-ranger-ivril-portrait.png | Art Library, handout or character image | Actor portrait or journal image |
blacktide-ranger-ivril-token.png | Objects & Tokens layer | Prototype Token image path |
blacktide-ranger-ivril-scene.jpg | Map or handout | Scene background or journal |
That naming pattern matters when the character appears again. It also makes replacements safer. If I edit the portrait, I do not accidentally replace the combat token with a full-body image.
The battlemap generator can supply a matching scene, while the generation workspace is useful when the character needs a new moment rather than a new token. I keep the approved token stable until the story gives the character a visible change.
Common import problems and quick fixes
The token has a white square background
The file has no alpha channel, or the export flattened the background. Return to the portrait-to-token step and export a transparent PNG. JPG cannot keep transparent corners.
Roll20 rejects the file
Check the extension first. Convert WebP to PNG or JPG. Then check the upload size and your Art Library storage. A 1024 PNG token should normally be much smaller than the current limits.
Foundry shows a broken image
Open the File Picker and check the path. The file must be inside User Data or at a public URL. If you moved the file after selecting it, choose it again from the new folder. Avoid spaces and special characters in new filenames.
The face is too small on the map
Make a tighter chest-up crop. Increase the token's artwork scale only after you confirm the grid footprint is correct. A large source image does not fix a distant subject.
Every monster shares one health bar
Check the Roll20 Represents Character and bar links. Use an unlinked generic token for independent copies, or create separate Actors in Foundry when each creature needs its own resources.
The Foundry token faces the wrong way
Foundry expects natural token artwork to face south. Rotate or mirror the file, then lock rotation if it represents a portrait-style character.
FAQ
What file format should I use for AI character art in Roll20?
Use PNG when you need transparency. Roll20's current file guidance also lists JPG and GIF. It does not list WebP for static image uploads, so convert a WebP to PNG or JPG before uploading.
What file format should I use for Foundry VTT tokens?
Foundry supports AVIF, JPG, JPEG, PNG, SVG and WebP. PNG and WebP are the useful choices for transparent tokens. Keep a square master and set the token dimensions inside Foundry.
What size should a D&D token be in Foundry VTT?
Foundry's media guide recommends about 200 to 400 pixels square for a medium or large token. A 1024 by 1024 master is still useful when you need room to crop. Foundry scales it to the token's grid dimensions.
Can I use the same token in Foundry and Roll20?
Yes. A transparent PNG is the safest shared file. Roll20 accepts PNG, JPG and GIF. Foundry accepts PNG and WebP as well as other image formats.
The practical order is simple: approve the portrait, make the square token, upload one test file, and check it on the real map. After that, batch the rest of the party with the same filename pattern and crop rules.
Create a Free VTT TokenFrequently asked questions
- What file format should I use for AI character art in Roll20?
- Use PNG when the portrait or token needs transparency. Roll20's current file guidance also lists JPG and GIF as supported image formats, but WebP is not listed for static image uploads, so convert a WebP to PNG or JPG first.
- What file format should I use for Foundry VTT tokens?
- Foundry supports AVIF, JPG, JPEG, PNG, SVG and WebP. For a transparent token, PNG or WebP is the practical choice. Keep a square master file and set the token dimensions inside Foundry.
- What size should a D&D token be in Foundry VTT?
- Foundry's media guide recommends roughly 200 to 400 pixels square for a medium or large token. A 1024 by 1024 master also works, because Foundry scales the artwork and lets you set the token's grid dimensions.
- Can I use the same token in Foundry and Roll20?
- Yes. A transparent PNG is the safest shared file. Roll20 accepts PNG, JPG and GIF, while Foundry accepts PNG and WebP as well as several other formats.